 Save
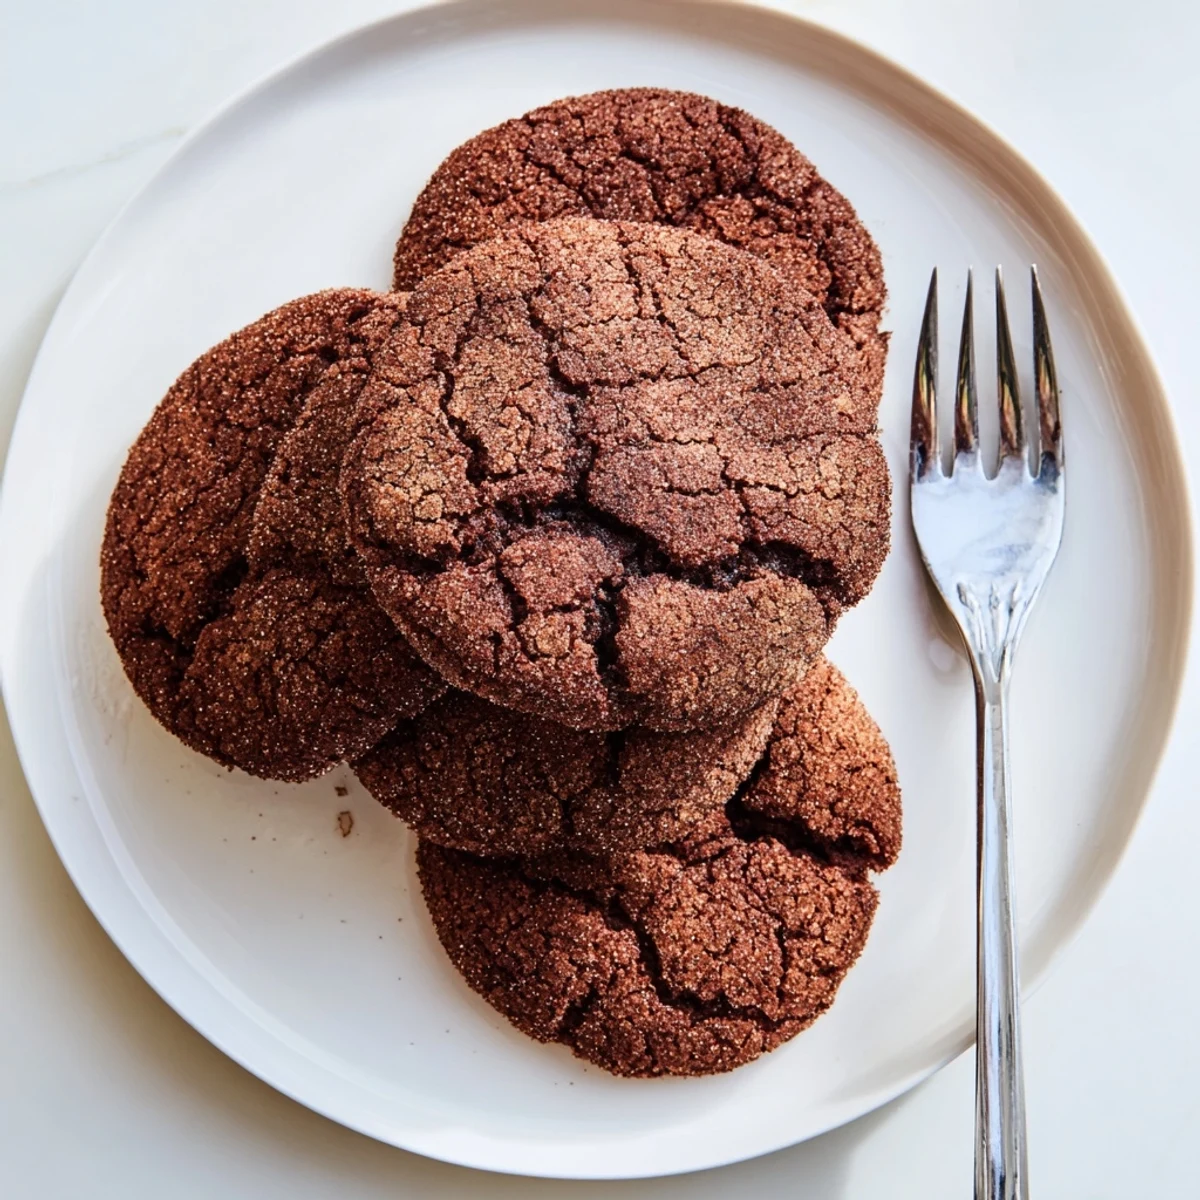
Save These chocolate snickerdoodles combine the tangy, chewy texture of traditional cookies with deep cocoa flavor. The dough comes together quickly with basic pantry ingredients, then gets rolled in a classic cinnamon-sugar coating before baking.
The result is a cookie with crispy edges, soft centers, and that signature snickerdoodle tang amplified by dark chocolate. Perfect with milk or coffee, these disappear fast from the cookie jar.
Rain was tapping against my kitchen window last Tuesday when I suddenly needed chocolate in my life. I had all the usual snickerdoodle ingredients staring back at me, but something felt incomplete. Then I spotted the cocoa powder tucked away in the pantry, and thats when the magic happened.
My roommate walked in while the first batch was cooling and literally stopped mid sentence. She grabbed one while it was still warm, closed her eyes, and declared these the best thing to come out of our kitchen all month. Now theyre her requested study snack during finals week.
Ingredients
- 1 1/2 cups all-purpose flour: The structure builder that keeps these cookies from spreading too thin in the oven
- 1/2 cup unsweetened cocoa powder: Use a good quality brand here because its the star of the show
- 1 1/2 teaspoons cream of tartar: This is what gives snickerdoodles their signature tangy bite and chewy texture
- 1/2 teaspoon baking soda: Helps create those beautiful cracks on top as the cookies bake
- 1/4 teaspoon salt: Just enough to make the chocolate flavor pop without tasting salty
- 1 cup granulated sugar: Sweetens the dough and creates that lovely crisp edge we all love
- 1/2 cup unsalted butter, softened: Room temperature butter incorporates perfectly for that tender crumb
- 1 large egg: Binds everything together while adding richness and structure
- 1 teaspoon pure vanilla extract: Always use pure vanilla, it makes a noticeable difference in depth
- 1/4 cup granulated sugar: For rolling the dough balls and creating that sparkly coating
- 1 1/2 teaspoons ground cinnamon: The warming spice that makes these taste like comfort itself
Instructions
- Getting Your Oven Ready:
- Preheat to 350°F and line your baking sheets with parchment paper for easy cleanup later
- Whisking the Dry Mix:
- Combine flour, cocoa powder, cream of tartar, baking soda, and salt in a medium bowl until everything looks uniformly dark and chocolatey
- Creating the Cookie Base:
- Beat the softened butter and sugar together for 2 to 3 minutes until the mixture looks pale and fluffy
- Adding Life to the Dough:
- Crack in your egg and splash in the vanilla, mixing until you cannot see any streaks of egg remaining
- Bringing It All Together:
- Gradually add the dry ingredients to the wet mixture, mixing just until the flour disappears into the dough
- Making the Magic Coating:
- Mix the remaining sugar and cinnamon in a small bowl until combined and aromatic
- Rolling and Coating:
- Scoop tablespoon sized portions of dough and roll them into balls, then press each ball into the cinnamon sugar mixture until thoroughly coated
- Arranging for Baking:
- Place the sugar coated balls 2 inches apart on your prepared baking sheets to give them room to spread
- The Perfect Bake:
- Bake for 9 to 11 minutes until the edges look firm but the centers still seem slightly soft and underdone
- Patience Pays Off:
- Let the cookies rest on the hot baking sheets for 5 minutes before moving them to a wire rack to finish cooling
 Save
Save Last weekend I brought a batch to a potluck and watched them disappear within ten minutes. My friend Sarah actually hid two in her purse to save for her breakfast the next morning.
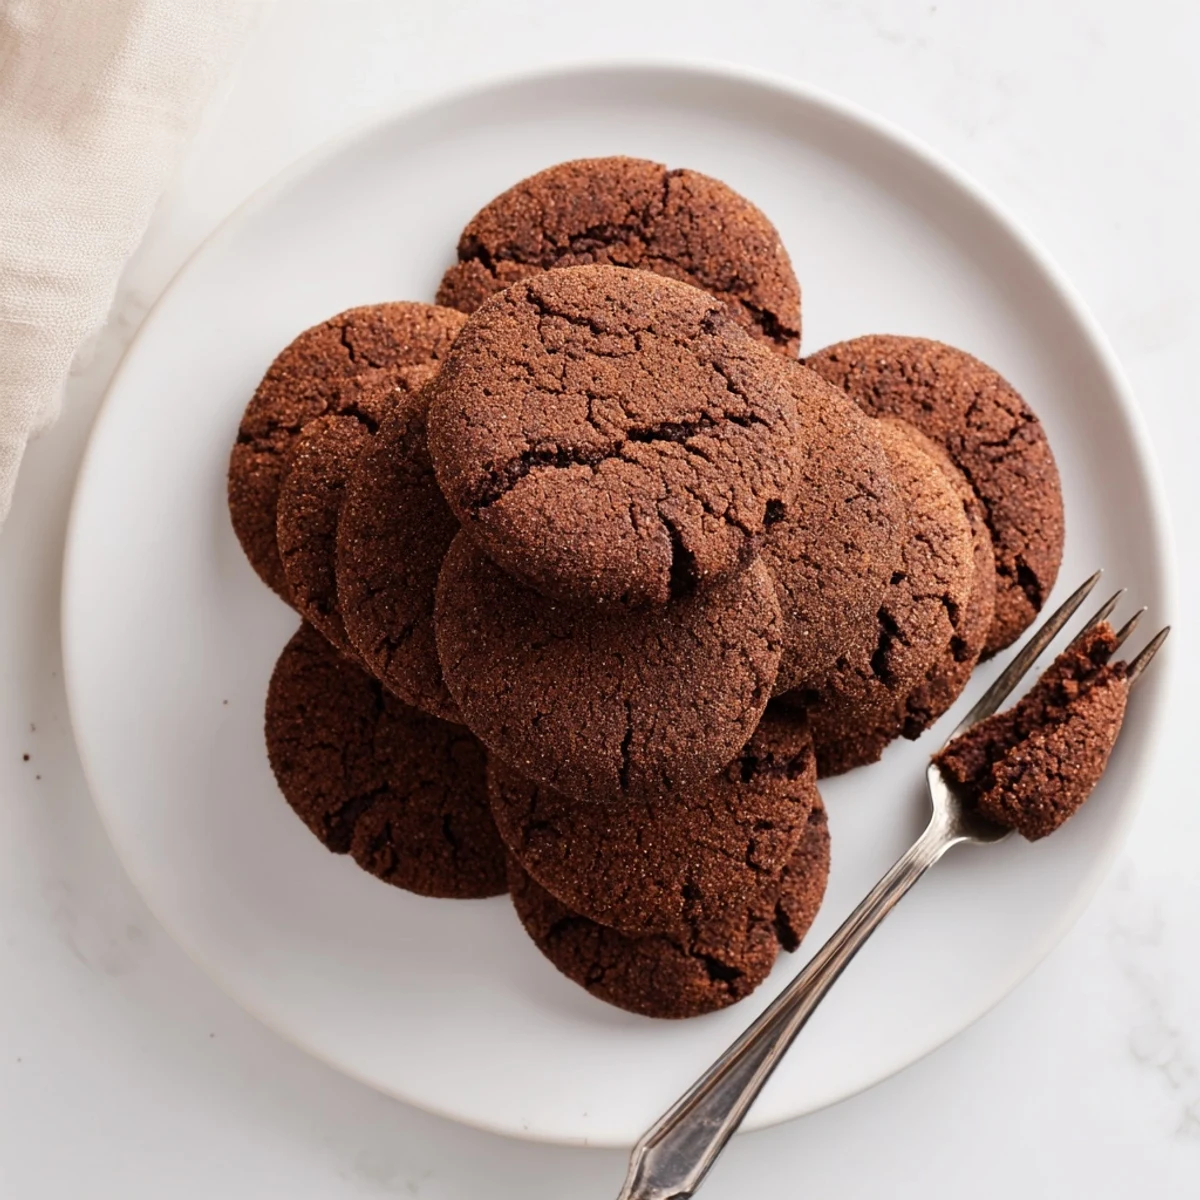
Getting That Perfect Texture
The key is pulling them out when the edges are set but the centers still look slightly underbaked. They continue cooking on the hot baking sheet, which creates that irresistible chewy yet tender texture. I learned this the hard way after my first batch came out like hockey pucks.
Customization Ideas
Sometimes I add a pinch of cayenne pepper to the cinnamon sugar coating for a spicy chocolate twist that wakes up your tastebuds. You could also dip half of each cooled cookie in melted white chocolate for an extra fancy presentation.
Storage and Freshness
These cookies stay perfectly soft and chewy for up to five days when stored in an airtight container at room temperature. Place a piece of white bread in with them if they start to feel a bit dry after a few days.
- Freeze unbaked dough balls for fresh cookies anytime the craving strikes
- Warm cooled cookies in the microwave for 10 seconds to recreate that fresh baked experience
- Pair with a cold glass of milk or hot coffee for the ultimate afternoon treat
 Save
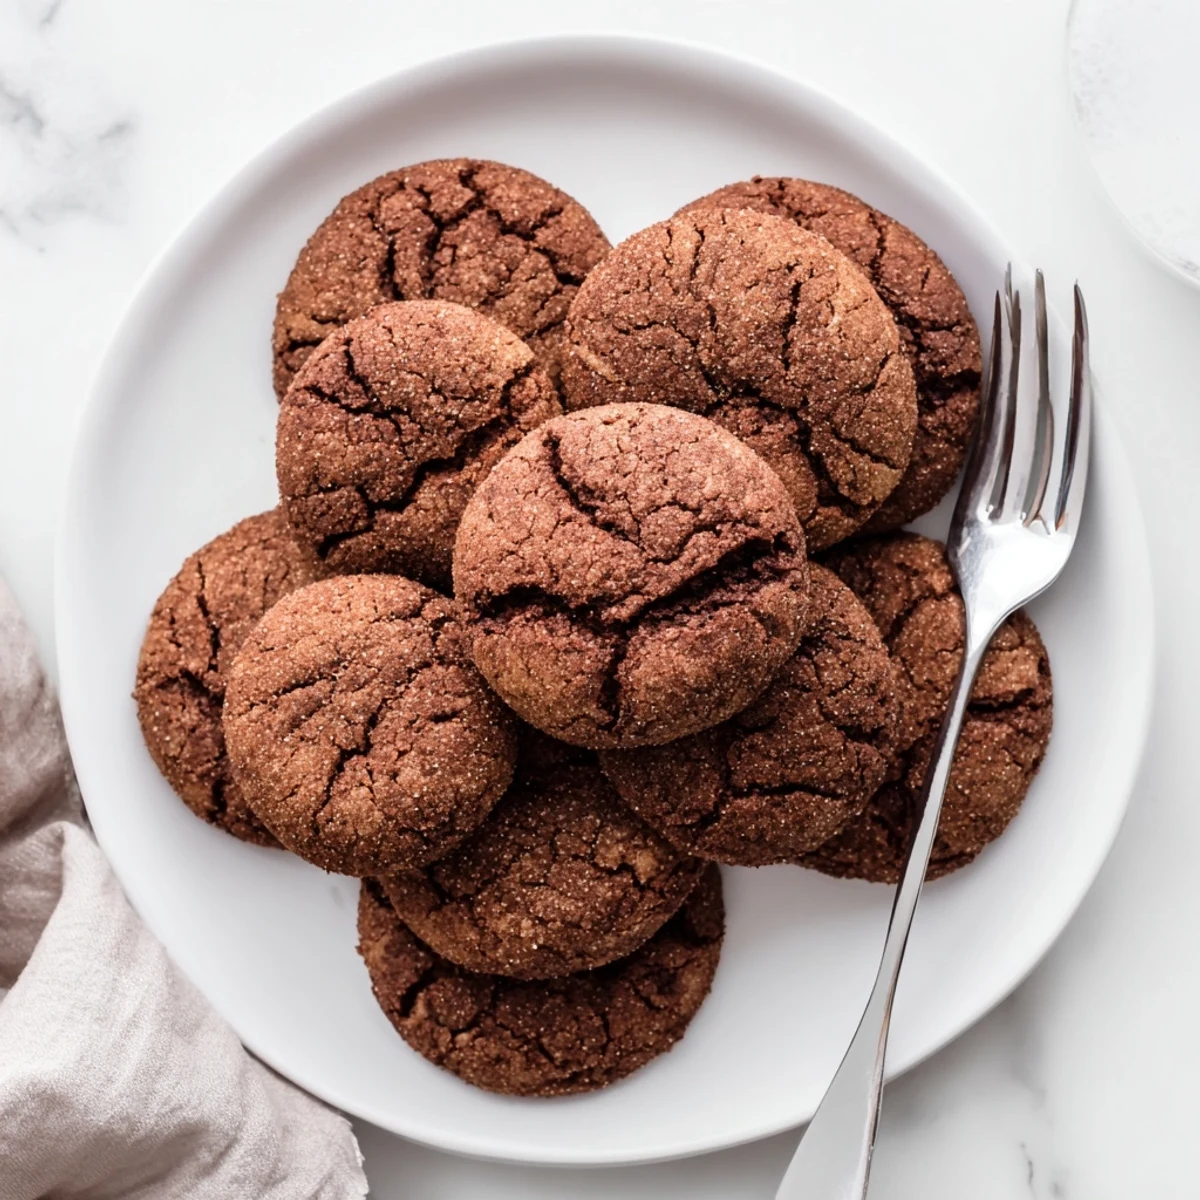
Save These chocolate snickerdoodles have become my go to for everything from midnight cravings to impromptu gatherings. There is something about that chocolate cinnamon combination that just makes people happy.
Recipe FAQs
- → What makes these different from regular snickerdoodles?
-
These swap the traditional vanilla dough for cocoa-rich chocolate base while keeping the classic cinnamon-sugar coating. The chocolate pairs beautifully with the warm spices and cream of tartar tang.
- → Why is cream of tartar used?
-
Cream of tartar provides the signature snickerdoodle tang and helps create the chewy texture with crispy edges. It's essential for that classic snickerdoodle flavor profile.
- → Can I make the dough ahead of time?
-
Yes, the dough can be refrigerated for up to 2 days. Let it soften slightly at room temperature before rolling into balls and coating with cinnamon-sugar mixture.
- → How do I know when they're done baking?
-
The edges should look set and slightly firm, while the centers remain soft. They'll continue cooking on the hot baking sheet, so removing them while slightly underdone ensures perfectly chewy results.
- → Can I freeze these cookies?
-
Baked cookies freeze well for up to 3 months in an airtight container. You can also freeze unbaked dough balls—just thaw slightly before rolling in cinnamon-sugar and baking.