 Save
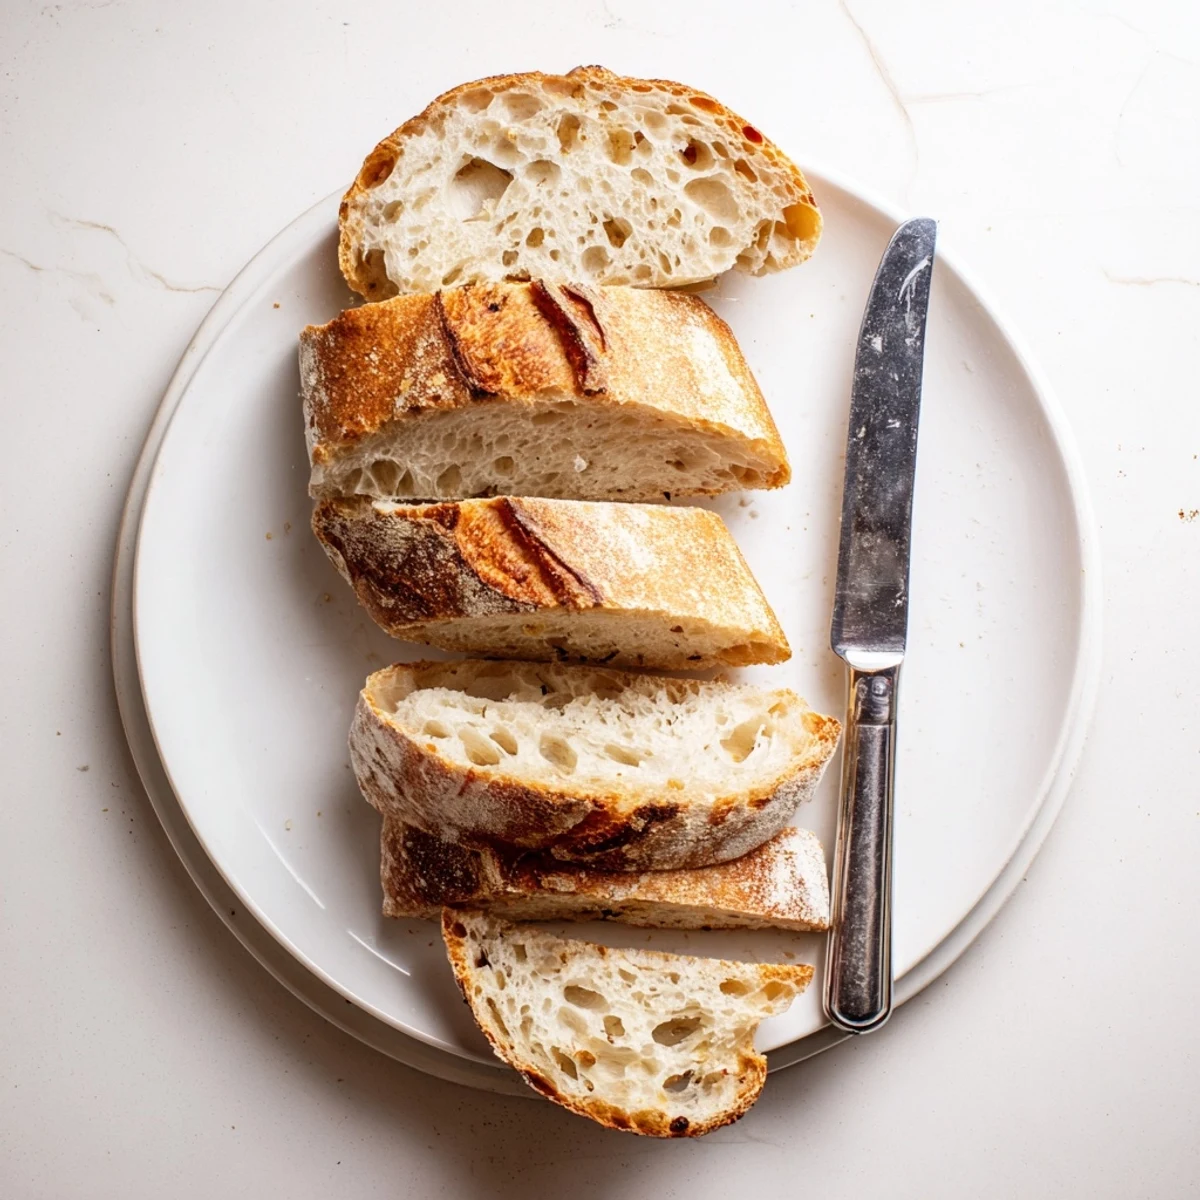
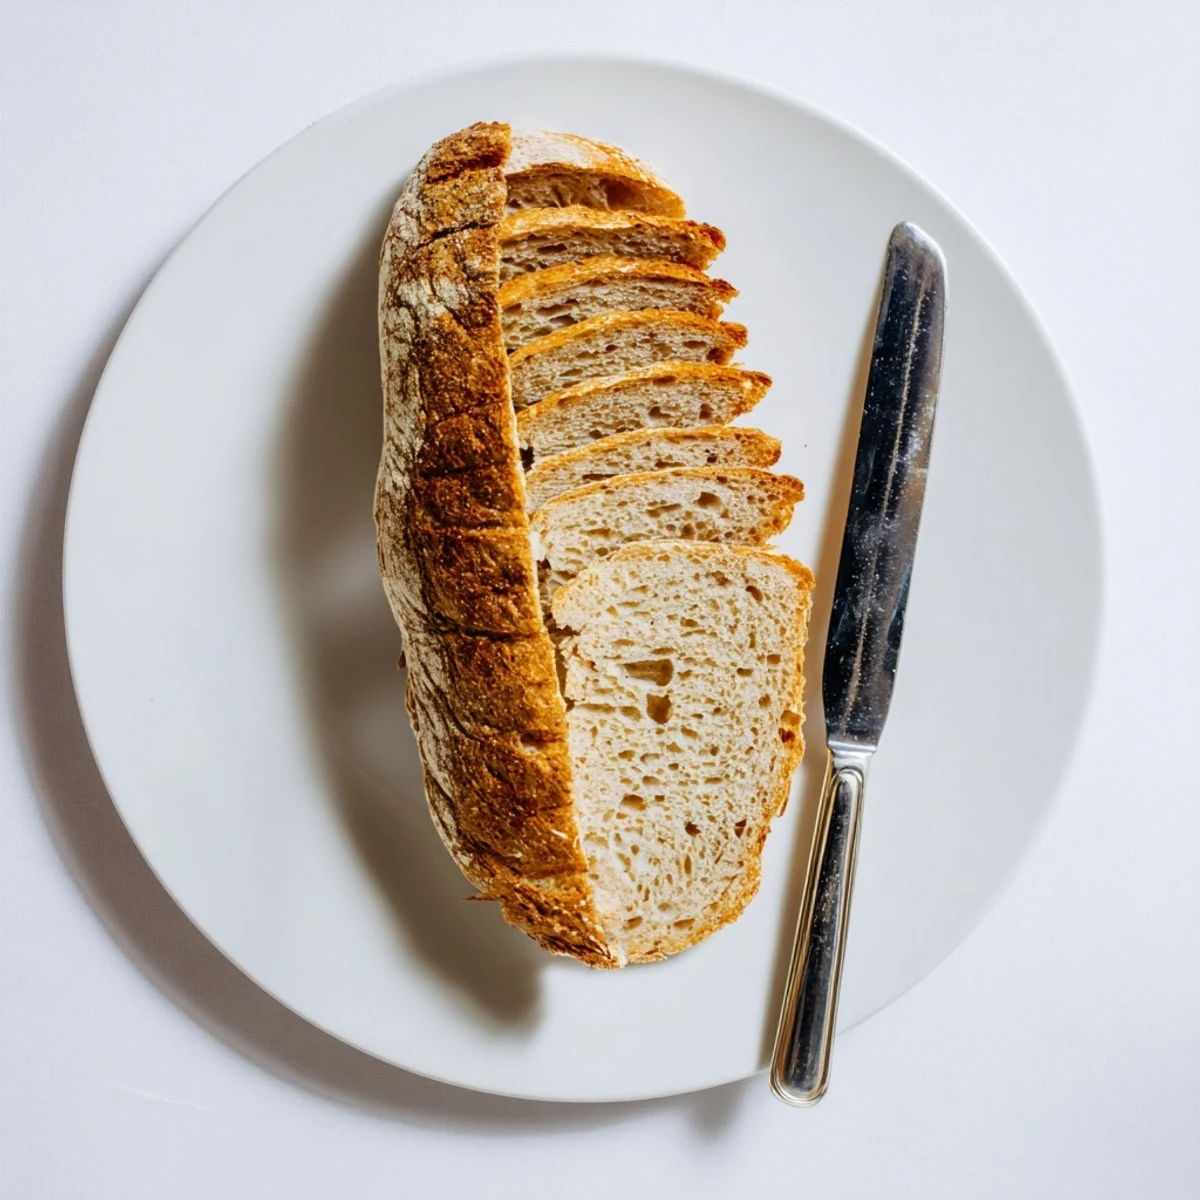
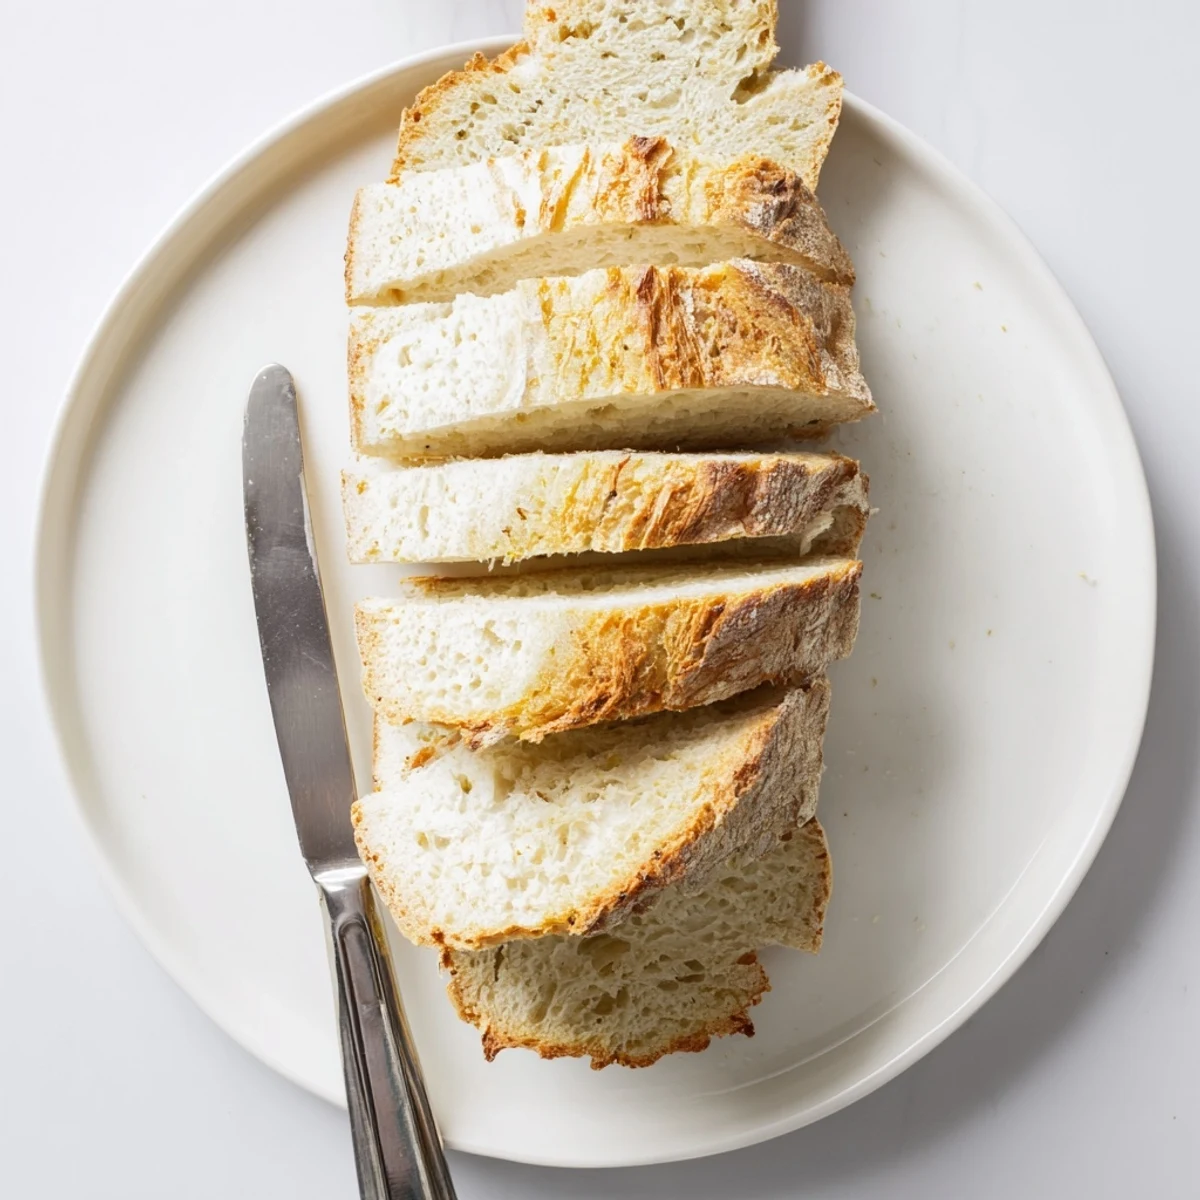
Save Traditional Italian loaf with a signature golden crust and tender, chewy crumb. This artisan-style bread creates the perfect vessel for sandwiches, olive oil dipping, or accompanying hearty soups. The steam-baking technique produces that authentic bakery-quality crust while keeping the interior moist and elastic.
With just flour, yeast, salt, and olive oil, you'll create restaurant-quality bread at home. The dual-rise process develops deep flavor, while steam in the oven ensures that irresistible crackly crust. Slice thick for bruschetta, cut lengthwise for sandwiches, or tear and share warm from the oven.
My tiny apartment kitchen smelled like yeast and possibility the first time I attempted real Italian bread. The dough was stubborn, my hands were covered in flour dust, and I was absolutely convinced I had ruined everything. Then that golden crust emerged from the oven, making the most satisfying crackle sound, and I knew bread baking would be a lifelong love affair.
I brought this loaf to a friends dinner party, still warm from the oven, tucked under a linen towel like a precious secret. We tore into it right there at the counter, dipping chunks in olive oil while the pasta water boiled, and suddenly nobody was in a rush to sit down at the table anymore. That bread became the centerpiece of the entire evening.
Ingredients
- Bread flour: The higher protein content creates that signature chewy texture and robust structure
- Active dry yeast: Your rising agent that brings the dough to life with proper activation
- Salt: Not just seasoning but essential for strengthening gluten structure
- Sugar: Feeds the yeast and helps develop that beautiful golden brown crust
- Warm water: Should feel like bath temperature, too hot kills yeast, too cold slows it down
- Olive oil: Adds subtle flavor and keeps the crumb tender
- Cornmeal: Prevents sticking and adds a delightful crunch to the bottom crust
Instructions
- Wake up the yeast:
- Dissolve yeast and sugar in warm water and watch for foamy bubbles, proofing that your yeast is alive and ready to work its magic
- Build the foundation:
- Mix flour and salt, create a well in the center, then pour in the yeast mixture and olive oil
- Bring it together:
- Stir with a wooden spoon until shaggy dough forms, then turn onto a floured surface for the real work
- Knead with intention:
- Work the dough for eight to ten minutes until it transforms from sticky to smooth and elastic, springing back when pressed
- First rise:
- Place in an oiled bowl, cover with a damp towel, and let it double in size in a warm corner of your kitchen
- Shape your loaf:
- Punch down gently, form into a tight oval or round, and place on cornmeal dusted parchment for the final rise
- Create the steam:
- Preheat your oven with an empty pan on the bottom rack, ready to transform water into steam for crust perfection
- The crucial score:
- Slash the top with a sharp knife or lame, then pour hot water into the hot pan and quickly close the door
- Bake to perfection:
- Thirty to thirty five minutes until deeply golden and the bottom sounds hollow when tapped
 Save
Save My grandmother would hold a slice up to her ear, tap it with her finger, and declare a loaf ready based on the hollow thumping sound it made. Now I find myself doing the same thing, like checking for a heartbeat in the bread. Some kitchen traditions just instinctively make sense.
The Steam Secret
That water poured into the hot baking pan creates instant steam, which keeps the crust soft during initial rising then creates that dramatic bakery style crackle as the bread finishes baking. I learned this the hard way after months of making dense, disappointing loaves that never quite achieved restaurant quality. The difference was night and day, finally producing that shattering crunch I had been chasing.
Flour Power
Bread flour contains more protein than all purpose flour, which translates to more gluten formation and better structure. When I first started baking, I used whatever flour was in the pantry and wondered why my loaves spread instead of rising tall. The right flour makes the difference between a sad, flat disk and a lofty, substantial loaf that can hold its own.
Timing Your Rise
Dough rises based on temperature and yeast activity, not just the clock. In winter, I let my dough rise near the oven or in a slightly warm spot. In summer, it might double in half the time your recipe suggests. Learning to read the dough rather than rigidly following timing changed my bread baking from hit or miss to consistently successful.
- Add dried herbs during mixing for an aromatic variation that pairs beautifully with soups
- Freeze sliced bread with parchment between pieces for easy toasting straight from frozen
- The best dipping oil combines good olive oil with cracked pepper and flaky salt
 Save
Save There is something profoundly satisfying about creating bread from almost nothing but flour, water, and time. May your kitchen always smell like yeast and possibility.
Recipe FAQs
- → What makes Italian bread different from regular white bread?
-
Italian bread typically has a higher hydration content, creating that signature chewy texture and large air holes inside. The crust is baked to a deep golden-brown using steam, making it thicker and crunchier than standard white bread. Traditional Italian loaves also avoid adding fats like milk or butter to the dough, relying solely on olive oil for subtle richness.
- → Why do you put water in the oven while baking?
-
The hot water creates steam in the oven, which keeps the crust soft during the first few minutes of baking. This allows the bread to expand fully before the crust hardens, resulting in a lighter interior and a beautifully crackled, golden crust. Without steam, the crust forms too quickly and limits the loaf's rise.
- → How do I know when the bread is fully baked?
-
Look for a deep golden-brown color all over the crust. The most reliable test is tapping the bottom of the loaf—if it sounds hollow and deep, it's done. The internal temperature should reach 200°F. If the crust is browning too quickly but the bread isn't done inside, tent loosely with foil for the last 10 minutes.
- → Can I make this bread without a stand mixer?
-
Absolutely. This dough comes together beautifully with just a wooden spoon and some hand kneading. Mix the ingredients in a large bowl until shaggy, then turn onto a floured surface and knead by hand for 8-10 minutes. You'll know it's ready when the dough is smooth, springs back when poked, and passes the windowpane test.
- → How should I store this Italian bread?
-
For the first 24 hours, store at room temperature wrapped in a cloth or paper bag to maintain the crust's crunch. After that, freeze slices in an airtight container with parchment between layers. Avoid refrigeration, which makes bread stale faster. To refresh day-old bread, sprinkle with water and warm in a 350°F oven for 5-10 minutes.
- → Why did my dough not double in size during rising?
-
This usually means the yeast wasn't active or the environment was too cool. Ensure your water was warm (105°F), not hot, which can kill yeast. Find a warm, draft-free spot for rising—inside an oven with just the light on, or near a warm appliance. If your kitchen is cool, rising may take up to 2 hours instead of 1.