 Save
Save These individual Easter egg cheesecake jars combine a buttery cookie crust with velvety smooth cheesecake filling and hidden chocolate surprises. The no-bake preparation makes them perfect for busy holiday entertaining, while the playful presentation delights both children and adults.
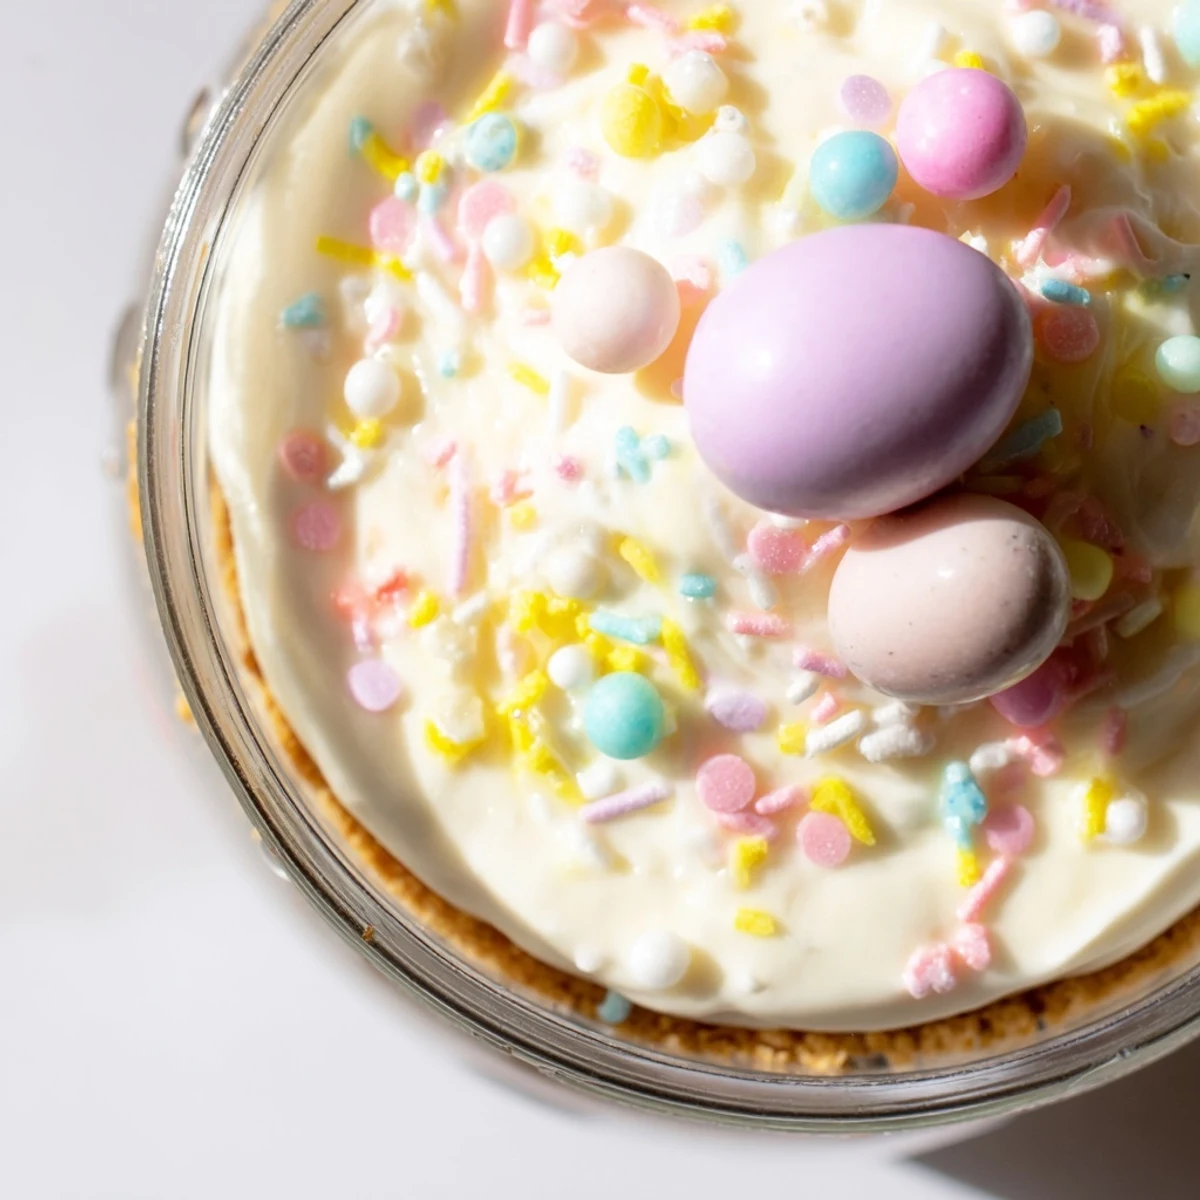
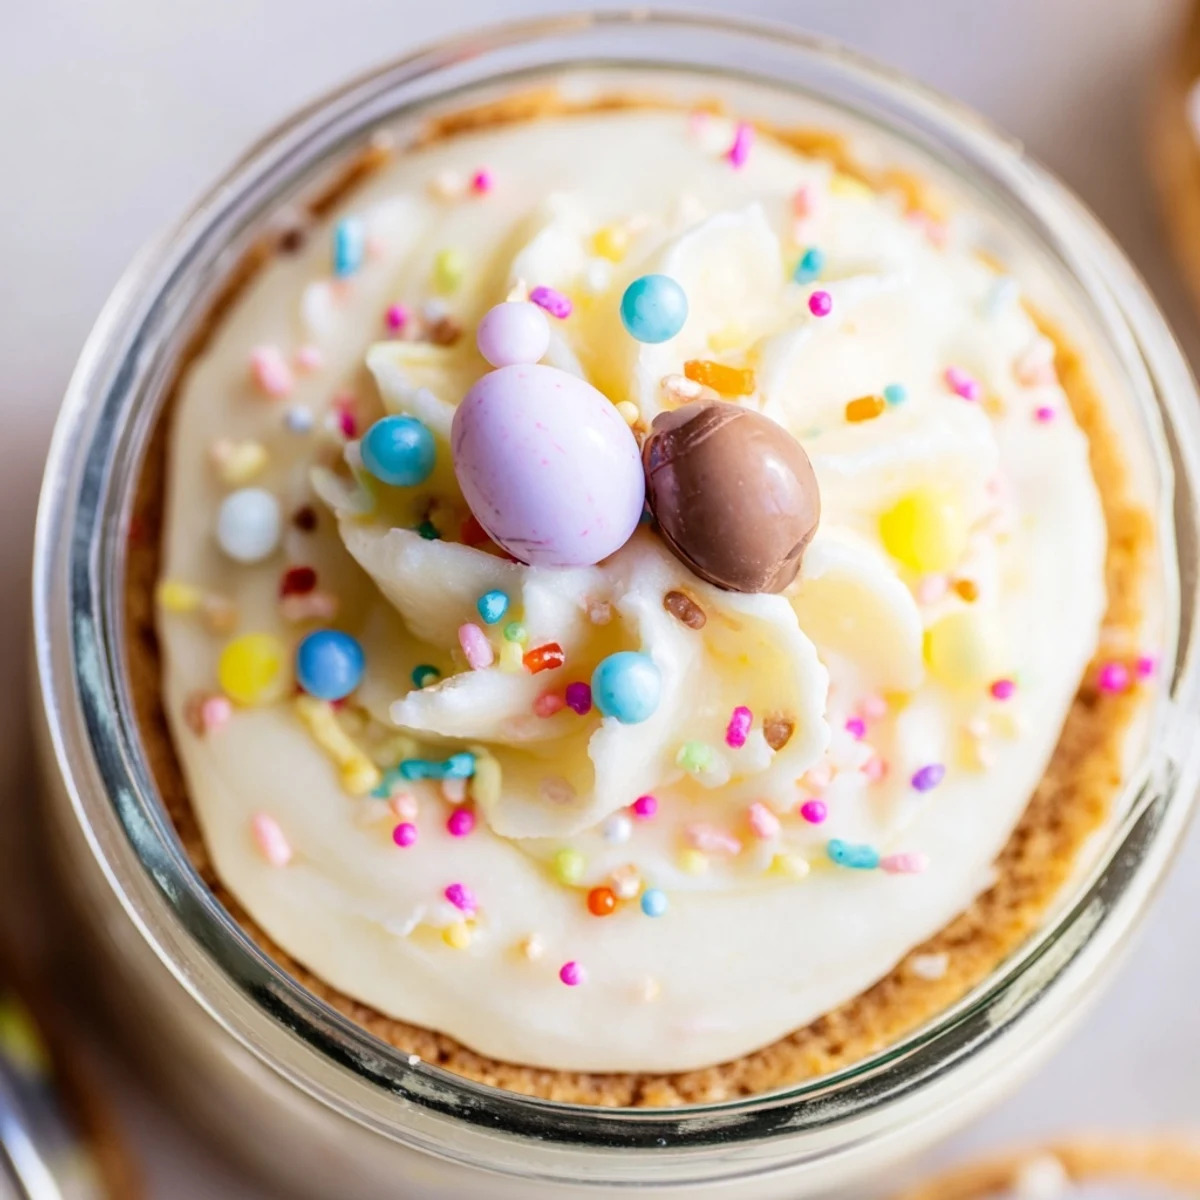
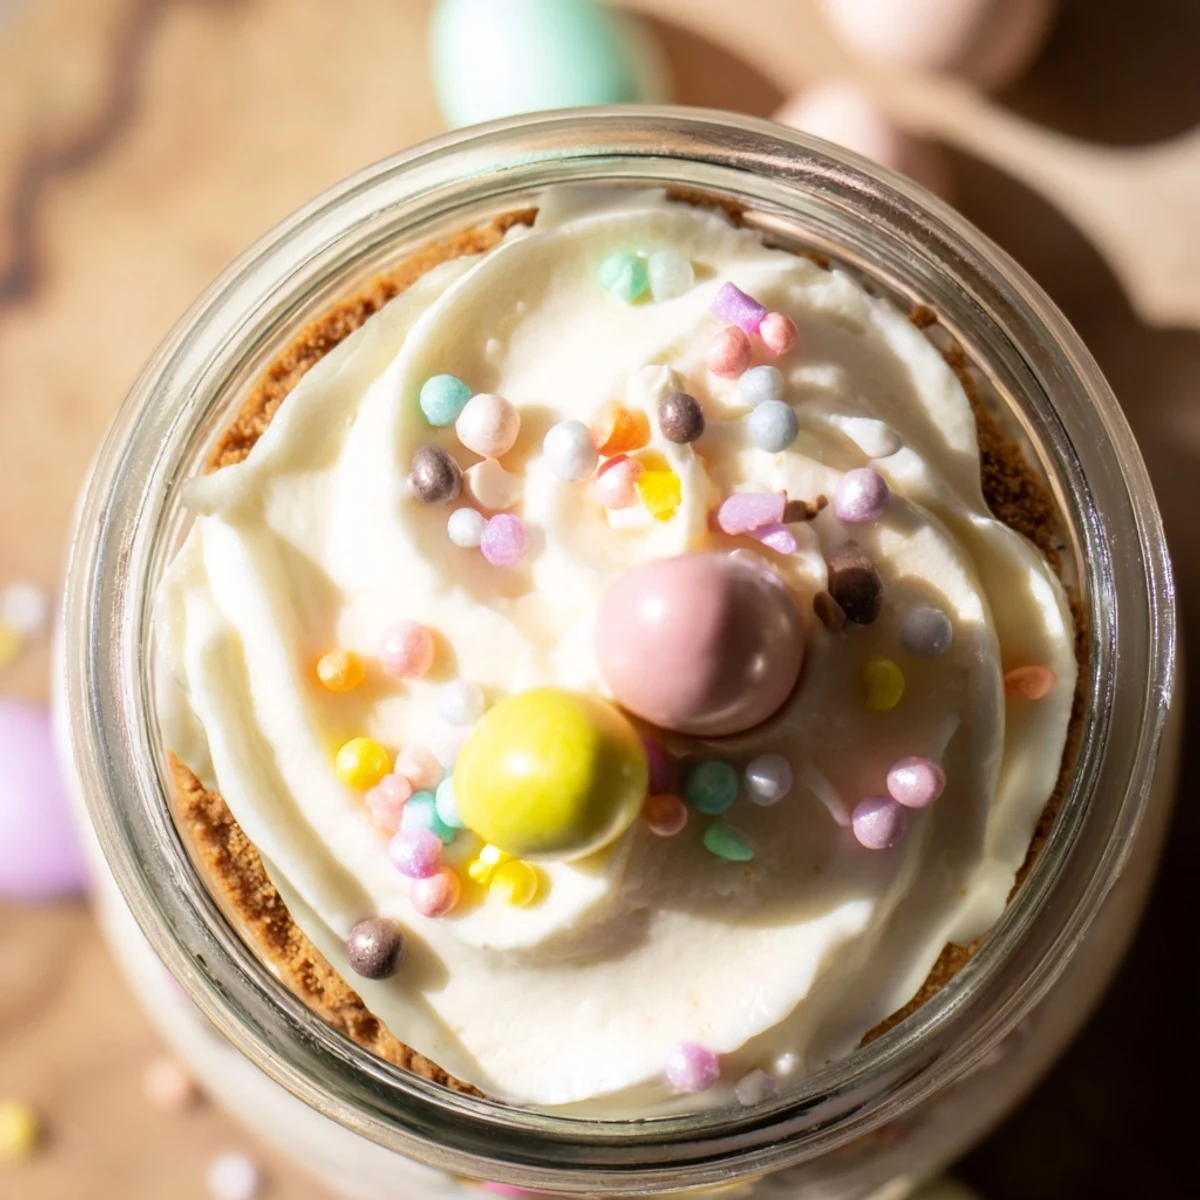
Each jar features layers starting with crushed digestive biscuits mixed with melted butter, followed by a light and fluffy cream cheese filling whipped with heavy cream. Mini chocolate Easter eggs are nestled inside, creating an exciting discovery with every spoonful. Top with freshly whipped cream and colorful sprinkles for a festive finish.
Make these up to 24 hours ahead and keep chilled until serving. The individual portions eliminate the need for slicing, making them ideal for Easter gatherings, brunch buffets, or as a fun cooking activity with kids.
Last Easter, my niece asked if we could hide eggs inside dessert instead of the backyard. Her eyes went wide when I pulled out these jars and she saw something peeking through the creamy layers. Now she requests them every year, and honestly, I do not mind an excuse to make something so playfully satisfying.
I made these for a brunch potluck once and watched three different adults light up when they bit into their hidden egg. There is something about discovering chocolate where you least expect it that never gets old.
Ingredients
- 1 cup digestive biscuits or graham crackers, crushed: These create the buttery foundation that holds everything together
- 3 tbsp unsalted butter, melted: Binds the crumbs into a firm crust that still crunches beautifully
- 8 oz cream cheese, softened: Room temperature cheese prevents any lumps in your filling
- 1/3 cup granulated sugar: Just enough sweetness to let the cheesecake flavor shine
- 1 tsp vanilla extract: Pure vanilla makes the creaminess taste homemade
- 1 cup heavy cream, cold: Cold whipping cream is non negotiable for achieving those stiff peaks
- 18 mini chocolate Easter eggs: Solid eggs hold their shape better than filled ones
- 1/2 cup whipped cream: The final crown that makes each jar look festive
- 2 tbsp rainbow sprinkles or pastel sugar pearls: Choose whatever makes your Easter table feel complete
Instructions
- Build the buttery crust:
- Mix crushed biscuits with melted butter until every crumb glistens, then press two tablespoons into the bottom of each jar. The back of a spoon works perfectly for creating an even layer.
- Whip up the creamy base:
- Beat cream cheese, sugar, and vanilla until completely smooth, then fold in whipped cream until the mixture turns light and airy. Gentle folding keeps all that air you just whipped in.
- Layer and hide the surprise:
- Spoon cheesecake filling over the crust halfway up each jar, nestle two or three mini eggs into the cream, then cover with another layer of filling. Smooth the tops so the secret stays hidden until that first bite.
- Let them set and finish:
- Chill for at least two hours until firm, then swirl whipped cream on top and decorate with extra eggs and sprinkles just before serving. The wait is worth it for that perfect texture.
 Save
Save My sister texted me the next day after that brunch asking for the recipe. She said her kids kept talking about finding chocolate in their dessert like it was magic.
Make Ahead Magic
These jars actually taste better after sitting overnight in the refrigerator. The flavors meld together and the texture becomes even more luxurious.
Customization Ideas
Chocolate sandwich cookies make an incredible crust if you want something darker and more intense. You could also hide peanut butter cups or strawberry truffles instead of traditional Easter eggs.
Serving Suggestions
Set up a topping station and let guests add their own final touches before eating. The interactive element turns these jars into a dessert activity rather than just something sweet to finish a meal.
- Keep jars covered with lids if storing overnight
- Add sprinkles right before serving so they stay colorful
- Use clear glass jars so the layered effect is visible
 Save
Save There is something delightful about dessert you can eat with a spoon while hunting for hidden chocolate. Happy Easter baking.
Recipe FAQs
- → Can I make these cheesecake jars ahead of time?
-
Yes, these jars can be prepared up to 24 hours in advance. Store them tightly covered in the refrigerator. Add the whipped cream topping and sprinkles just before serving for the freshest presentation.
- → What size jars work best for this dessert?
-
Use 6-8 ounce glass jars or dessert cups. This size allows for proper layering of crust, cheesecake filling, and hidden eggs while leaving room for the whipped cream topping on top.
- → Can I substitute the mini chocolate eggs?
-
Absolutely. You can use any Easter candy like chocolate bunnies, jelly beans, or even fresh berries for a lighter version. Just ensure whatever you hide inside can withstand the refrigeration time.
- → Do these need to be kept refrigerated?
-
Yes, because they contain cream cheese and heavy cream, the jars must be refrigerated. They will keep well for up to 2 days when stored properly covered in the refrigerator.
- → Can I make these gluten-free?
-
Simply substitute gluten-free cookies or graham crackers for the digestive biscuits. Ensure your chocolate eggs and other toppings are certified gluten-free as well.