 Save
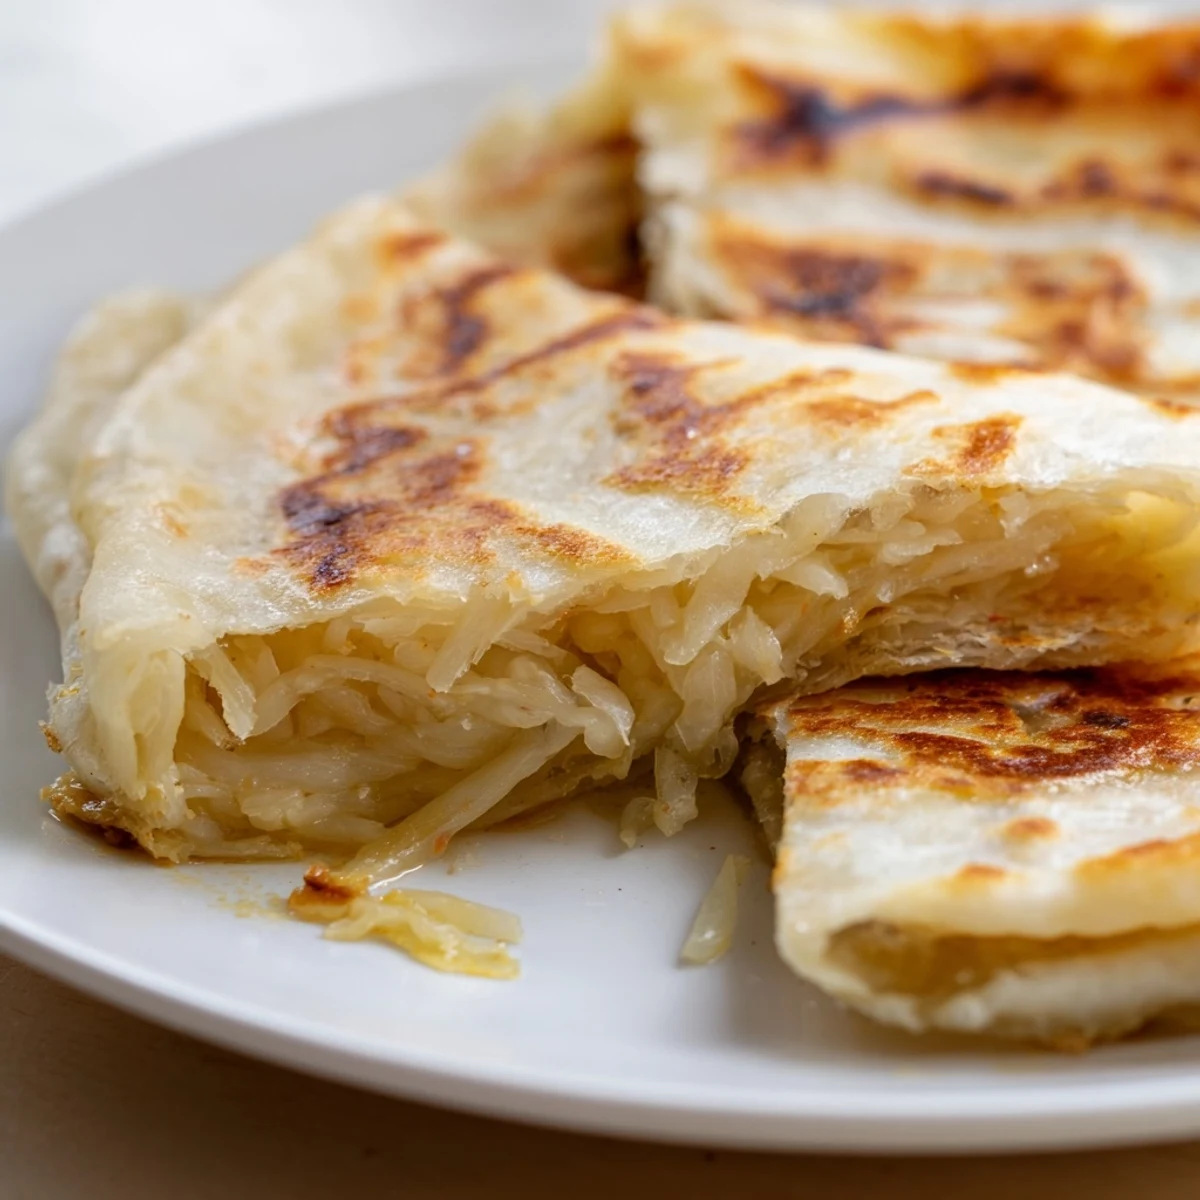
Save Create authentic Malaysian flaky roti canai with our comprehensive guide. This beloved flatbread achieves its signature texture through a unique resting period and delicate stretching technique that creates those characteristic crispy, golden layers. The dough, enriched with condensed milk and ghee, develops perfect elasticity during the two-hour rest, making it pliable for stretching into paper-thin sheets. The folding and coiling method builds multiple flaky layers that puff up beautifully when cooked on a hot griddle. Each roti cooks in just minutes, resulting in a tender interior surrounded by irresistibly crispy edges. The final clapping technique separates the layers for maximum fluffiness.
Serve these warm rounds alongside rich dhal, aromatic chicken curry, or enjoy with a sprinkle of sugar for a sweet variation. With just 25 minutes of active preparation and simple pantry ingredients, you can bring the taste of Malaysian street food into your kitchen.
The first time I watched a street vendor in Kuala Lumpur spin roti dough into translucent sheets, I actually laughed out loud. His hands moved faster than my eyes could follow, flipping and stretching the dough like it was weightless. I tried to replicate that motion in my tiny apartment kitchen and ended up with dough stuck to my elbows, my hair, and somehow the ceiling. Now I know it's less about theatrical flourishes and more about patience, letting those long resting hours do the real work.
My roommate walked in while I was knee-deep in flour, looking like Id lost a wrestling match with a cloud. She watched me fold and coil the dough, completely confused why I was spending a Tuesday evening making flatbread from scratch. But when those golden rotis hit the table, steaming and fragrant, she understood immediately. We ate three straight from the pan, burning our fingers and not caring one bit.
Ingredients
- All-purpose flour: Creates the structure while still allowing for those delicate, paper-thin layers
- Salt: Essential for flavor balance, especially since this bread is often paired with rich curries
- Sugar: Helps achieve that gorgeous golden-brown color and adds subtle sweetness
- Condensed milk: The secret to tender dough, adding richness and a hint of caramel notes
- Melted ghee or butter: Creates separation between layers for that signature flakiness
- Warm water: Activates the gluten and brings everything together into a smooth, workable dough
- Extra ghee for cooking: Building more layers and achieving that irresistible crisp exterior
Instructions
- Mix the foundation:
- Combine flour, salt, and sugar in a large bowl, then add melted ghee and condensed milk. Gradually pour in warm water, mixing until you have a soft, slightly sticky dough that feels alive in your hands.
- Knead until smooth:
- Work the dough for 8 to 10 minutes until it becomes smooth and elastic, bouncing back when you press it.
- Portion and rest:
- Divide into 6 equal balls, coat each lightly with ghee, and place on a greased tray. Cover with plastic wrap and let rest at room temperature for at least 2 hours, though longer is even better.
- Stretch to translucent:
- Grease your work surface and hands thoroughly with oil. Flatten one dough ball with your palms, then gently pull and stretch the dough into a thin, almost translucent sheet about 18 inches wide, working slowly to avoid tears.
- Create the layers:
- Fold the sides inward to form a long rectangle, roll it up like a Swiss roll, then coil it into a spiral and tuck the end underneath. Repeat with remaining dough balls.
- Heat the skillet:
- Warm a non-stick skillet or griddle over medium heat and brush lightly with ghee or oil until shimmering.
- Flatten and cook:
- Gently press one spiral dough portion into a round about 6 or 7 inches wide. Cook for 2 to 3 minutes per side, turning until both sides are golden and crispy with distinct flaky layers.
- The finishing touch:
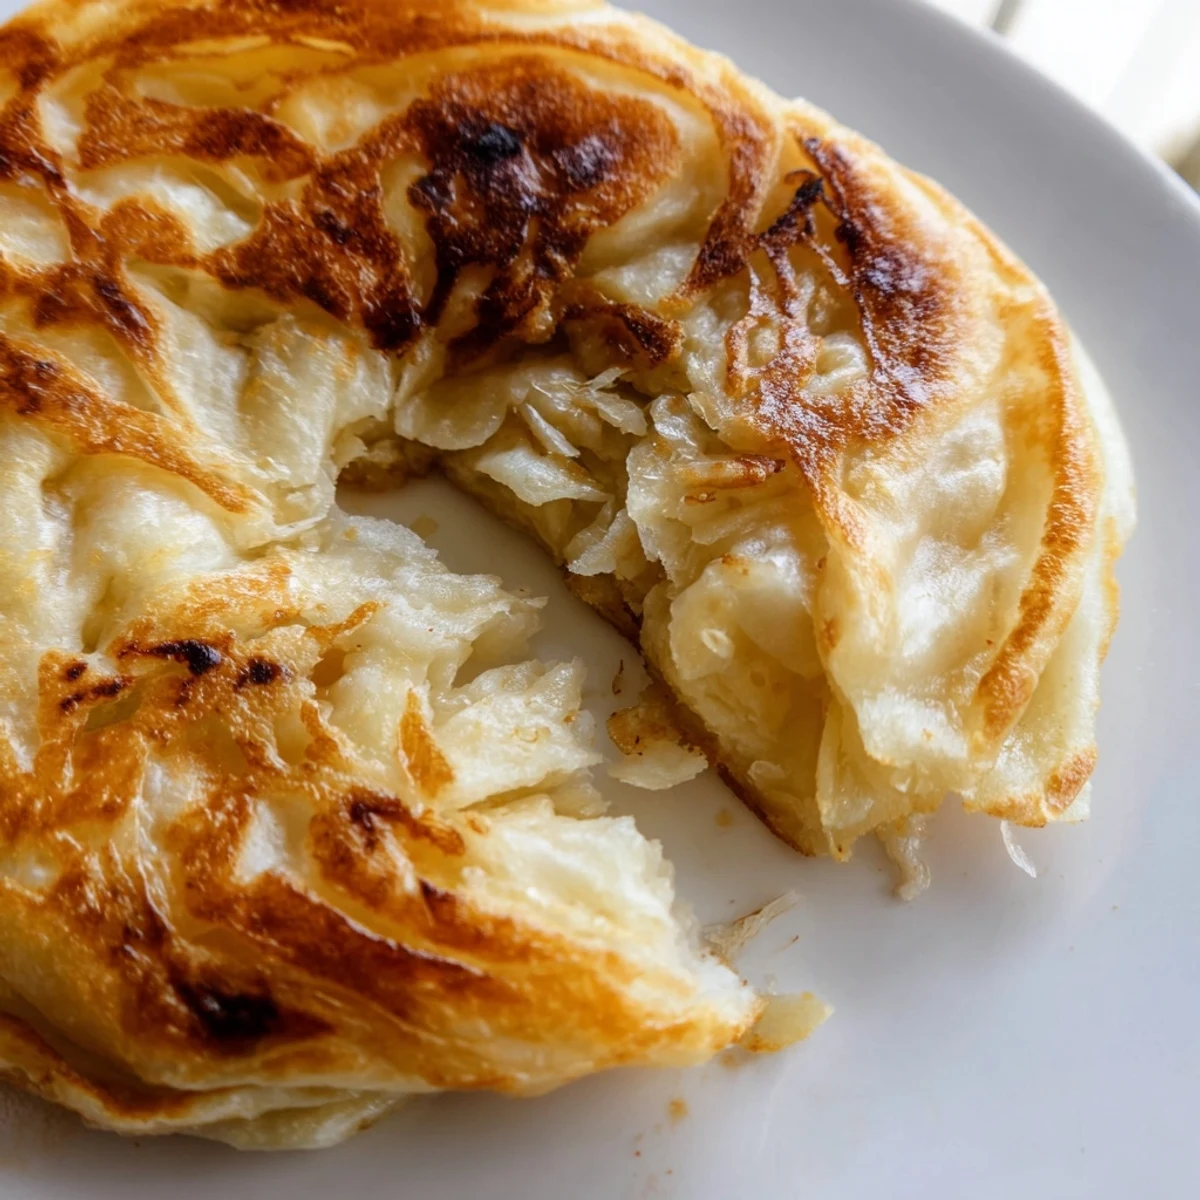
- Once cooked, gently clap the roti between your hands to separate and fluff up the layers before serving hot.
 Save
Save There's something deeply satisfying about tearing into a freshly cooked roti and watching the layers separate in slow motion. My grandmother would always say that good food needs time, and I finally understand what she meant. Those two hours of resting arent waiting, theyre transformation.
Getting the Stretch Right
Work from the center outward using your palms, letting gravity help as you gently pull the dough. If it starts to resist, let it rest for a minute before continuing. Thin spots are fine, but holes will affect the final layering.
Choosing Your Cooking Fat
Ghee offers the most authentic flavor and helps achieve that golden crispiness, but butter works beautifully for a slightly sweeter finish. Vegetable oil is lighter and lets the doughs flavor shine through.
Serving Suggestions
Roti canai is incredibly versatile and pairs well with both savory and sweet accompaniments. The flaky texture creates perfect pockets for soaking up sauces.
- Traditional dhal curry makes for the perfect dipping partner
- Rich chicken or beef curry adds bold, spiced contrast
- Sprinkle with sugar for a simple, nostalgic sweet treat
 Save
Save Some mornings I still make a batch just for myself, standing at the stove and eating them hot from the pan. The kitchen is quiet, the roti is perfect, and for a moment, everything is exactly as it should be.
Recipe FAQs
- → What makes roti canai flaky?
-
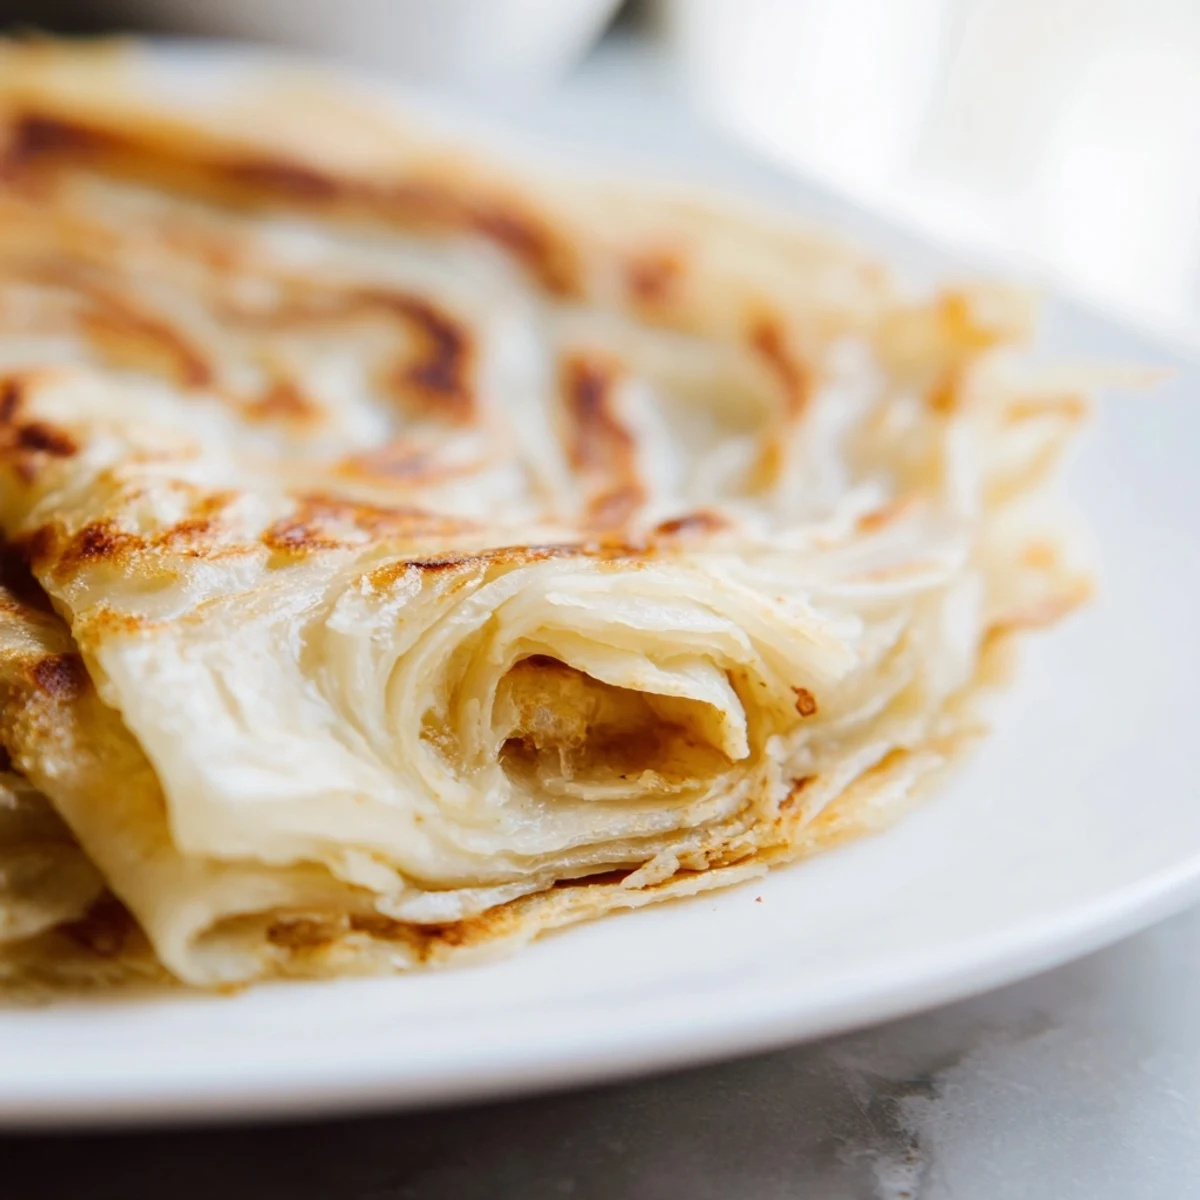
The flaky texture comes from the unique folding technique. After stretching the dough paper-thin, it's folded into a rectangle, rolled like a Swiss roll, then coiled into a spiral. This creates multiple layers that separate during cooking, resulting in the signature crispy, flaky texture.
- → Why does the dough need to rest for 2 hours?
-
Resting allows the gluten to relax, making the dough more pliable and easier to stretch. This extended rest period is crucial for achieving the paper-thin consistency needed to create those delicate layers. Without proper resting, the dough will resist stretching and tear easily.
- → Can I make roti canai ahead of time?
-
Yes, you can prepare the dough and let it rest overnight in the refrigerator. Bring to room temperature before shaping and cooking. The cooked roti canai can be reheated on a skillet for 1-2 minutes per side to restore crispiness.
- → What's the difference between roti canai and paratha?
-
While both are layered flatbreads, roti canai uses condensed milk and ghee in the dough, giving it a slightly sweeter taste and richer texture. The stretching technique for roti canai also tends to produce thinner, more delicate layers compared to traditional paratha.
- → Can I substitute condensed milk?
-
You can replace condensed milk with an equal mixture of evaporated milk and sugar, or use sweetened coconut milk for a dairy-free version. However, condensed milk provides the best texture and traditional flavor profile.
- → Why do you clap the roti after cooking?
-
Clapping the cooked roti between your hands helps separate the layers and introduces air pockets, making the interior fluffier. This traditional technique ensures each layer remains distinct rather than compressing together.