 Save
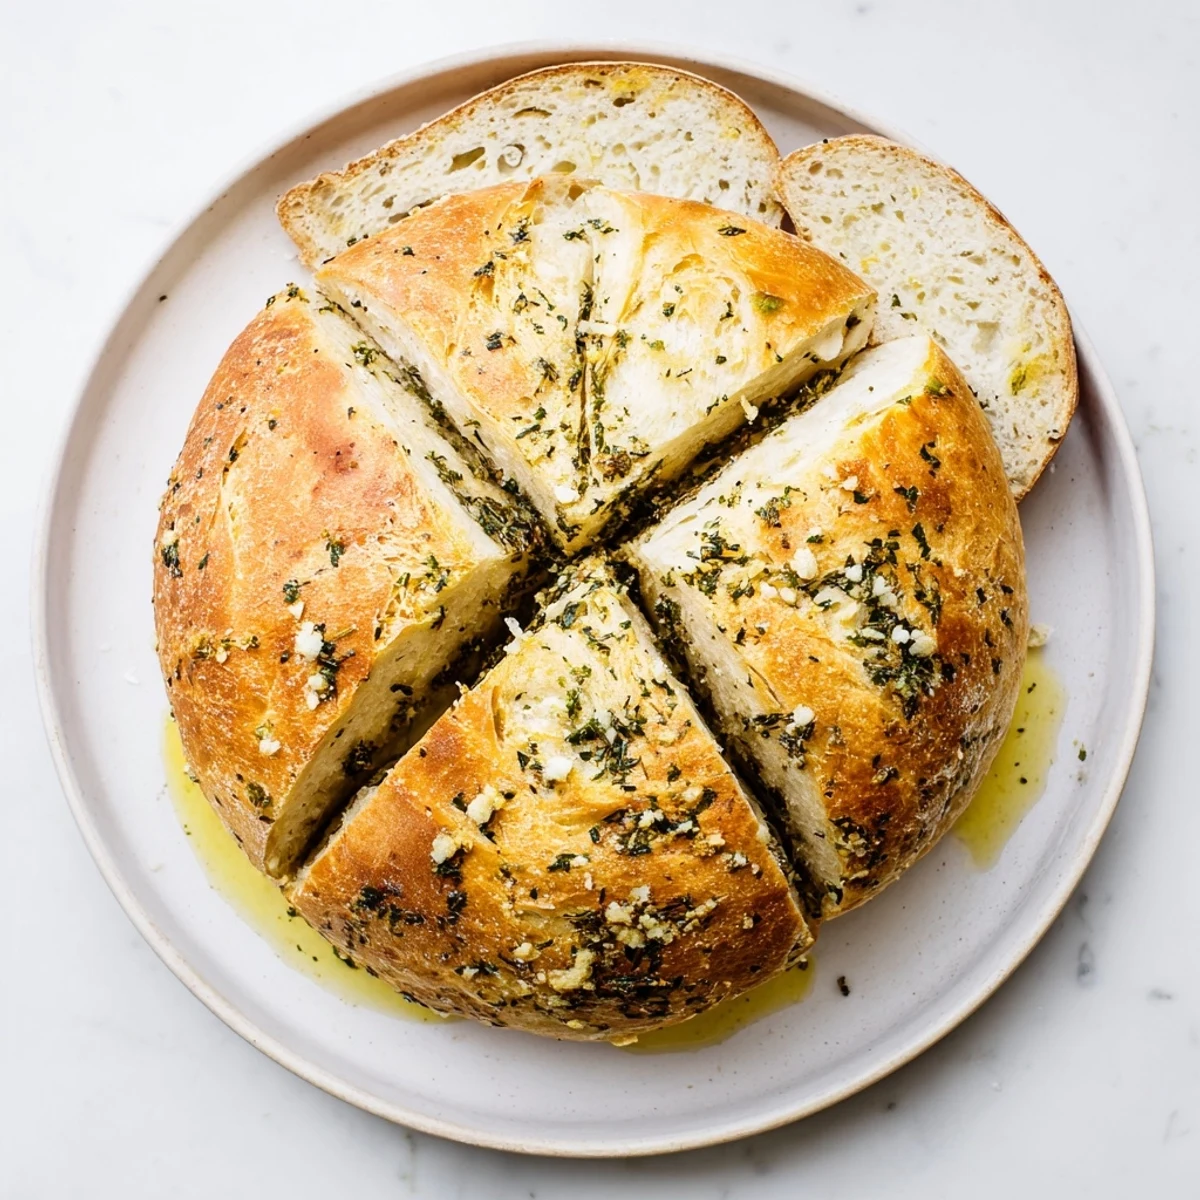
Save This artisan-style loaf combines the earthy warmth of roasted garlic with fragrant fresh rosemary, thyme, and parsley. The Dutch oven method creates professional bakery results at home, trapping steam for an exceptionally crispy crust and light, airy crumb. After two rises and just over an hour of baking, you'll have golden perfection ready to be brushed with melted butter and served warm alongside soups, salads, or simply with olive oil for dipping.
The first time I pulled this bread from the oven, my entire apartment smelled like an Italian bakery. I had friends coming over for soup, and honestly I was nervous about making bread from scratch. When that golden crust cracked open and steam filled the kitchen, I knew I had something special.
Last winter my neighbor knocked on my door because she could smell the rosemary and garlic through the hallway. I ended up sharing half the loaf with her, and now she asks me to make it every time we have a building potluck.
Ingredients
- Bread flour: The higher protein content creates that perfect chewy texture and helps the dough rise beautifully
- Active dry yeast: This is your bread making best friend so make sure it is fresh and not expired
- Warm water: Keep it around 110°F or just warm to the touch like a baby bottle
- Olive oil: Adds moisture and helps create that tender crumb structure
- Fresh garlic: The secret ingredient that makes your entire home smell incredible
- Fresh herbs: Rosemary thyme and parsley bring bright earthy flavors that dried herbs just cannot match
- Melted butter: Brushed on at the end for that gorgeous finish and extra richness
Instructions
- Mix the dry ingredients:
- Combine the bread flour salt and sugar in a large mixing bowl then stir in the yeast until everything is evenly distributed
- Create the dough:
- Pour in the warm water and olive oil mixing with a wooden spoon until a sticky shaggy dough forms
- Add the aromatics:
- Fold in the minced garlic and chopped fresh herbs stirring until they are evenly incorporated throughout the dough
- Let it rise:
- Cover the bowl with plastic wrap or a damp towel and let it sit at room temperature for about 2 hours until the dough has doubled in size
- Shape the loaf:
- Turn the dough onto a floured surface and gently shape it into a round loaf tucking the edges underneath to create tension on top
- Prepare for baking:
- Place the shaped dough on parchment paper cover loosely with a towel and let it rest for 30 minutes while you preheat your oven
- Preheat the Dutch oven:
- Place your Dutch oven with its lid inside the oven and preheat to 450°F for at least 30 minutes to get it screaming hot
- Bake with the lid on:
- Carefully lift the dough using the parchment paper and lower it into the hot Dutch oven then score the top with a sharp knife
- Create the crust:
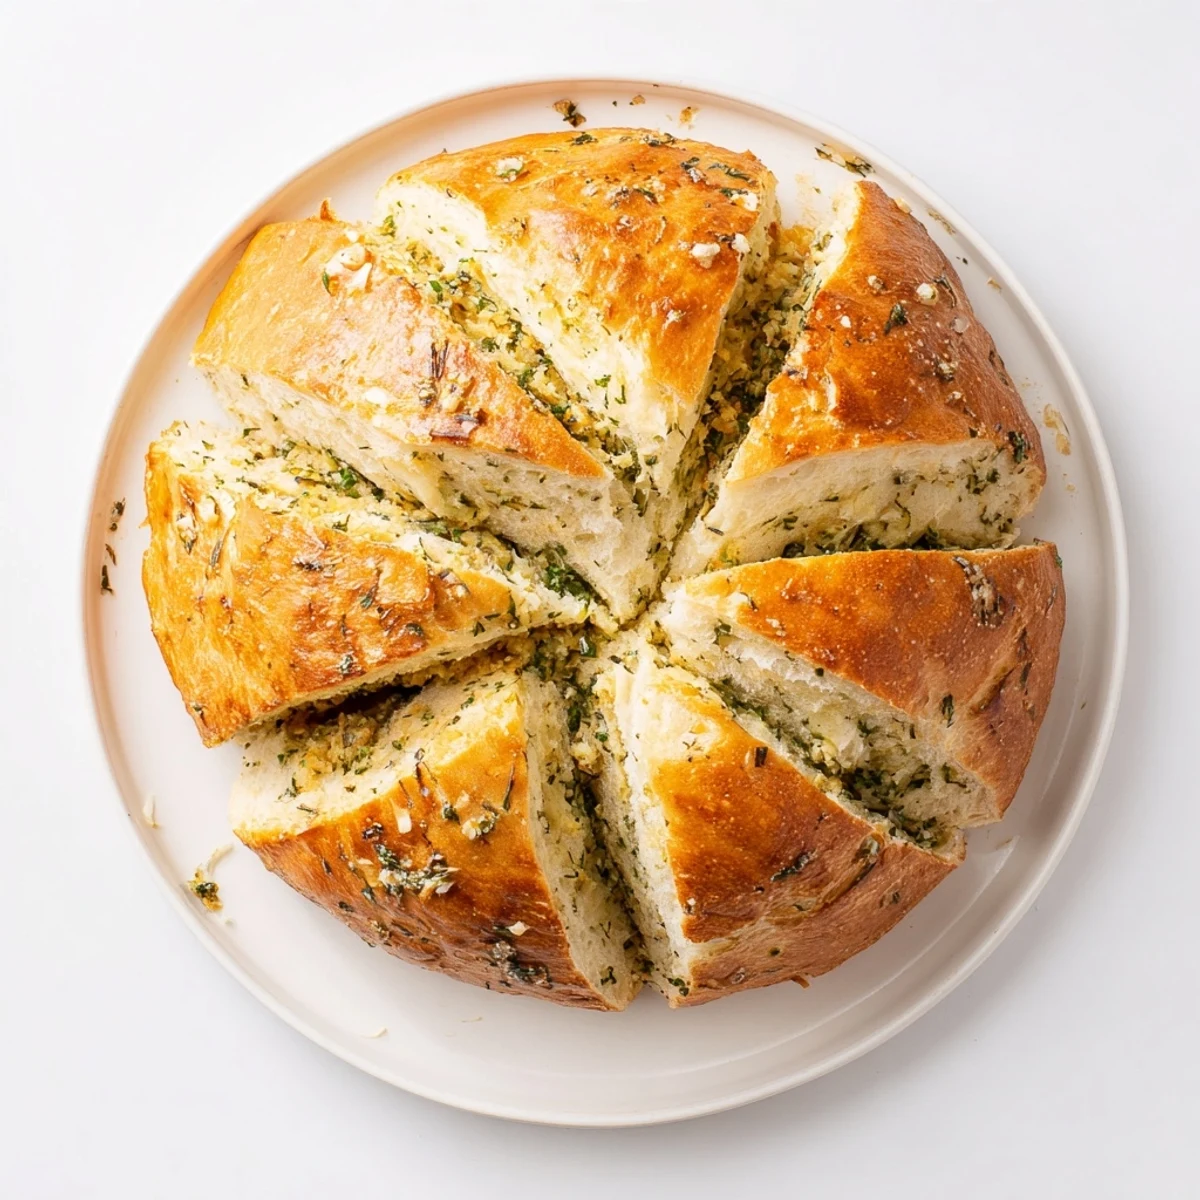
- Cover with the lid and bake for 30 minutes then remove the lid and bake for another 15 to 20 minutes until the crust is deep golden brown
- Finish with butter:
- Remove the bread from the Dutch oven brush immediately with melted butter and sprinkle with extra fresh herbs
 Save
Save My grandmother used to say that bread making is about patience and this recipe proved her right. Now whenever I need a thoughtful housewarming gift or just want to make a regular Tuesday dinner feel special this is what I make.
Choosing Your Herbs
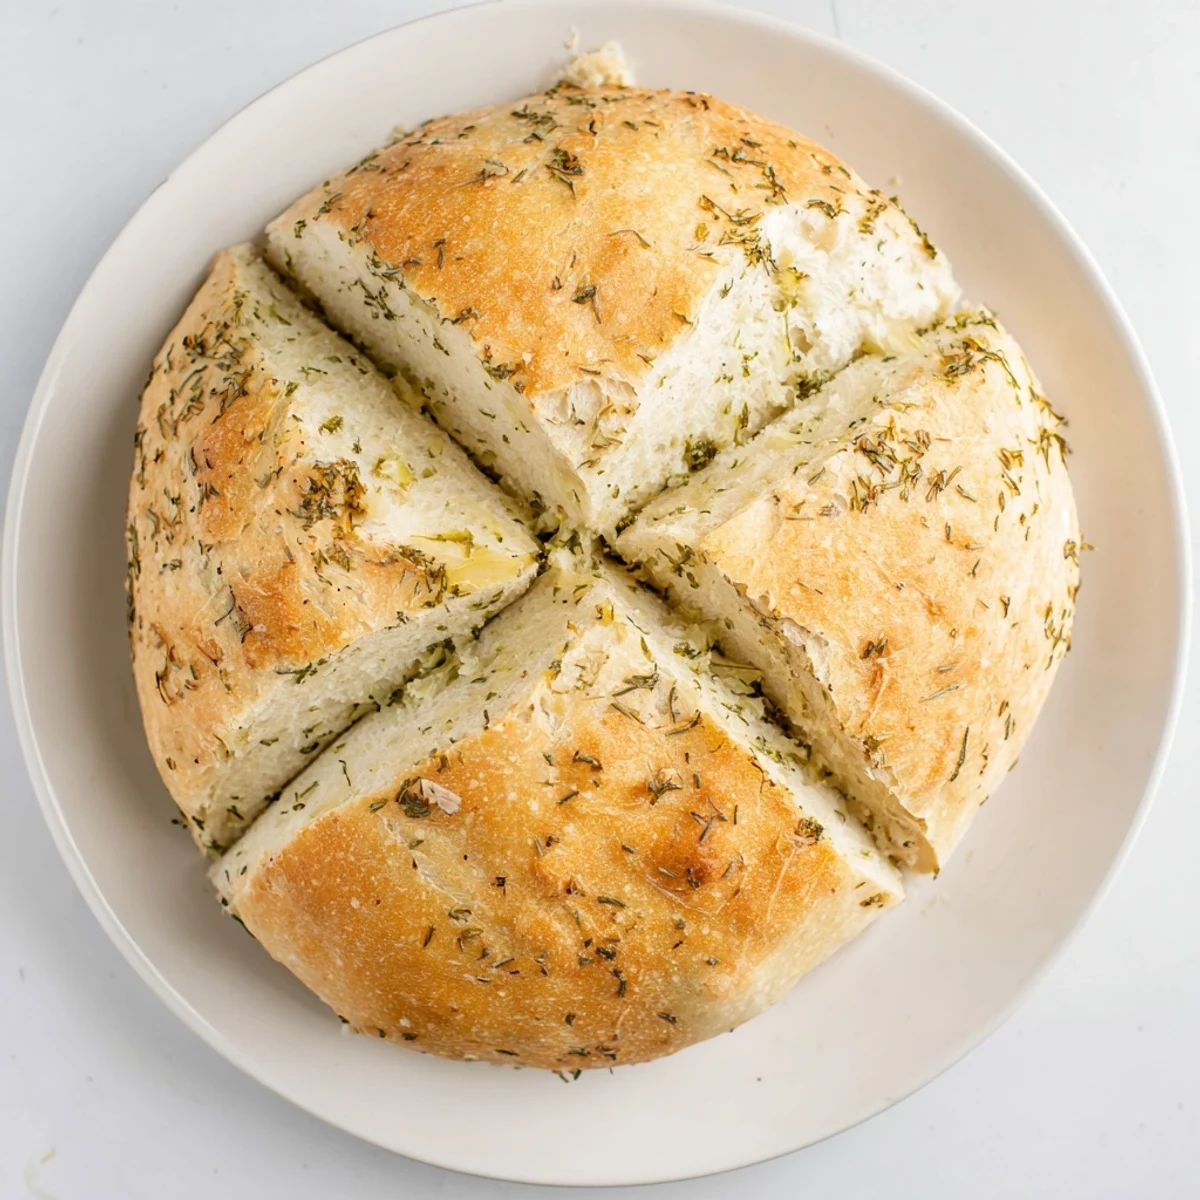
Fresh herbs make all the difference here because their oils release during baking creating pockets of intense flavor. If you only have dried herbs on hand use about one third of the amount since dried herbs are more concentrated.
Making It Your Own
This is the kind of recipe that welcomes experimentation. Try adding sun dried tomatoes or swap the butter for garlic infused olive oil at the end for an even more intense flavor profile.
Storage and Serving Suggestions
This bread is best eaten the day it is baked but it will keep for a couple of days wrapped in a kitchen towel or paper bag. Avoid plastic bags which will make the crust soft and soggy.
- Warm leftover slices in the oven for 5 minutes to revive the crust
- Use slightly stale bread to make the most incredible garlic bread or croutons
- Freeze slices individually wrapped for quick toast emergencies
 Save
Save There is something deeply satisfying about making your own bread and this recipe makes it feel effortless. I hope it becomes a staple in your kitchen like it has in mine.
Recipe FAQs
- → Can I use dried herbs instead of fresh?
-
Yes, substitute dried herbs using one teaspoon of each instead of the tablespoon measurements for fresh. Add them directly to the dry ingredients along with the flour.
- → Why use a Dutch oven for bread?
-
A Dutch oven traps steam during baking, which creates the thick, crispy crust and soft interior typical of artisan loaves. The enclosed environment mimics professional steam-injected ovens.
- → How do I know when the bread is done?
-
The crust should be deep golden brown, and the loaf should sound hollow when tapped on the bottom. An instant thermometer inserted into the center should read 200°F.
- → Can I freeze this bread?
-
Yes, cool completely then wrap tightly in plastic and foil. Freeze for up to 3 months. Thaw at room temperature and refresh in a 350°F oven for 10 minutes for best results.
- → What size Dutch oven do I need?
-
A 4 to 6 quart Dutch oven works perfectly. The key is having enough room for the dough to expand without touching the lid during the initial covered baking phase.