 Save
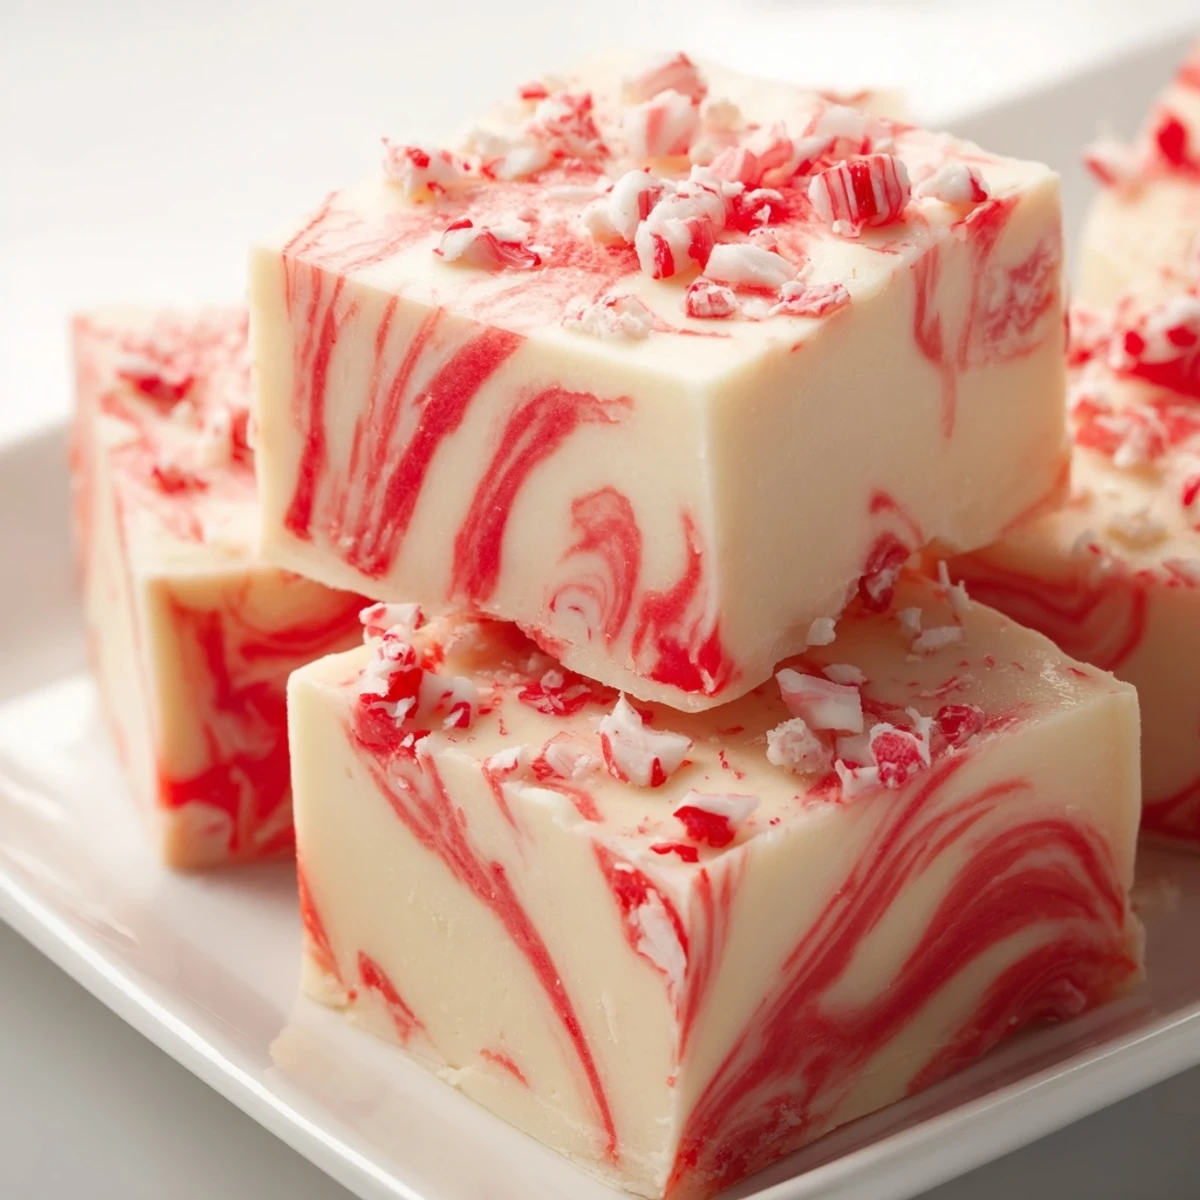
Save Create this stunning peppermint swirl fudge by melting white chocolate with sweetened condensed milk and butter, then dividing the mixture. Add red food coloring to half and swirl over the white base for a beautiful marbled effect. Top with crushed candy canes and chill until set.
This no-fuss confection comes together in just 25 minutes of active time and yields 25 squares. The rich, creamy texture pairs perfectly with the refreshing peppermint flavor, making it ideal for winter gatherings and holiday dessert tables.
The kitchen still smells like peppermint magic. I first attempted this fudge during a particularly chaotic December, trying to find something impressive yet manageable for a last-minute neighborhood gathering. When those swirling ribbons of red and white came together, I felt like I'd actually pulled off something elegant despite the flour everywhere and my cat batting at the parchment paper corners.
My sister-in-law took one bite and immediately asked for the recipe, which is basically the highest compliment possible in my family. We stood around the kitchen island eating slightly uneven pieces while I explained the swirling technique, and honestly those imperfect squares tasted better than anything I'd carefully plated before. Now it's the one treat I'm explicitly asked to bring to every winter gathering.
Ingredients
- 2 cups white chocolate chips: The smooth melting quality here is everything—cheaper brands can seize up and leave you with a grainy texture that ruins the whole experience
- 1 can sweetened condensed milk: This creates that impossibly creamy fudge texture without requiring a candy thermometer or any temperature precision
- 2 tbsp unsalted butter: Adds just enough richness to help the fudge set properly while keeping it silky rather than sticky
- ½ tsp peppermint extract: This amount gives a clear mint flavor without overwhelming the chocolate—going heavier makes it taste like toothpaste
- Red gel food coloring: Gel coloring keeps the fudge from becoming watery like liquid food dyes do, and you need much less to achieve that deep holiday red
- ¼ cup crushed candy canes: Press these in gently while the fudge is still warm so they adhere without sinking completely into the mixture
Instructions
- Prep your pan like you mean it:
- Line that 8x8-inch pan with parchment paper, letting the edges hang over like little handles because you will thank yourself later when lifting the whole slab out becomes effortless
- Melt everything together slowly:
- Dump the white chocolate chips, sweetened condensed milk, and butter into your saucepan over the lowest heat setting your stove offers, stirring constantly and patiently until it transforms into a glossy, smooth mixture that pulls away from the sides slightly
- Infuse with peppermint:
- Pull the pan from the heat immediately when smooth and stir in that peppermint extract, breathing in the aromatic cloud that rises up—it'll remind you instantly why this flavor screams holidays
- Create the white foundation:
- Pour about three-quarters of your mixture into the prepared pan, spreading it into an even layer with your spatula while working relatively quickly since the fudge starts setting up fast
- Make the red swirl:
- Add several drops of gel food coloring to the remaining mixture in the pan, stirring until you've got a consistent deep red that contrasts beautifully against the white base
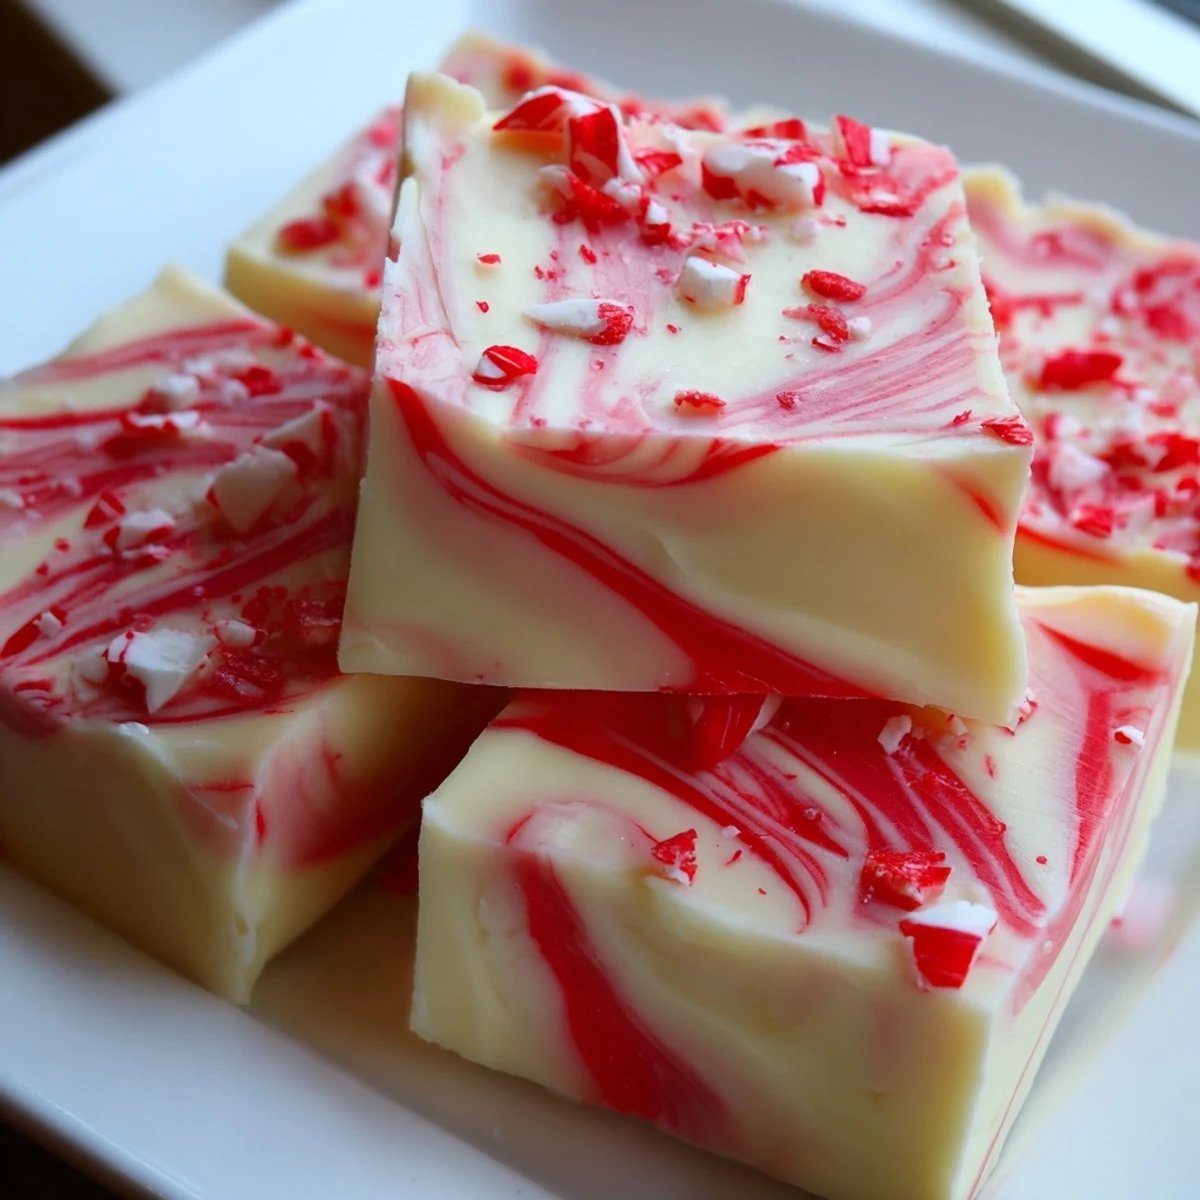
- Swirl like an artist:
- Drop spoonfuls of the red mixture randomly across the white layer, then drag a knife through both colors in a figure-eight or zigzag pattern, being careful not to over-swirl or you'll end up with pink fudge instead of those gorgeous ribbons
- Add the candy crunch:
- Sprinkle your crushed candy canes across the surface and press them in gently with your fingers, ensuring they stick without disappearing completely into the fudge
 Save
Save Last Christmas Eve, my niece sat on the counter watching me make this, absolutely mesmerized by the swirling process. She declared it looked like a peppermint galaxy and promptly asked if we could make red and green swirls for next year, and honestly her creativity has me brainstorming all sorts of color combinations now.
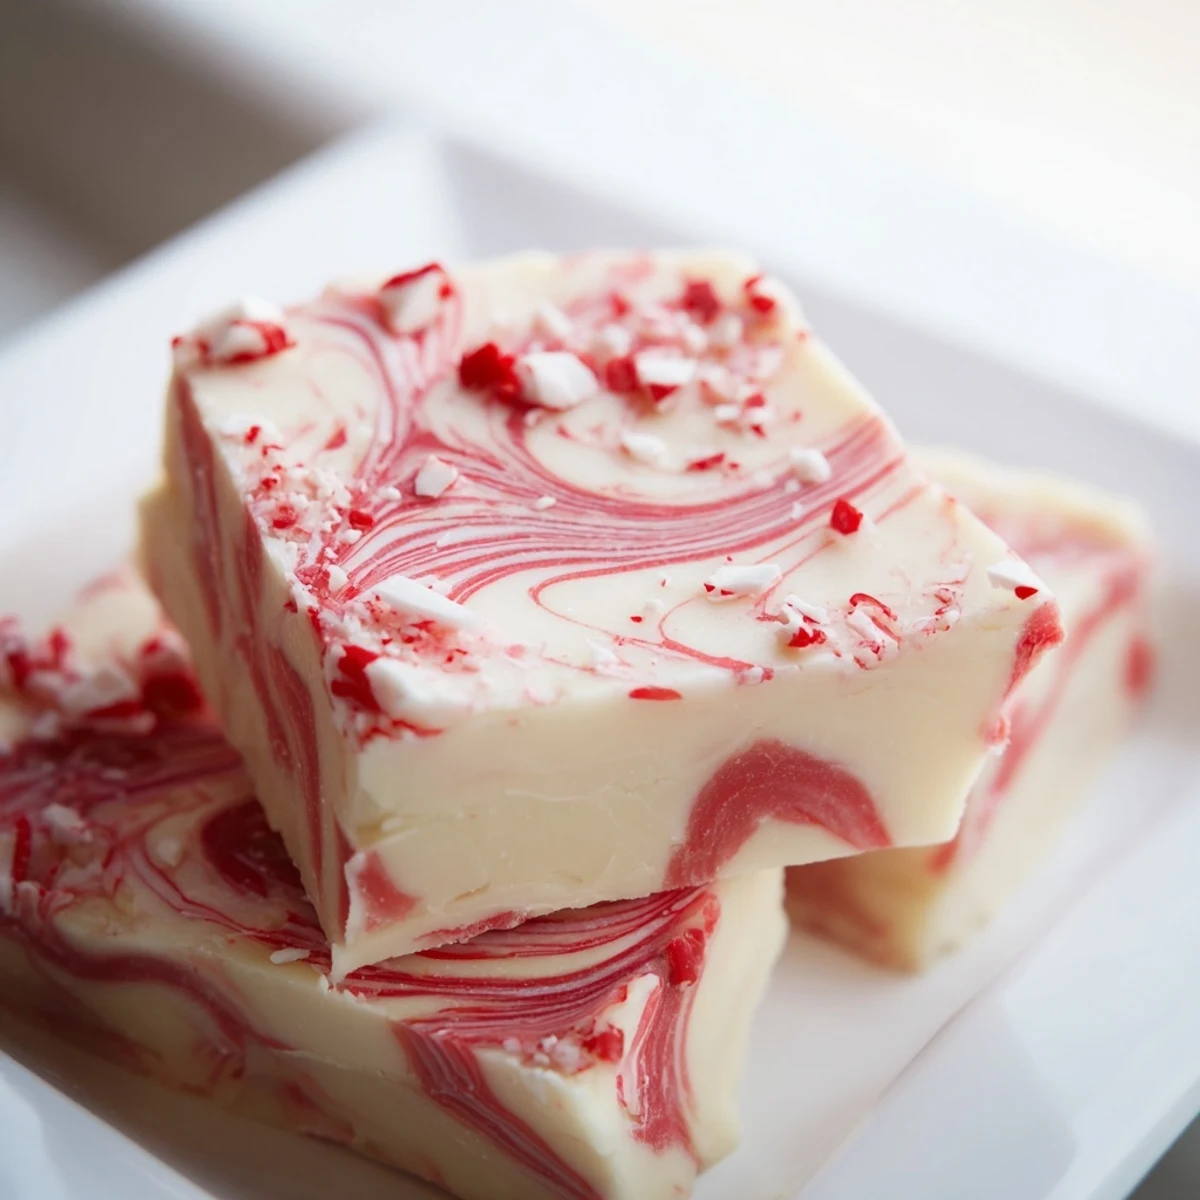
The Art of the Perfect Swirl
After years of making swirl desserts, I've learned that less movement creates more dramatic patterns. Over-swilling is the most common mistake—you want distinct ribbons of color running through the white base, not a uniform pink or tan mixture. I usually make about three or four passes with my knife and then force myself to step away, no matter how tempted I am to keep playing with it.
Chocolate Selection Matters More Than You Think
I accidentally grabbed a store-brand white chocolate once and the fudge never set properly, staying weirdly soft and greasy. Good quality white chocolate chips have a higher cocoa butter content that melts beautifully and firms up correctly. The difference in the final texture is honestly staggering—it's worth spending the extra two dollars on the name-brand chips.
Timing and Temperature Secrets
Your fudge needs to be warm enough to swirl but cool enough to hold those distinct lines—if the red mixture spreads out immediately like water, you're working too fast. I've found that letting the white layer sit for about 30 seconds before adding the red gives it just enough body to maintain those gorgeous marble patterns. Room temperature fudge cuts much more cleanly than cold fudge straight from the fridge, so let it sit out for 10 minutes before slicing.
- A warm knife under hot water gives you the cleanest cuts through the sticky candy pieces
- Press your candy cane decorations into the fudge within the first minute or they'll just sit on top
- Wrap individual pieces in parchment paper if you're gifting them—they won't stick together that way
 Save
Save This recipe turned me from someone who was intimidated by candy making into someone who actually looks forward to pulling out the saucepan every December. There's something deeply satisfying about creating something so beautiful and delicious with such humble ingredients.
Recipe FAQs
- → How long does peppermint fudge need to chill?
-
Refrigerate for at least 2 hours until fully set. For best results, let it chill overnight before cutting.
- → Can I use milk chocolate instead of white chocolate?
-
Yes, substitute with milk or dark chocolate chips. Keep in mind that darker chocolate will alter the visual contrast of the swirl pattern.
- → How should I store the finished fudge?
-
Keep in an airtight container in the refrigerator for up to 2 weeks. Place parchment paper between layers to prevent sticking.
- → What's the difference between peppermint extract and oil?
-
Peppermint oil is more concentrated than extract. If using oil, reduce the quantity to about 1/8 teaspoon to avoid overpowering the chocolate.
- → Can I make this ahead for holiday gifts?
-
Absolutely. This fudge freezes well for up to 3 months. Wrap tightly in plastic and foil, then thaw in the refrigerator before gifting.
- → Why use gel food coloring instead of liquid?
-
Gel coloring provides vibrant red color without adding excess liquid that could affect the fudge's texture and setting time.