 Save
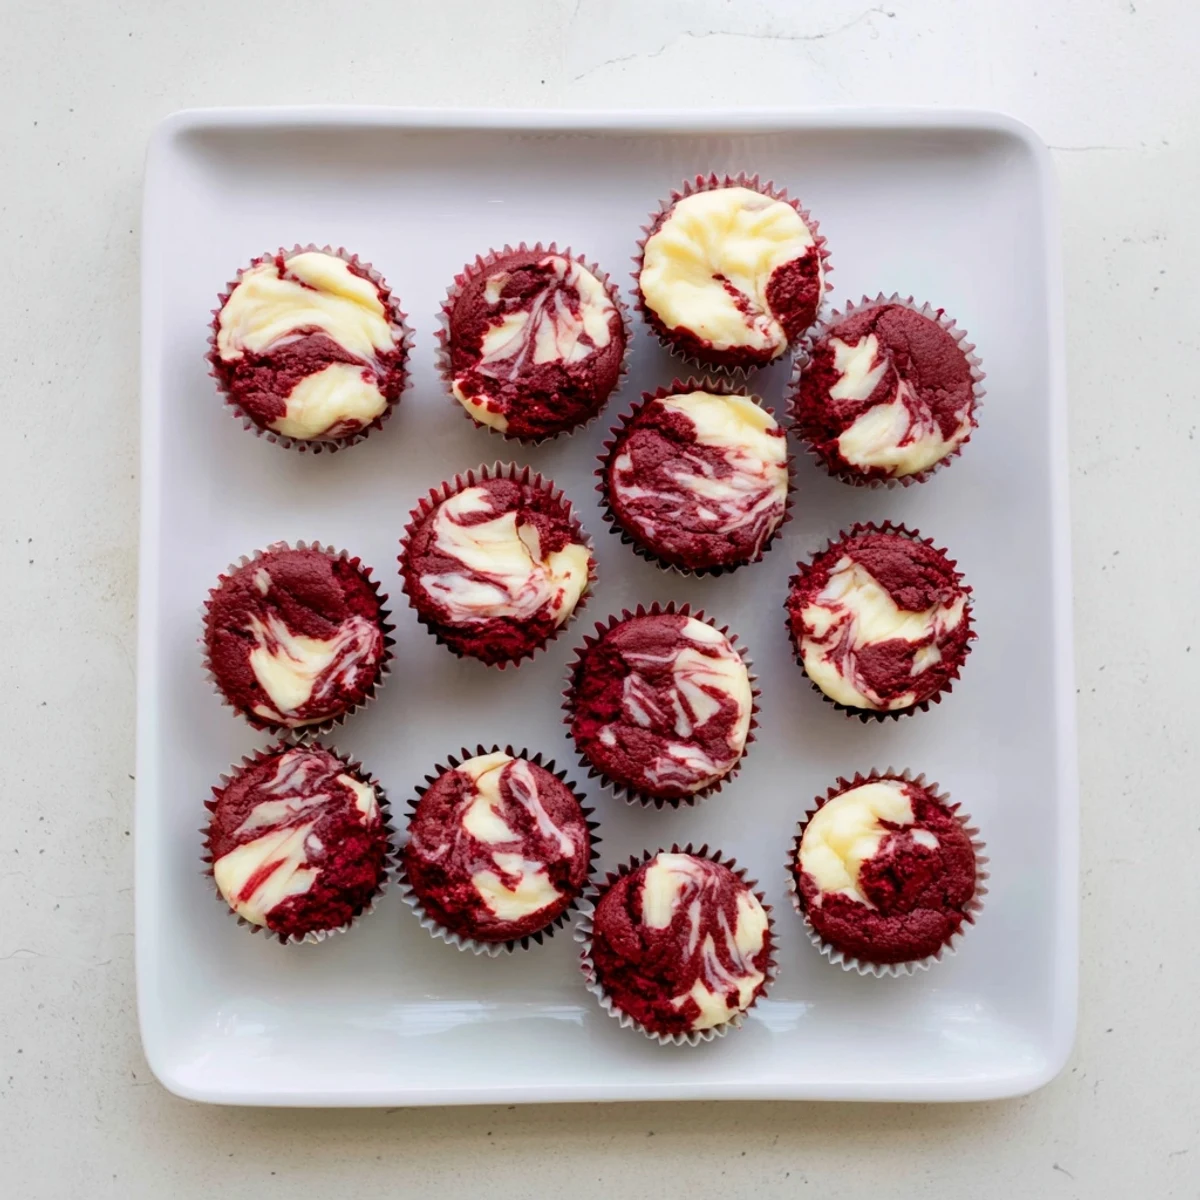
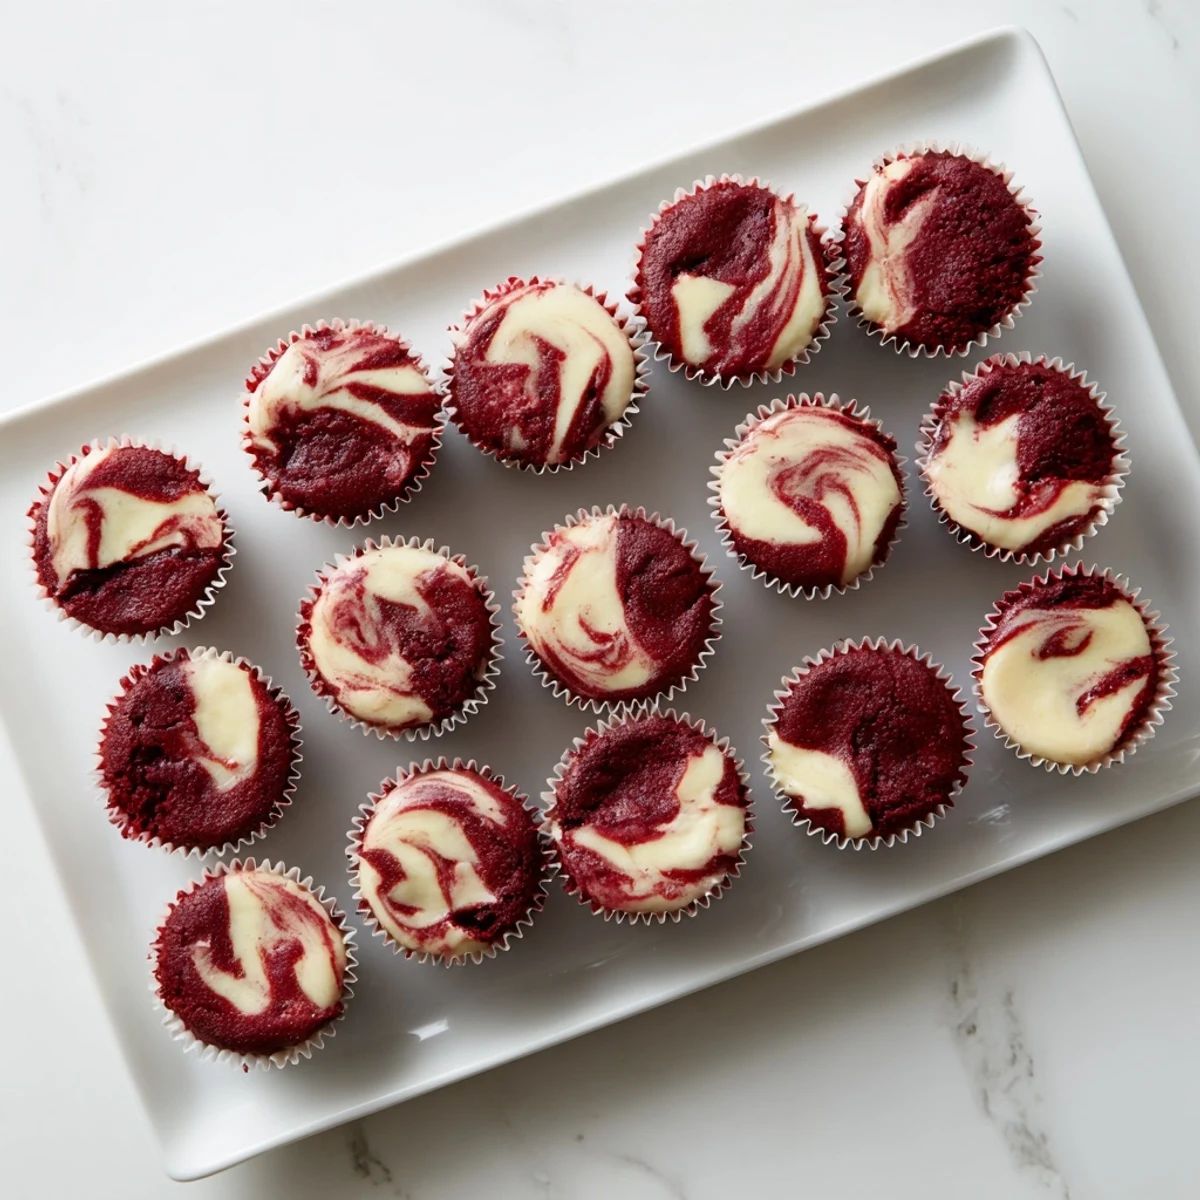
Save These decadent red velvet brownie bites combine rich chocolate flavor with a tangy cream cheese swirl. The fudgy texture comes from the perfect balance of butter, cocoa powder, and just enough flour. Each bite-sized treat features a beautiful marbled pattern that makes them eye-catching for parties and gatherings.
The preparation is straightforward: mix the vibrant red batter, prepare the smooth cream cheese topping, layer them in mini muffin cups, and swirl together with a toothpick. The result is 24 perfectly portioned treats that balance sweet and tangy flavors.
Baking takes just 25 minutes in a 350°F oven. The centers should be set with moist crumbs for optimal fudginess. Let them cool completely before serving—the cream cheese layer firms up beautifully in the refrigerator.
The first time I made red velvet anything, I accidentally dyed my kitchen counter bright pink. My husband walked in, took one look at the crime scene, and asked if we were opening a bakery. Those brownie bites though—they disappeared so fast at that party that nobody cared about the stained grout.
I brought a batch to my book club last winter, and one friend actually asked if I'd bought them from a fancy bakery downtown. Watching her face when I admitted they came from my oven at 11 PM the night before—priceless. Now they're the most requested treat at every gathering.
Ingredients
- 1/2 cup unsalted butter, melted: Melt it gently so it's warm but not hot, which helps it blend smoothly with the sugar without cooking the egg
- 3/4 cup granulated sugar: This creates the perfect crackly top on the brownies while keeping the inside fudgy
- 1 large egg: Room temperature eggs incorporate better and prevent the batter from seizing up
- 1 tsp vanilla extract: Don't skimp here—pure vanilla makes all the difference in that classic red velvet flavor
- 1 tbsp red food coloring: Gel coloring gives you that vibrant red without adding extra liquid to the batter
- 1/2 cup all-purpose flour: Sift it first to avoid any lumps in your smooth brownie batter
- 2 tbsp unsweetened cocoa powder: Just enough for that subtle chocolate undertone red velvet is known for
- 1/4 tsp salt: Balances the sweetness and makes all the flavors pop
- 4 oz cream cheese, softened: Leave it out for at least an hour so it blends into a silky smooth swirl
- 2 tbsp granulated sugar: Sweetens the cream cheese just enough without making it cloying
- 1 egg yolk: Adds richness and helps the cream cheese swirl set perfectly in the oven
- 1/4 tsp vanilla extract: A little extra vanilla in the swirl creates those lovely flavor layers
Instructions
- Get your oven ready:
- Preheat to 350°F and line a 24-cup mini muffin tin with paper liners. The liners make these so easy to pop out and serve.
- Whisk the wet ingredients:
- In a medium bowl, combine melted butter and sugar until smooth. Stir in the egg, vanilla, and red food coloring until the mixture turns that gorgeous deep red.
- Add the dry ingredients:
- Sift in flour, cocoa powder, and salt. Fold gently until just combined—overmixing makes tough brownies, and nobody wants that.
- Make the cream cheese swirl:
- Beat softened cream cheese with sugar, egg yolk, and vanilla until silky smooth. It should be thick but spreadable, like soft frosting.
- Fill the muffin cups:
- Spoon about one tablespoon of brownie batter into each cup. Top with a teaspoon of cream cheese mixture—don't worry if it's not pretty yet.
- Create the marble effect:
- Take a toothpick and gently swirl the cream cheese into the red batter. Just two or three figure eights per bite creates those beautiful streaks.
- Bake to perfection:
- Bake for 23 to 25 minutes until centers are set. A toothpick should come out with moist crumbs, not wet batter.
- Cool completely:
- Let them rest in the pan for 10 minutes, then move to a wire rack. They're easier to handle when slightly cool and the flavors settle beautifully.
 Save
Save My daughter insisted on helping swirl the cream cheese last Christmas. Her technique was more enthusiastic than precise, but you know what? Those messy, chaotic swirls were somehow the most beautiful batch we've ever made. Sometimes the imperfect ones taste best.
Getting That Perfect Swirl
The trick is not to overthink it. Dip your toothpick in about halfway down and make just one or two gentle figure eights. I used to obsess over creating perfect patterns until I realized the beauty is in the randomness—each bite ends up looking like a tiny edible painting.
Make-Ahead Magic
These freeze beautifully if you want to get ahead for parties. I bake them, cool completely, then layer them in an airtight container with parchment paper between. They thaw in about 20 minutes and taste just as fresh as day one. Game changer for holiday hosting.
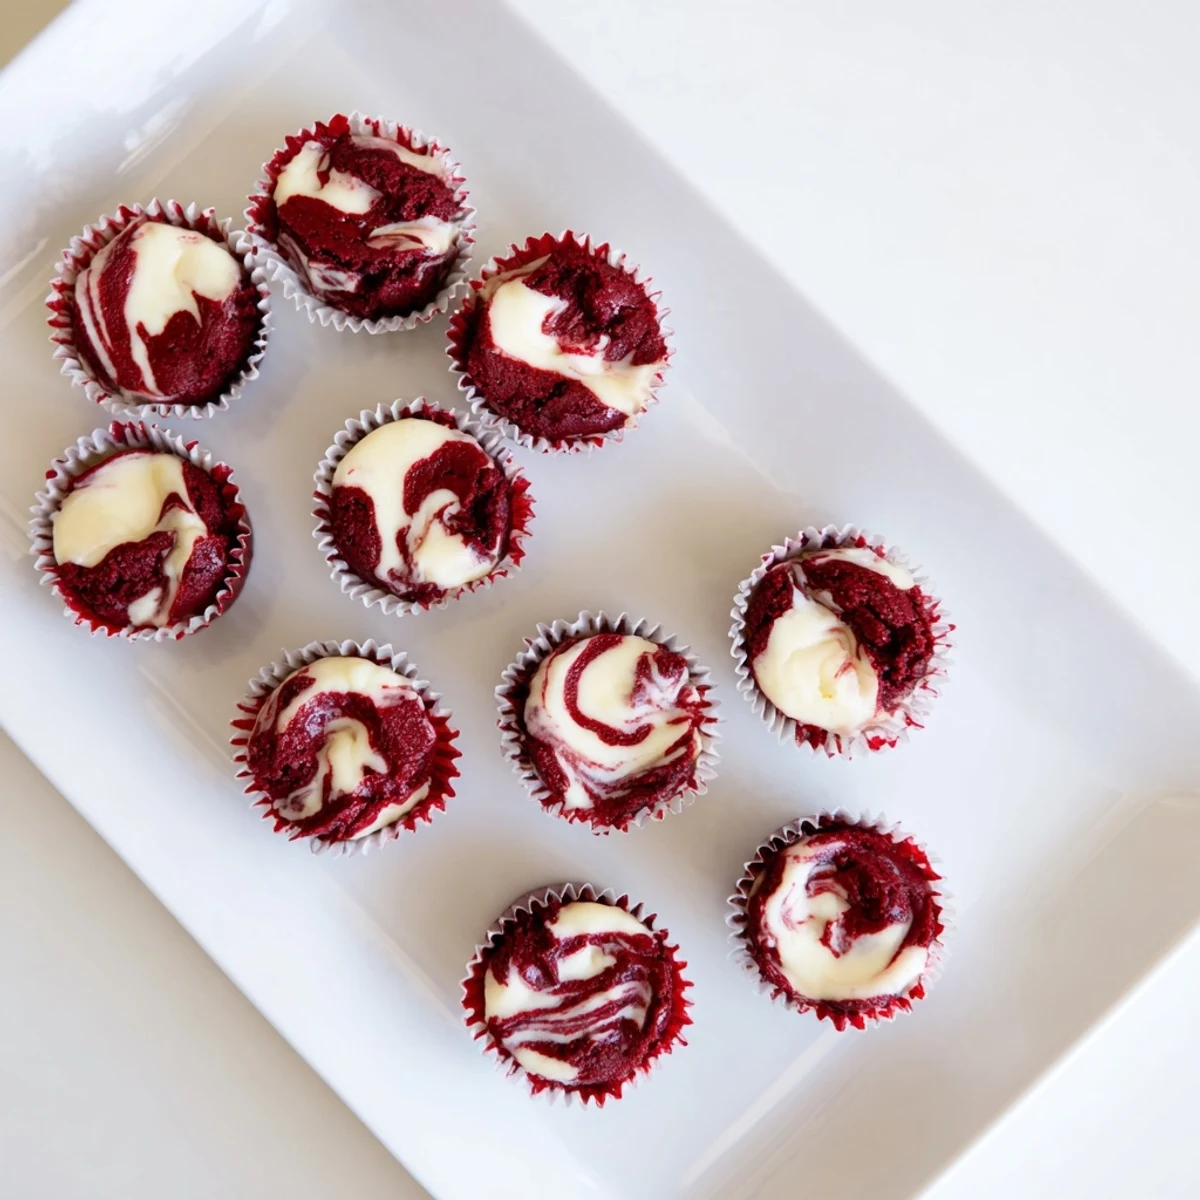
Serving Suggestions
I love arranging these on a white cake stand—the red really pops against white serving pieces. They're perfect for dessert tables because guests can just grab and go.
- Dust with powdered sugar right before serving for a snow-dusted effect
- Top each bite with a tiny chocolate heart for Valentine's Day
- Serve alongside vanilla ice cream for an easy dessert duo
 Save
Save There's something about these red velvet bites that makes any occasion feel a little more special. Hope they bring some bright moments to your kitchen too.
Recipe FAQs
- → How do I know when the brownie bites are done baking?
-
Insert a toothpick into the center of a brownie bite. It should come out with a few moist crumbs but not wet batter. The tops should be set and the cream cheese swirl should look slightly golden around the edges.
- → Can I make these ahead of time?
-
Yes, these brownie bites store beautifully in an airtight container in the refrigerator for up to 4 days. The cream cheese swirl actually firms up and the flavors develop more after chilling. Bring to room temperature before serving for the best texture.
- → What's the best way to achieve the marbled swirl effect?
-
Add a small dollop of cream cheese mixture on top of each brownie cup, then gently drag a toothpick through both layers in a circular motion or back-and-forth pattern. Don't over-swirl or the colors will muddy together.
- → Can I use natural food coloring instead of red dye?
-
Beet juice or pomegranate juice can work for a lighter red hue, but traditional red velvet relies on red food coloring for that vibrant signature color. Gel coloring produces the most intense red shade with less liquid.
- → Why is there cocoa powder but no melted chocolate in the batter?
-
Cocoa powder provides concentrated chocolate flavor without adding extra fat or changing the texture. Combined with butter and sugar, it creates that classic fudgy brownie texture while keeping the batter thick enough to hold the cream cheese swirl.
- → Can I freeze these brownie bites?
-
Absolutely. Place cooled brownie bites in a single layer on a baking sheet, freeze until solid, then transfer to a freezer-safe container. They'll keep for up to 3 months. Thaw overnight in the refrigerator.