 Save
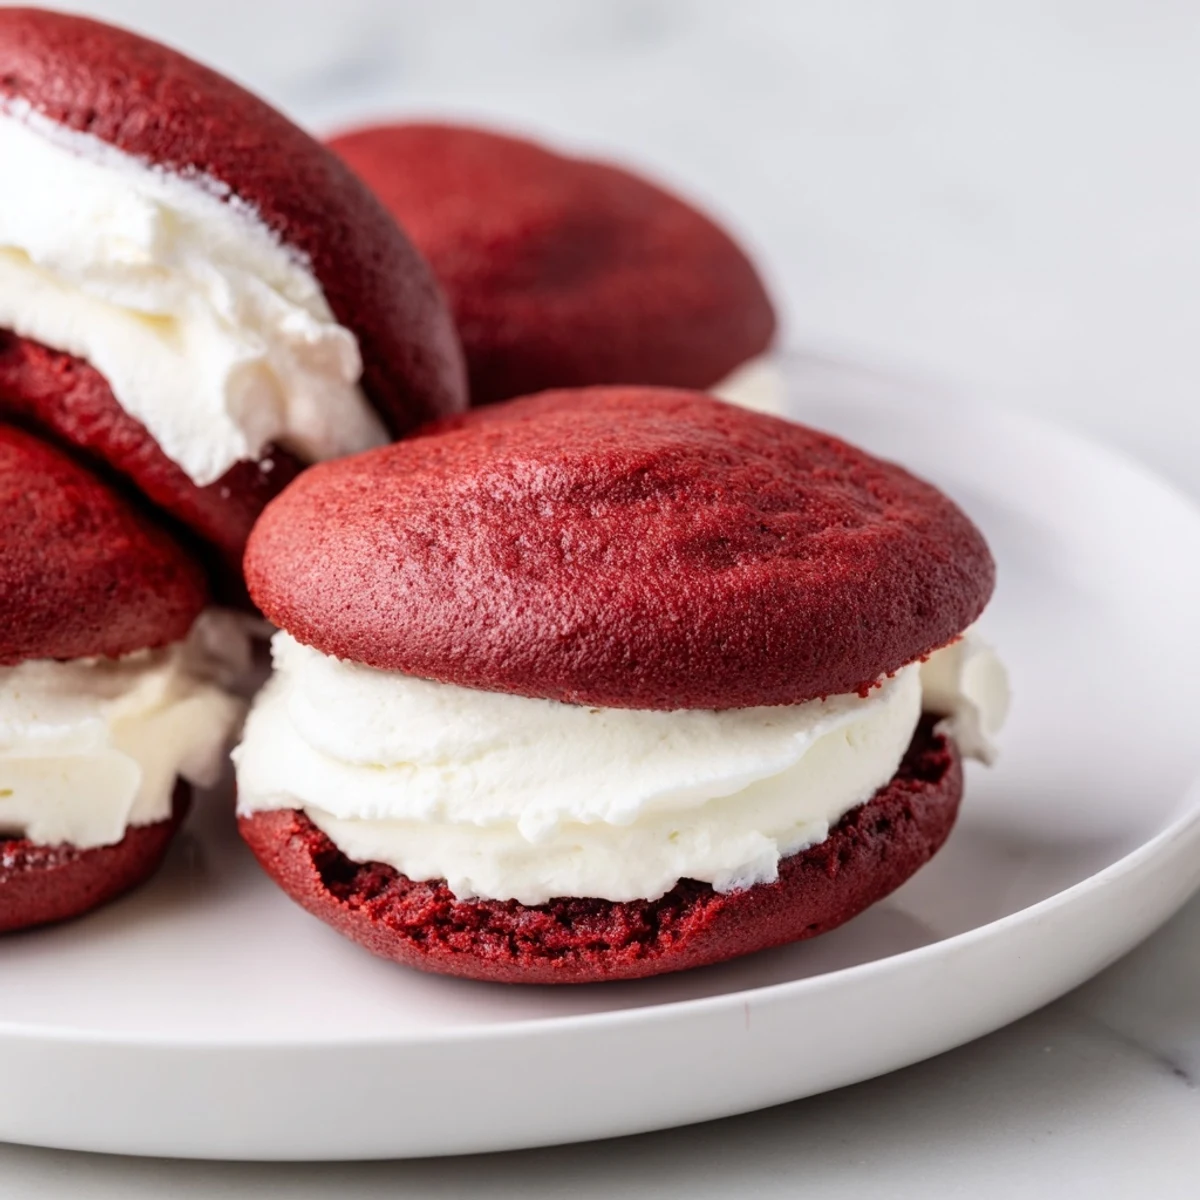
Save Discover a delightful combination of tender red velvet cookies and creamy marshmallow filling that create a soft, sweet treat. The rich red velvet dough blends cocoa and buttermilk for a moist texture, while the marshmallow cream adds fluffy sweetness. These sandwiches bake quickly to a perfect cake-like consistency, ideal for sharing or enjoying anytime. Subtle vanilla and gentle sweetness balance the flavors for a dessert that’s as visually appealing as it is delicious.
The first time I made these, my kitchen looked like a crime scene with red splatters everywhere. I was rushing to bring dessert to a friend's gathering and completely underestimated how vibrant that food coloring really is. Somehow the cookies still turned out incredible, and nobody minded the festive state of my countertops. Now I know to work slower and embrace the mess.
My sister called me at midnight last week, desperate because she'd promised red velvet treats for her office party the next morning. I walked her through these over the phone, and she texted me two hours later saying they were the best thing she'd ever baked. There's something about that combination of chocolate and vanilla that makes people genuinely happy.
Ingredients
- 2 cups all-purpose flour: The structure that holds these tender cookies together, so measure properly
- 2 tbsp unsweetened cocoa powder: Just enough for that classic red velvet chocolate undertone without overpowering
- 1/2 tsp baking soda: Gives the cookies their characteristic lift and slight dome
- 1/4 tsp salt: Balances the sweetness and brings out the chocolate notes
- 1/2 cup unsalted butter: Use softened butter for proper aeration and texture
- 1 cup granulated sugar: Creates that crackly, slightly crisp exterior while keeping centers soft
- 1 large egg: Room temperature eggs incorporate better into the batter
- 1 tsp vanilla extract: Don't skip this, it's what makes everything taste homemade
- 1/2 cup buttermilk: The secret ingredient that makes red velvet uniquely tender and tangy
- 1 tbsp red food coloring: Gel coloring works best for deep red without thinning the batter
- 1/2 cup unsalted butter for filling: Beat this really well before adding anything else
- 1 1/2 cups powdered sugar: Sift it first or your filling will have lumps
- 1 cup marshmallow creme: This creates that incredible fluffiness you can't get from butter alone
- 1 tsp vanilla extract: A second splash because vanilla is never a mistake
- Pinch of salt: Crucial for balancing the super sweet marshmallow component
Instructions
- Get your oven ready:
- Preheat to 350°F and line two baking sheets with parchment paper so nothing sticks
- Whisk the dry team:
- Combine flour, cocoa powder, baking soda, and salt in a medium bowl
- Cream the butter and sugar:
- Beat until the mixture looks pale and fluffy, about 3 minutes
- Add the egg and vanilla:
- Mix until everything is smooth and no streaks remain
- Make it red:
- Pour in the buttermilk and food coloring, mixing until the color is consistent
- Combine everything:
- Fold in the dry ingredients gently and stop as soon as you don't see flour
- Scoop and space:
- Drop rounded tablespoons onto baking sheets, leaving 2 inches between each
- Bake to perfection:
- Check at 10 minutes, they're done when they spring back when touched lightly
- Cool completely:
- Let them sit on the pans for 5 minutes, then move to a wire rack
- Make the fluff:
- Beat butter until smooth, add powdered sugar, then fold in marshmallow creme and vanilla
- Assemble your pies:
- Spread filling on half the cookies and top with the remaining ones
 Save
Save These became my go-to contribution for every family gathering after my niece announced at dinner that Auntie's red cookies were her favorite thing in the world. She's twelve now and still requests them for every birthday, even though she can finally pronounce whoopie pie correctly.
Getting The Right Texture
The difference between a dry cookie and a perfect whoopie pie is in the mixing. Once you add the dry ingredients, fold everything together by hand and stop immediately when combined. Overworking develops gluten and makes them tough instead of tender.
Filling Variations
Sometimes I add softened cream cheese to the marshmallow filling for that classic red velvet tang. Other times I mix in crushed graham crackers for a s'mores situation. The base marshmallow cream is incredibly forgiving.
Make Ahead Strategy
You can bake the cookies up to two days ahead and store them in an airtight container. The filling comes together in minutes, so assemble them the morning you need them. They actually taste better after sitting overnight.
- Wrap assembled pies individually in plastic if transporting
- Keep them refrigerated if your kitchen runs warm
- Let them come to room temperature before serving for the best texture
 Save
Save There's something joyful about food that's meant to be eaten with your hands and leaves you with marshmallow mustache. These whoopie pies are basically happiness sandwiched between two cookies.
Recipe FAQs
- → What makes red velvet cookies soft and moist?
-
Ingredients like buttermilk and cocoa powder combine to create a tender crumb and moist texture in the cookies.
- → How do I achieve fluffy marshmallow filling?
-
Beat softened butter with powdered sugar before gently folding in marshmallow creme and vanilla for light, creamy filling.
- → Can these treats be stored for later?
-
Store in an airtight container at room temperature for up to two days or refrigerate to extend freshness.
- → What’s a suggested pairing for these sweet sandwiches?
-
A glass of cold milk or a cup of coffee pairs beautifully with the rich, sweet flavors.
- → How can I add texture or flair to the edges?
-
Roll the edges of the sandwiches in mini chocolate chips or sprinkles for extra texture and visual appeal.