 Save
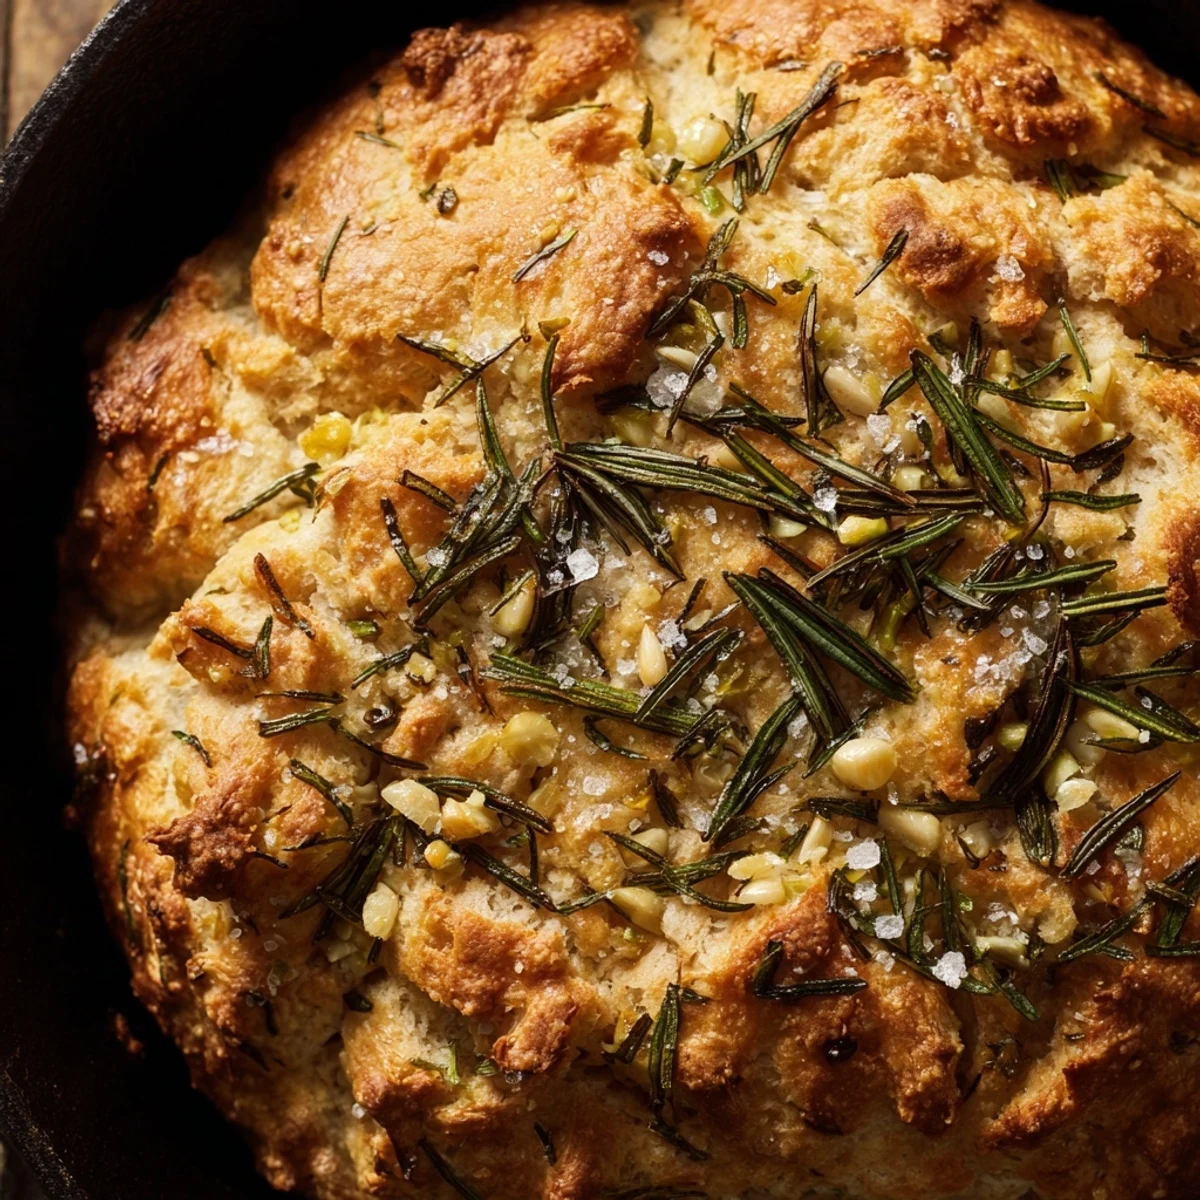
Save This artisan skillet bread delivers the perfect balance of textures—crisp golden edges giving way to a tender, chewy interior. The dough comes together with just bread flour, yeast, and salt, then transforms with generous amounts of roasted garlic and fresh rosemary kneaded throughout.
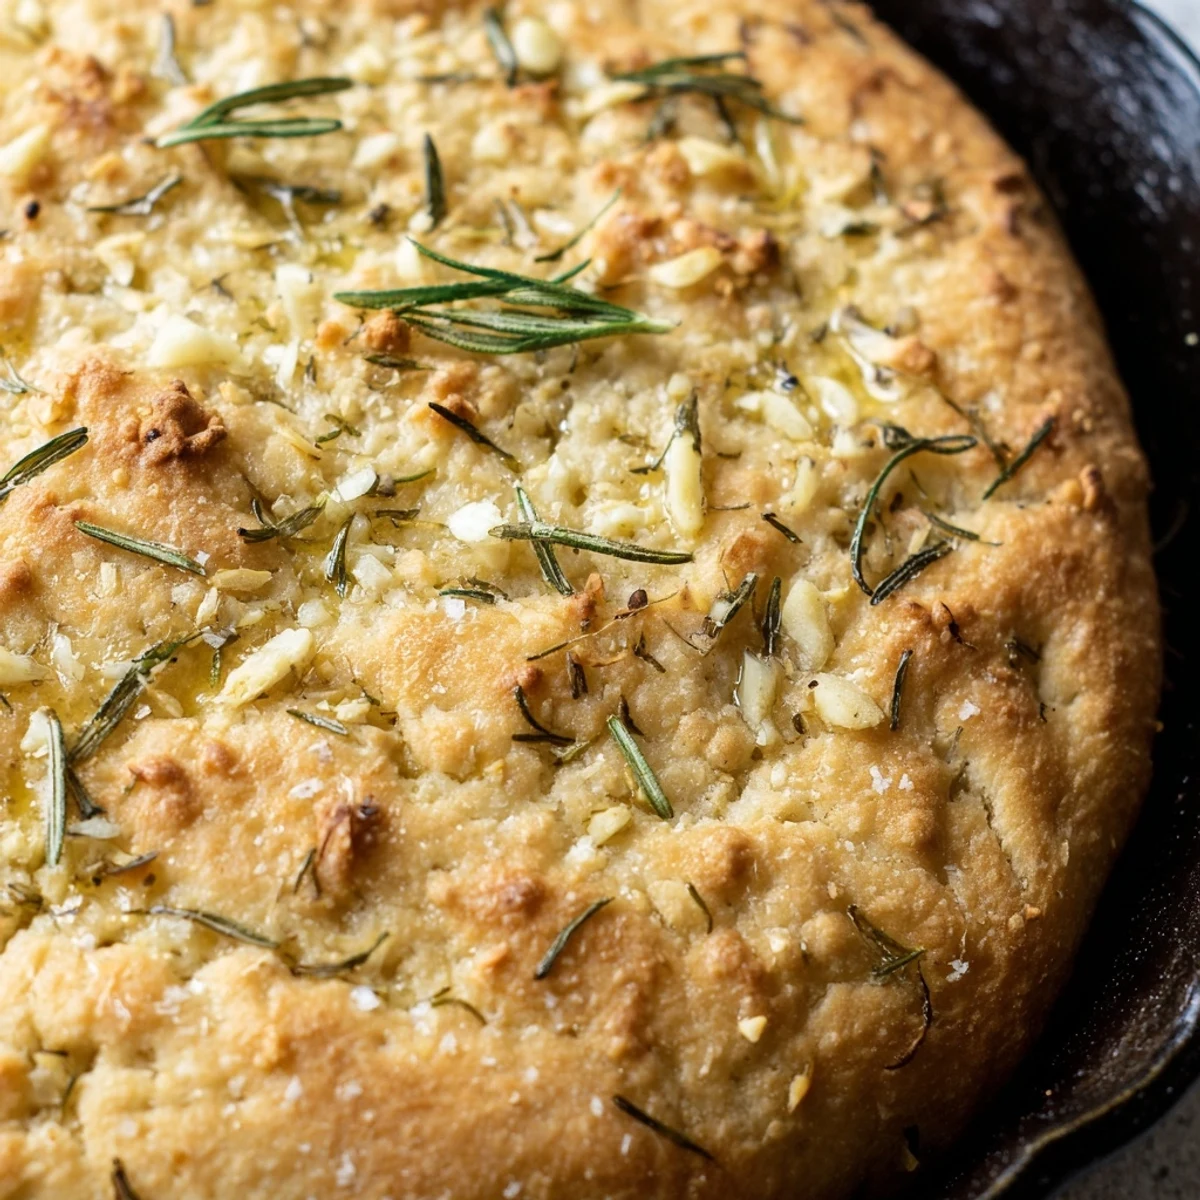
Baked in a cast iron skillet at high heat, the bottom develops a beautiful crust while the top stays tender. A final brush of olive oil and sprinkle of flaky sea salt creates an irresistible finish. After a simple two-hour rise with minimal hands-on time, you'll have eight slices of warm, fragrant bread perfect for mopping up soups, stews, or just enjoying with olive oil for dipping.
The way this bread fills my kitchen with that garlic-rosemary perfume makes the whole house feel like an Italian grandmother's home. My apartment has paper-thin walls, and I swear I've gotten neighbor knocks just asking what on earth I'm baking. Something about the combination makes people instantly hungry and curious.
Last winter during that terrible week when everyone seemed to be getting sick, I made three loaves back-to-back just to keep something comforting in the house. My friend dropped by unexpectedly, sat at my counter, and we ate nearly an entire warm loaf with just olive oil for dipping. Neither of us said much, but the bread did all the talking.
Ingredients
- Bread flour (3 cups): The higher protein content creates structure that supports all those gorgeous air pockets and chewy texture we're after
- Active dry yeast (2 1/4 tsp): Standard one packet amount gives reliable rise without overproofing or weird aftertaste
- Warm water (1 1/4 cups): Think bath temperature, about 105°F, anything hotter kills yeast stone cold dead
- Salt (1 1/2 tsp): Don't even think about reducing this—salt controls fermentation and actually develops flavor, not just saltiness
- Olive oil (3 tbsp total): Two tablespoons get folded into the dough, one more brushes the top for that gorgeous golden finish
- Fresh rosemary (2 tbsp): Fresh needles release way more oils than dried, giving you that piney fragrance throughout the crumb
- Garlic (4 cloves): Raw garlic mellows beautifully during baking, becoming sweet and aromatic rather than sharp
- Flaky sea salt (1/2 tsp): The finishing touch that creates those salty little bursts against the tender bread
Instructions
- Wake up the yeast:
- Whisk warm water and yeast in a large bowl, then walk away for 5 minutes until you see a foamy layer across the top.
- Build the dough:
- Add flour and salt, mixing until it forms a shaggy messy ball, then knead for 5-7 minutes until smooth and slightly tacky.
- Add the aromatics:
- Drizzle in one tablespoon olive oil, rosemary, and garlic, then knead just until everything's evenly distributed throughout.
- First rise:
- Place dough in a greased bowl, cover with a damp towel, and let it hang out somewhere warm for an hour until doubled.
- Shape for the skillet:
- Generously oil your 10-inch oven-safe skillet, press the dough in gently to the edges, cover, and let rise another 25-30 minutes.
- Get it oven-ready:
- Preheat to 425°F, brush the top with remaining olive oil, and scatter that flaky salt like you're seasoning something precious.
- Bake until golden:
- Slide it into the oven for 30-35 minutes until the top is burnished gold and the bottom sounds hollow when tapped.
- Rest before slicing:
- Let it cool just enough to handle, then cut into wedges while still warm enough to melt butter on contact.
 Save
Save This bread has become my go-to when someone says they had a rough day. Something about tearing off warm pieces with your hands feels more grounding than slicing with a knife.
Making It Your Own
Sometimes I swap in thyme or sage depending on what's growing or what I scored at the market. The garlic stays non-negotiable for me, but I've seen people add sun-dried tomatoes or even caramelized onions with great success.
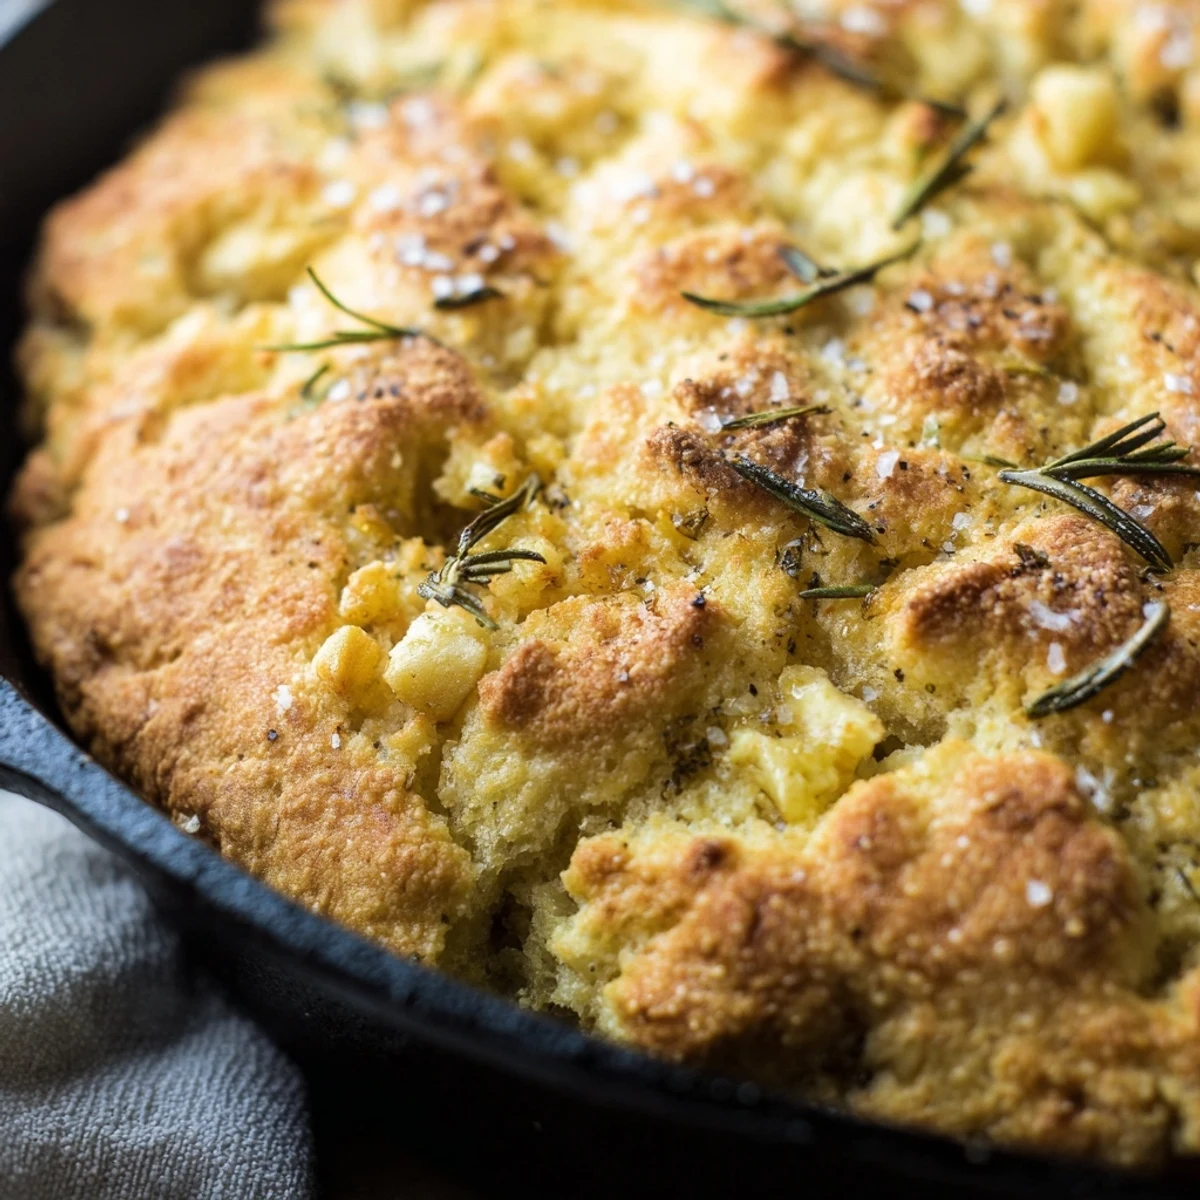
The Art of the Skillet
Cast iron creates this incredible bottom crust that's simultaneously crunchy and chewy. If you don't have one, any oven-safe skillet works, but the iron version gives you that professional-looking golden underside.
Serving Ideas That Work
I love setting this out with a bowl of good olive oil for dipping, but honestly it disappears just as fast plain. The bread's perfect alongside soups, salads, or just as the centerpiece of a casual appetizer spread.
- Tear pieces directly at the table for maximum rustic vibes
- Try rubbing a raw garlic clove over the warm crust right after baking
- Leftovers make excellent croutons or panzanella the next day
 Save
Save There's something incredibly satisfying about pulling a skillet of bubbling golden bread from your own oven. Hope this recipe finds its way into your regular rotation.
Recipe FAQs
- → Why use a cast iron skillet for this bread?
-
The cast iron skillet creates excellent heat distribution, giving the bottom a crispy, golden crust while keeping the interior tender and chewy. The heavy conductive material mimics a professional bread oven, resulting in that perfect rustic texture and appearance.
- → Can I use dried rosemary instead of fresh?
-
Fresh rosemary provides the best fragrance and flavor profile, but you can substitute dried rosemary in a pinch. Use one-third the amount—about 2 teaspoons instead of 2 tablespoons. Add the dried herbs directly to the dry ingredients to help rehydrate during mixing.
- → How do I know when the dough has doubled in size?
-
Press two fingers gently into the risen dough about ½ inch deep. If the indentation remains and doesn't spring back, the dough has properly doubled. This typically takes about 1 hour in a warm, draft-free spot. You can also mark the bowl's initial dough level with tape to track the rise visually.
- → Should I roast the garlic first?
-
While the recipe calls for minced raw garlic, roasting the cloves beforehand adds a sweeter, milder depth of flavor. Simply wrap peeled cloves in foil with a drizzle of oil and roast at 400°F for 30 minutes until soft and golden. The roasted garlic mashes easily into the dough for even distribution.
- → Can I make this dairy-free?
-
This bread is naturally dairy-free as written, containing no butter, milk, or cheese. All fat comes from olive oil, making it suitable for those avoiding dairy. Just ensure your yeast brand doesn't contain dairy-derived additives, though most commercial yeasts are naturally dairy-free.
- → How should I store leftovers?
-
Wrap cooled slices tightly in plastic wrap or store in an airtight container at room temperature for up to 2 days. For longer storage, freeze individual slices in freezer bags for up to 3 months. Reheat frozen slices in a 350°F oven for 10 minutes to restore crispness.