 Save
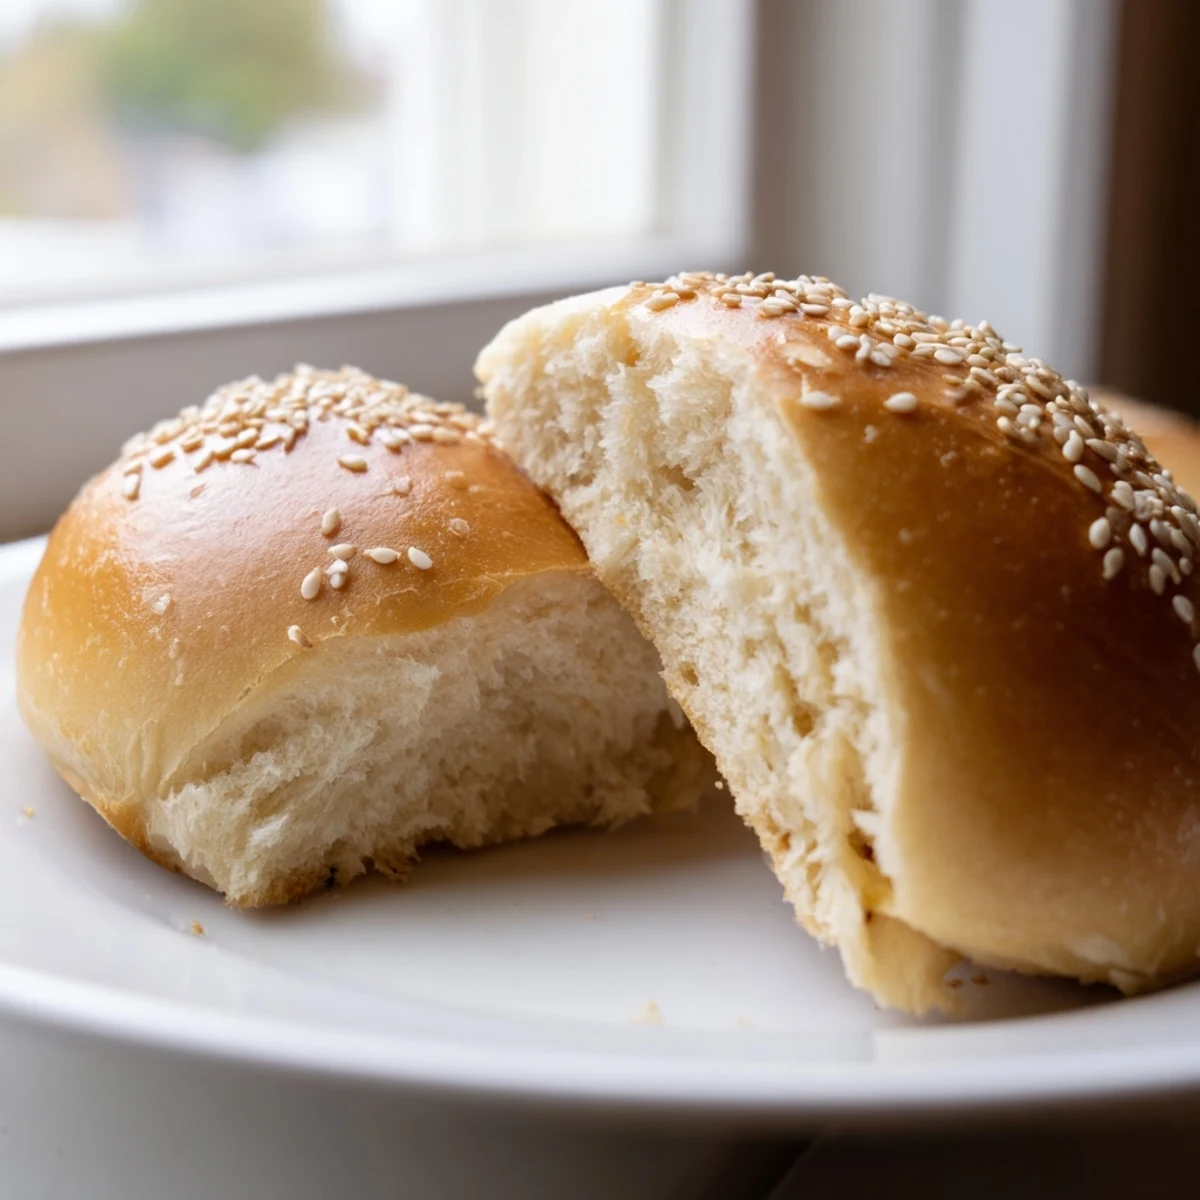
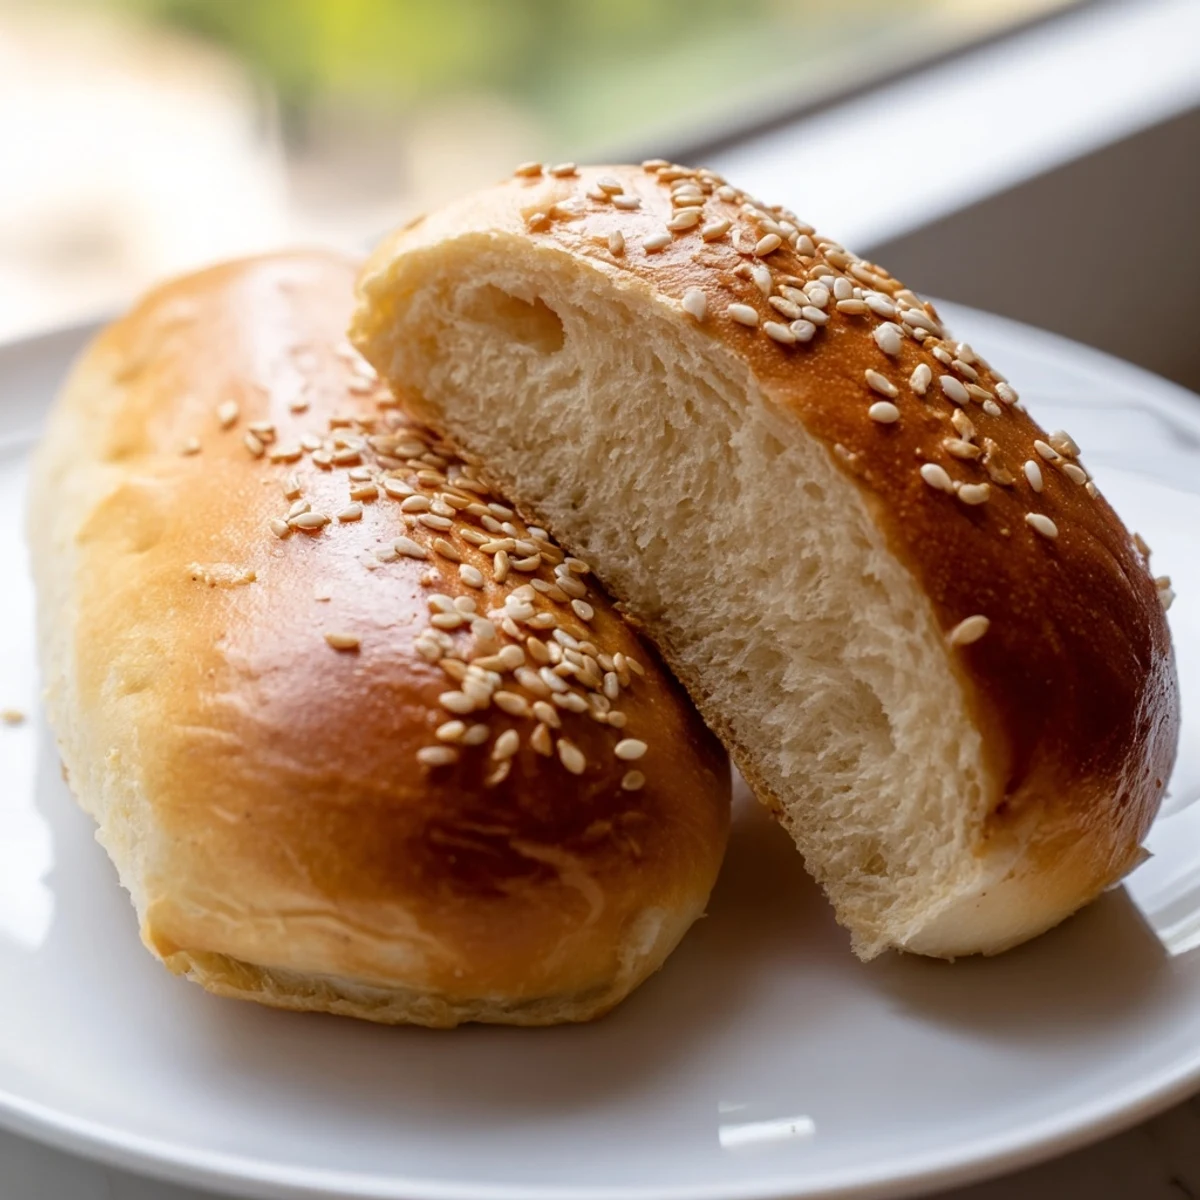
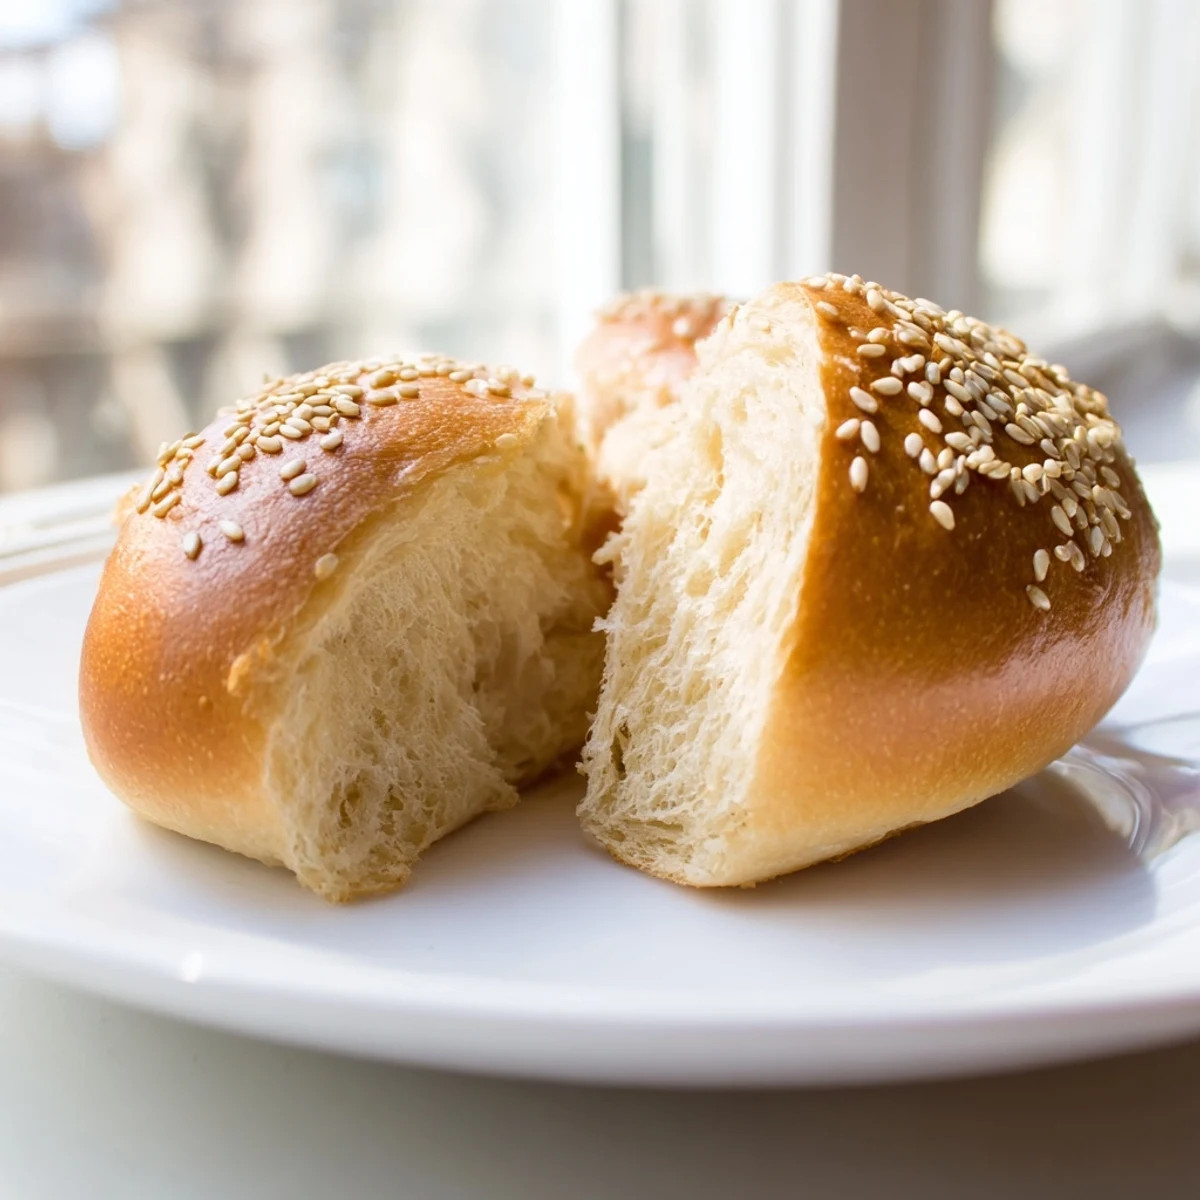
Save These soft, golden buns transform your sourdough discard into something special. The unfed starter adds a pleasant tang that perfectly balances the rich, tender crumb. Each batch yields eight pillowy buns that bake up beautifully golden and stay fresh for days. The dough comes together quickly with just 20 minutes of hands-on preparation, then rises while you go about your day. Brush them with butter right after baking for that classic bakery-style finish that keeps the crust soft and yielding.
The smell of fresh buns baking has this way of pulling everyone into the kitchen. My youngest started hovering by the oven at minute fifteen, asking if they were done yet. These sourdough discard buns have become the only kind my family wants for cookouts now.
Last summer I made these for a block party and watched three different people ask for the recipe between bites. There is something genuinely satisfying about serving burgers or brats on buns you made yourself, especially when people notice the difference immediately.
Ingredients
- Sourdough discard: Use unfed starter straight from your refrigerator, the tanginess here balances beautifully with the sweetness in the dough
- Warm milk: Should feel like bath temperature, too hot and it kills the yeast, too cool and the dough takes forever to rise
- Unsalted butter: Melted completely so it incorporates evenly into the dough without creating pockets of grease
- Sugar: Feeds the yeast and helps the buns develop that gorgeous golden brown color in the oven
- Egg: Adds richness and helps create that tender, pillowy texture we all want in a good bun
- Salt: Do not skip this, it enhances all the other flavors and keeps the bread from tasting bland
- All purpose flour: Start with 3 and 3/4 cups and only add more if the dough feels too sticky to handle
- Instant yeast: No need to proof it separately, it goes right in with the warm milk and sugar
- Milk for brushing: Creates that glossy surface and helps seeds stick if you are topping them
- Melted butter: Brushing this on right after baking keeps the crust soft and adds a final layer of flavor
Instructions
- Wake up the yeast:
- Combine the warm milk, sugar, and instant yeast in your largest bowl. Let it sit for a few minutes until you see tiny bubbles forming across the surface.
- Build the base:
- Add the sourdough discard, melted butter, egg, and salt. Mix everything together until the discard is fully incorporated and the mixture looks smooth.
- Add the flour:
- Pour in 3 cups of flour first, mixing until it disappears into the wet ingredients. Add more flour gradually, half a cup at a time, until the dough pulls away from the sides of the bowl.
- Knead until smooth:
- Turn the dough onto a lightly floured surface and knead for about 8 minutes. You will feel it transform from shaggy and sticky to smooth and elastic under your hands.
- Let it rise:
- Place the dough in a greased bowl, cover it with a clean towel, and walk away. Let it double in size, which takes roughly an hour to ninety minutes depending on your kitchen temperature.
- Shape the buns:
- Punch down the risen dough and divide it into 8 equal pieces. Roll each piece into a 6 inch log, tapering the ends slightly for that classic bun shape.
- Second rise:
- Arrange the shaped buns on a parchment lined baking sheet with space between them. Cover and let them puff up for another 30 to 45 minutes.
- Get ready to bake:
- Preheat your oven to 375°F while the buns finish their rise. Brush each one with milk and sprinkle with seeds if you want that bakery look.
- Bake to golden:
- Slide the tray into the oven and bake for 18 to 20 minutes. You are looking for deep golden brown color and buns that sound hollow when tapped.
- Finish with butter:
- Brush the hot buns with melted butter the moment they come out of the oven. Let them cool completely before slicing or they will squish under your knife.
 Save
Save These buns have officially ruined frozen ones for everyone in my house. My husband actually commented on the bun texture before he even tasted the burger, which is saying something.
Making Them Ahead
I often mix and knead the dough in the evening, let it do its first rise, then shape the buns and refrigerate them overnight on the baking sheet. In the morning I pull them out, let them come to room temperature and puff up, then bake. The cold proof actually develops more flavor and you have fresh buns for lunch without the morning rush.
Freezing For Later
Once the buns are completely cool, slice them first then freeze in a sealed bag. They thaw directly on the counter in about twenty minutes, or you can toast them straight from frozen. Having a stash means emergency burgers are always an option, and they reheat beautifully in a low oven wrapped in foil.
Customizing Your Buns
Sometimes I brush the risen buns with egg wash instead of milk for an extra shiny finish. Or skip the seeds entirely and brush with garlic butter during the last two minutes of baking for garlic bread style buns that change everything.
- Try brushing with melted butter and everything bagel seasoning after baking
- Substitute honey for the sugar if you prefer its floral sweetness
- Mix shredded cheese into the dough for the ultimate cheeseburger experience
 Save
Save Nothing beats biting into a burger on a bun you made yourself, still warm from the oven or even days later. These have earned a permanent spot in my regular baking rotation.
Recipe FAQs
- → Can I make these buns ahead of time?
-
Yes, you can prepare the dough the night before and let it rise slowly in the refrigerator. The cold fermentation actually enhances the flavor. Shape and bake them the next day when you're ready to serve.
- → What if I don't have sourdough discard?
-
You can substitute with equal parts flour and water mixed together, though you'll miss the subtle tang. Alternatively, replace with additional flour and a tablespoon of yogurt or buttermilk for similar moisture and slight acidity.
- → Why do I brush the buns with butter after baking?
-
Brushing with melted butter immediately after baking creates a softer, more tender crust. It adds richness and helps keep the buns fresh longer by sealing in moisture. This technique gives them that classic bakery-style finish.
- → Can I freeze these buns?
-
Absolutely. Once completely cooled, wrap them tightly in plastic wrap and place in a freezer-safe bag. They'll keep for up to 3 months. Thaw at room temperature or warm them in a 350°F oven for 5-10 minutes.
- → How do I know when the dough has risen enough?
-
The dough is ready when it has doubled in size. Gently press a finger into the dough—if the indentation slowly springs back partway, it's perfect. If it springs back quickly, it needs more time. If it stays indented, it's over-proofed.
- → Can I make these into hamburger buns instead?
-
Certainly. Simply divide the dough into 6-8 equal portions and flatten them into rounds about 4 inches wide. Let them rise and bake following the same timing. The soft texture and subtle tang work wonderfully for burgers too.