 Save
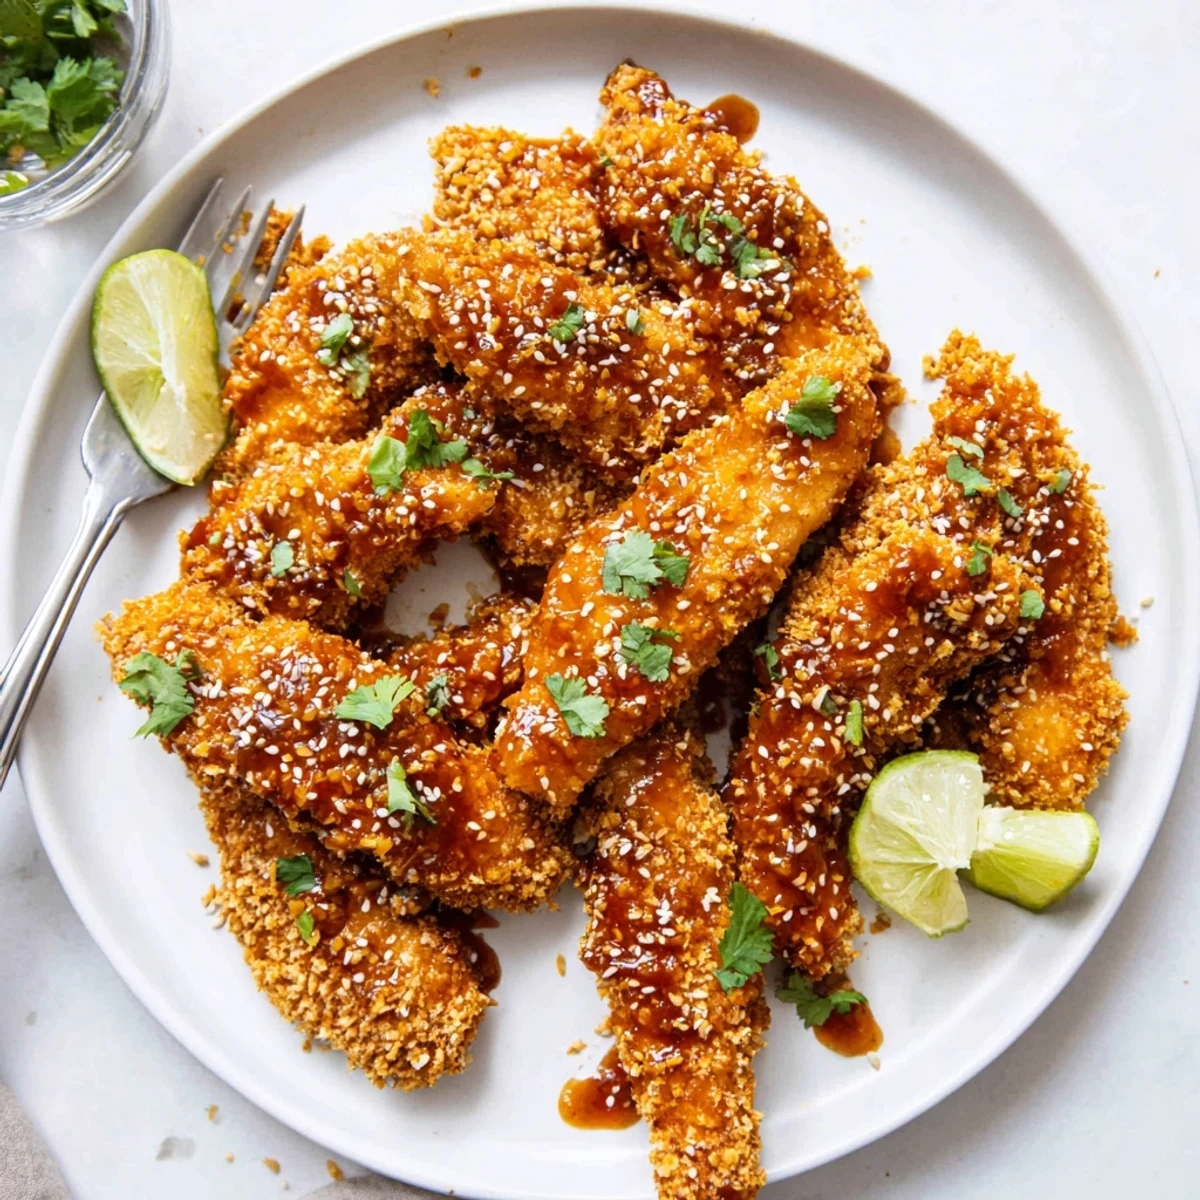
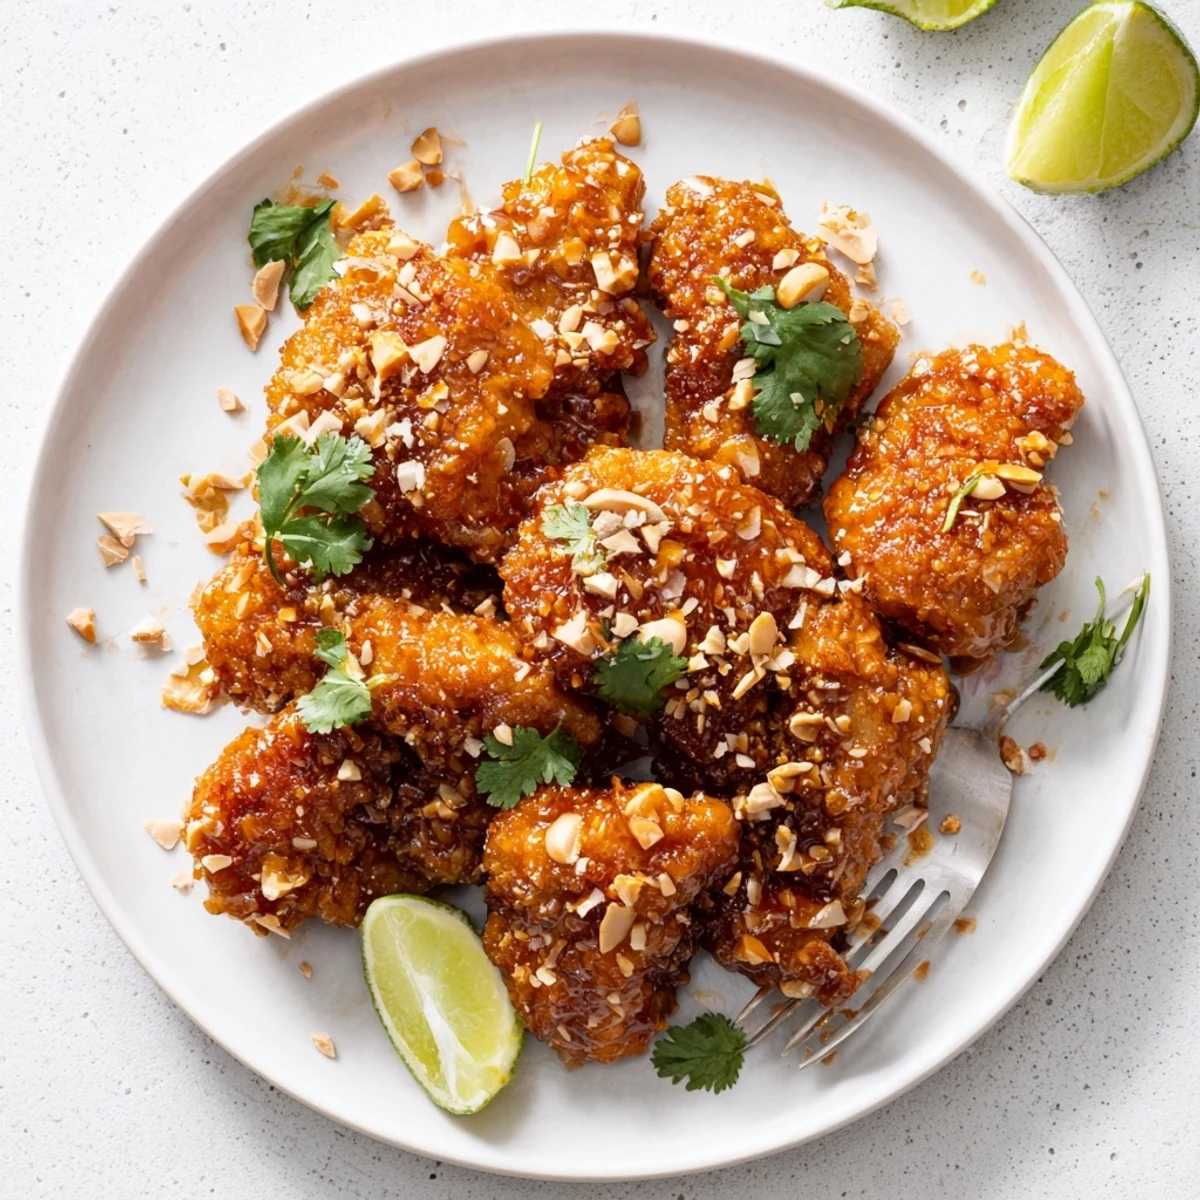
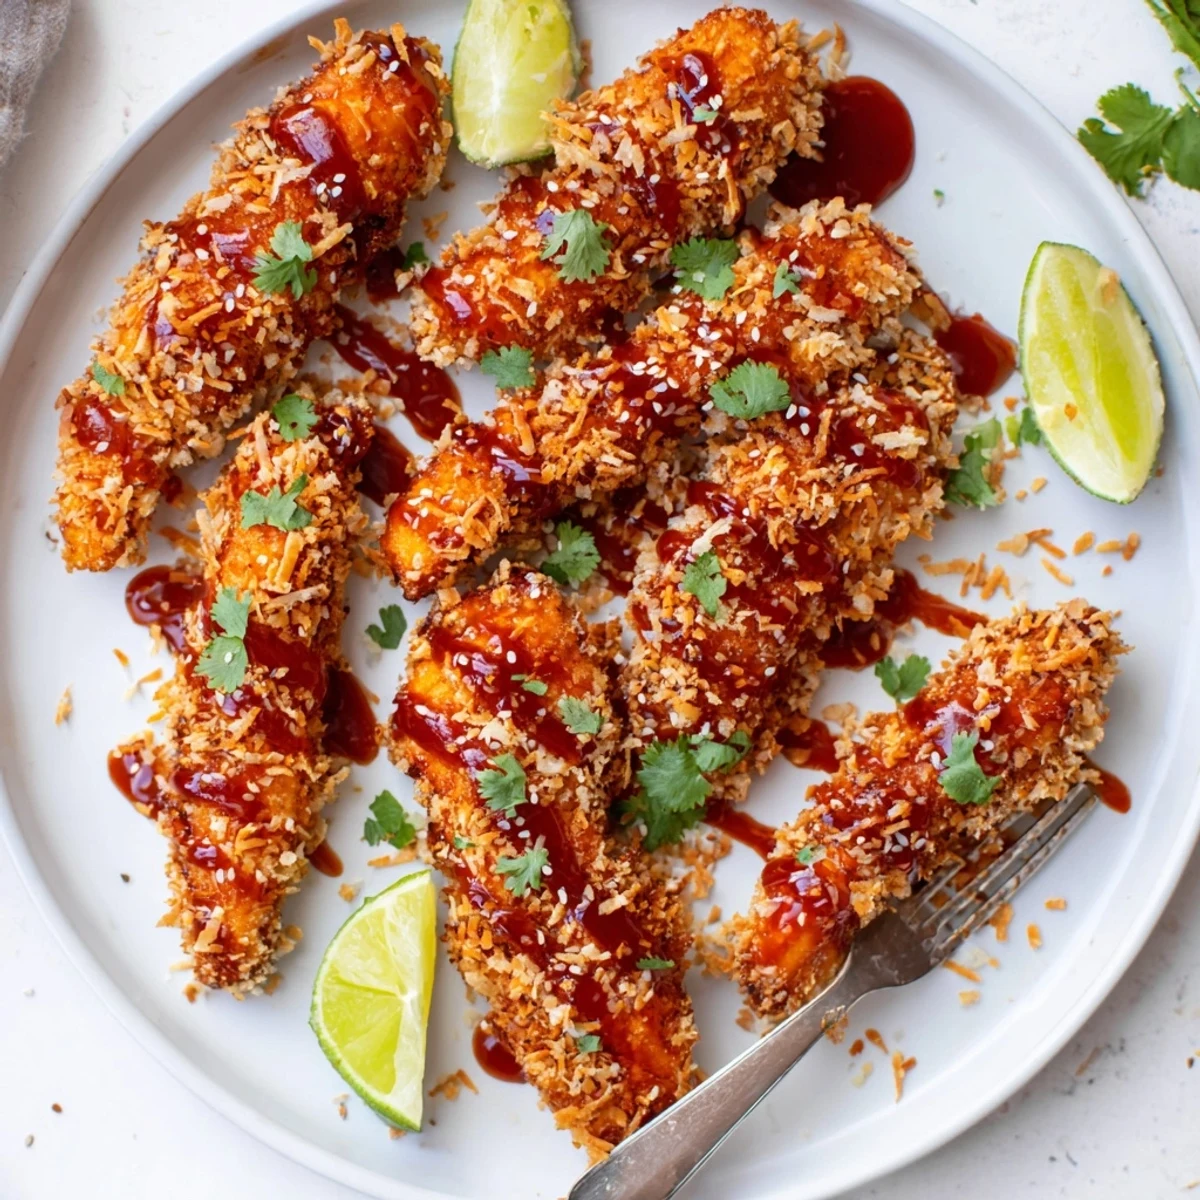
Save These crispy chicken fingers start with tender strips coated in a seasoned flour and panko breadcrumb mixture, then baked until golden brown. While they cook, whisk together sweet chili sauce, soy sauce, honey, rice vinegar, sriracha, garlic, ginger, and fresh lime juice to create the signature sticky glaze. Simmer the sauce until slightly thickened, then toss the hot baked chicken until each piece is thoroughly coated. Finish with fresh cilantro, toasted sesame seeds, and lime wedges for brightness.
The first time I made these sticky chicken fingers, my kitchen smelled like a street food stall in Bangkok. The sweet chili sauce hit the hot pan and instantly filled the whole apartment with this intoxicating aroma that had my roommates wandering in from their bedrooms, drawn by the scent alone. We ended up eating them standing around the stove, burning our fingers just to get the first taste while they were still impossibly hot.
Last summer, I brought these to a backyard potluck and watched them disappear in record time. Even the self-proclaimed coconut skeptics were reaching for more, mesmerized by how the toasted coconut added this subtle nutty sweetness to every bite. My friend Sarah actually asked for the recipe mid-party, texting herself the ingredients list right there at the picnic table.
Ingredients
- 600 g chicken tenders: Fresh tenders work best here, but if you are using chicken breasts, slice them against the grain for maximum tenderness
- 1/2 tsp salt and black pepper: Do not skip seasoning the chicken before breading, it is your only chance to season the meat itself
- 100 g all-purpose flour: This creates the dry layer that helps the egg wash stick to the chicken
- 2 large eggs: Room temperature eggs will coat more evenly than cold ones straight from the fridge
- 100 g panko breadcrumbs: Panko gives you that lighter, airier crunch that regular breadcrumbs just cannot match
- 60 g unsweetened shredded coconut: This is optional but trust me, it adds this incredible toasty sweetness that pairs beautifully with the spicy glaze
- 100 ml sweet chili sauce: Look for a brand with visible chili flakes for better texture and more authentic heat
- 50 ml soy sauce: Use regular soy sauce here, not tamari, for the right depth of flavor
- 2 tbsp honey: The honey helps create that gorgeous sticky glaze that clings to every crumb
- 2 tbsp rice vinegar: This cuts through all the sweetness and adds essential brightness
- 1 tbsp sriracha: Start here and adjust up or down depending on your heat tolerance
- 2 cloves garlic, minced: Fresh garlic makes a difference, do not be tempted to use garlic powder
- 1 tsp fresh ginger, grated: Use a microplane to get the finest grate possible so it almost melts into the sauce
- Juice of 1 lime: Fresh lime juice is non-negotiable here, bottled stuff will taste flat
- 2 tbsp chopped fresh cilantro: The herbal pop at the end makes the whole dish feel brighter and fresher
- 1 tbsp toasted sesame seeds: Toast them in a dry pan for 2 minutes before using to bring out their nutty flavor
Instructions
- Get your oven ready:
- Preheat your oven to 220°C and line a baking sheet with parchment paper. Give the paper a light coating of oil so nothing sticks.
- Prep the chicken:
- Pat those chicken strips completely dry with paper towels. Season them generously with salt and pepper on both sides.
- Set up your breading station:
- Grab three shallow bowls. Put flour in the first, beat your eggs in the second, and mix panko with shredded coconut in the third.
- Coat the chicken:
- Dredge each strip in flour, shake off the excess, dip in egg, then press firmly into the panko mixture. Place them on your prepared baking sheet.
- Bake until golden:
- Give the coated chicken a light spray or brush of oil, then bake for 20 to 25 minutes. Flip them halfway through for even cooking.
- Make the magic sauce:
- While chicken bakes, combine sweet chili sauce, soy sauce, honey, rice vinegar, sriracha, garlic, ginger, and lime juice in a small saucepan. Simmer for 3 to 4 minutes until slightly thickened.
- Bring it all together:
- Toss those hot baked chicken fingers in the sticky sauce until every piece is beautifully coated. Get them while the sauce is still warm and clingy.
- Finish and serve:
- Arrange on a platter, shower with cilantro and sesame seeds, and serve with lime wedges on the side.
 Save
Save These have become my go-to for feeding a crowd because they scale up so easily. Last month I made a triple batch for my nephews birthday party and honestly, the adults were fighting over the last pieces just as much as the kids were. Something about that sticky glaze makes people completely lose their composure.
Making Ahead Like a Pro
You can bread the chicken up to 4 hours ahead and keep it refrigerated on the baking sheet, covered loosely with plastic wrap. The sauce can also be made a day in advance, just warm it gently before tossing with the chicken.
Air Fryer Magic
If you are team air fryer, cook the breaded chicken at 200°C for 12 to 15 minutes, shaking the basket halfway through. You will get an even crisper exterior with almost no oil needed.
Perfect Pairings
These sticky fingers deserve sides that can stand up to all that bold flavor. Serve over jasmine rice to soak up every drop of sauce, or alongside a crisp Asian slaw with plenty of cabbage and a tangy vinaigrette to cut through the richness.
- Keep the lime wedges on the side, that squeeze of fresh acidity right before eating makes everything pop
- If you want to turn this into dinner, serve over steamed jasmine rice with extra sauce on the side
- For a lighter meal, pair with a crisp cucumber salad dressed with rice vinegar and sesame oil
 Save
Save There is something deeply satisfying about food you can eat with your hands, especially when it is this messy and delicious. Hope these become a regular in your rotation too.
Recipe FAQs
- → Can I make these spicy chicken fingers ahead of time?
-
You can bread and bake the chicken strips up to a day in advance. Store them in the refrigerator, then reheat in the oven at 200°C for 5-10 minutes until crispy. Toss with the warmed sauce just before serving.
- → What's the best way to get extra crispy chicken fingers?
-
Spray or brush the breaded chicken lightly with oil before baking. For maximum crunch, air fry at 200°C (400°F) for 12-15 minutes, shaking halfway through. The panko and coconut combination creates excellent texture.
- → Can I substitute the sriracha in the glaze?
-
Any hot sauce works as a substitute for sriracha. Sambal oelek adds authentic heat, or use chili garlic paste for similar flavor. Adjust the amount based on your spice preference.
- → What should I serve with Thai sticky chicken fingers?
-
Pair with jasmine rice, steamed vegetables, or a crisp Asian slaw to balance the sweet and spicy flavors. Extra lime wedges and fresh herbs help cut through the rich glaze.
- → How do I store leftovers?
-
Store leftover chicken fingers in an airtight container in the refrigerator for up to 3 days. Reheat in the oven at 180°C for 8-10 minutes to restore crispiness, rather than microwaving which can make them soggy.
- → Can I make this dairy-free?
-
This dish is naturally dairy-free. For a vegan version, use plant-based chicken tenders and substitute agave syrup or maple syrup for the honey. Ensure your sauces are vegan-friendly.