 Save
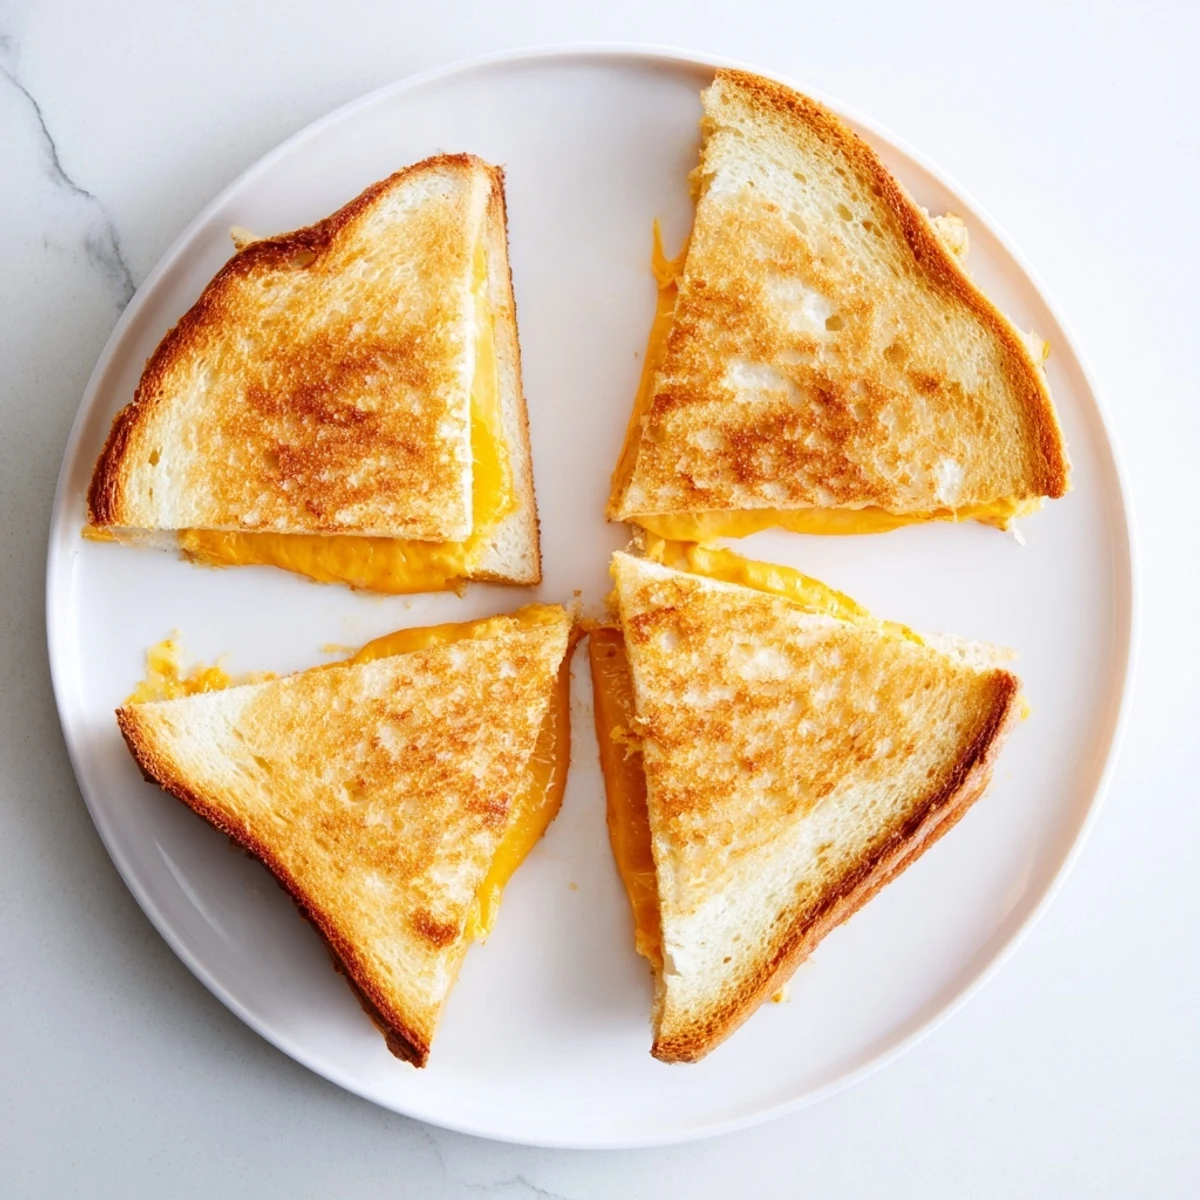
Save This classic grilled cheese features four slices of your favorite bread layered with sharp cheddar and buttered to golden perfection. The sandwich cooks over medium heat for 3-4 minutes per side, creating that irresistible crunch while the cheese melts into gooey goodness inside.
Ready in just 13 minutes from start to finish, this versatile comfort food works wonderfully for lunch, dinner, or late-night snacks. The technique involves buttering bread slices, layering cheese, and cooking with gentle pressure to ensure even melting and that signature crispy exterior.
Customize with different bread varieties like sourdough or whole grain, experiment with various melting cheeses, or add toppings like tomatoes and ham. The result is always perfectly satisfying and pairs beautifully with tomato soup or fresh salad.
The smell of butter hitting a hot skillet takes me back to rainy Sunday afternoons when my dad would make grilled cheese for lunch. He always claimed the secret was patience, letting the bread turn a deep golden brown instead of rushing it. I've tested countless variations since then, but that simple lesson remains the true foundation of a perfect sandwich.
Last winter, my friend Sarah dropped by unexpectedly after a terrible day at work. I made two grilled cheeses, the way my dad taught me, and we ate them standing at the counter while she vented. Something about that familiar golden crunch and melted cheese made everything feel manageable again.
Ingredients
- Bread: Sourdough gives you the best crunch, but white bread creates that nostalgic diner feel. Choose something sturdy that wont fall apart when you flip it.
- Cheese: Cheddar melts beautifully and has enough flavor to stand alone. Provolone or gruyère add sophistication if you want to elevate things.
- Butter: Softened butter spreads evenly without tearing the bread. Room temperature is best for that perfect coverage.
Instructions
- Prep your bread:
- Spread butter generously on one side of each slice, reaching all the way to the edges. This prevents burning and ensures even browning.
- Assemble the sandwiches:
- Place two slices buttered side down, layer your cheese, then top with remaining bread slices buttered side up.
- Get your heat right:
- Heat your skillet over medium heat. You want it hot enough to sizzle immediately but not so hot that the bread burns before the cheese melts.
- Cook with patience:
- Cook for 3 to 4 minutes per side, pressing gently with your spatula. Wait until you see that deep golden color before flipping.
- Let it rest:
- Remove from the pan and wait one full minute before cutting. This keeps the cheese from oozing out immediately.
 Save
Save My three year old nephew calls this 'crunchy cheese' and requests it every time he visits. Watching him take that first bite, eyes widening at the sound of the crust, reminds me that simple food creates the best moments.
The Bread Choice Matters
Thick cut bread creates substantial sandwiches, while thin slices yield delicate crispy results. Sourdough develops incredible flavor as it toasts, while white bread stays neutral and lets the cheese shine. Whatever you choose, make sure its fresh because stale bread ruins the texture entirely.
Cheese Combinations That Work
Sharp cheddar alone is classic, but mixing cheddar with gruyère adds nutty depth. Provolone brings excellent melt factor, and a little parmesan grated into the middle creates salty pockets of flavor. The key is choosing cheeses that melt well together instead of clumping or separating.
Timing Is Everything
I learned the hard way that walking away even for thirty seconds means burning. Stay present and listen to the sizzle. When it changes from a frantic sound to a gentle crackle, your first side is ready. Flip with confidence and watch for that same sound pattern again.
- Keep the heat medium, never high
- Press gently but dont smash the sandwich
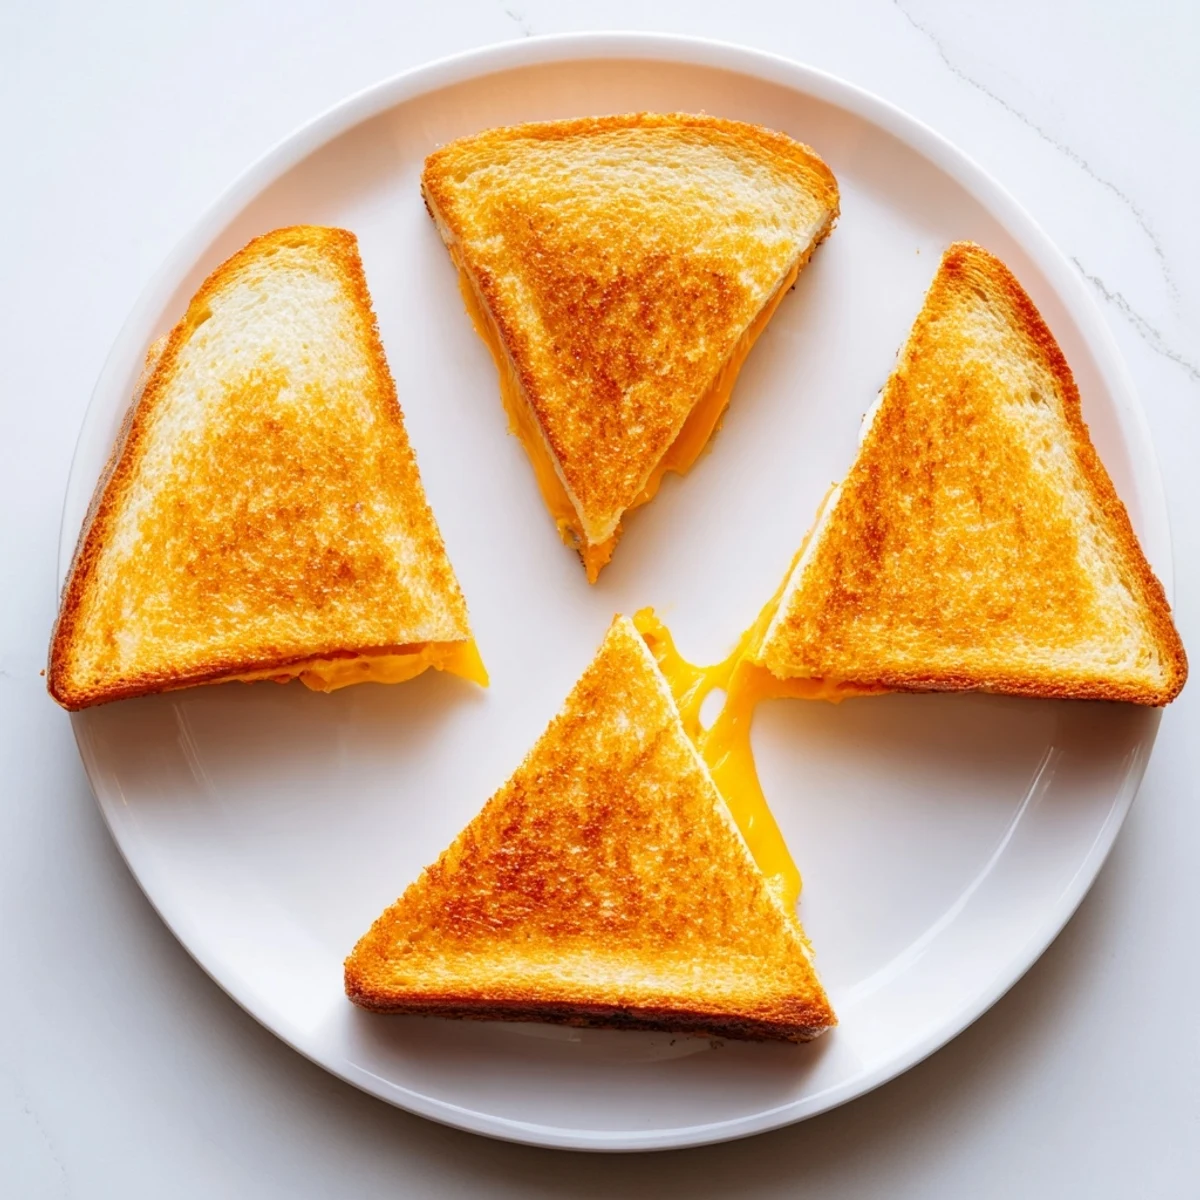
- Cut on the diagonal for the best eating experience
 Save
Save Sometimes the most perfect lunch is just crispy bread, melted cheese, and someone you care about across the counter. Simple food has a way of creating the most lasting memories.
Recipe FAQs
- → What type of cheese melts best for grilled cheese?
-
Cheddar, American, provolone, Gruyère, and Swiss melt beautifully. For the ultimate experience, try combining multiple cheeses—sharp cheddar provides bold flavor while mozzarella adds that irresistible stretch. Avoid crumbly cheeses like fresh goat cheese or feta as they won't achieve that smooth melt.
- → How do I prevent the bread from burning before the cheese melts?
-
Cook over medium heat rather than high to ensure the bread crisps gradually while the cheese has time to melt. Covering the pan with a lid for the first minute helps trap heat and speeds up melting. Press gently with your spatula to ensure good contact between the bread and cooking surface.
- → Can I make grilled cheese ahead of time?
-
Grilled cheese tastes best served immediately while the cheese is hot and gooey and the bread is at peak crispiness. However, you can assemble the sandwiches ahead and store them wrapped in the refrigerator for up to 24 hours before cooking. Leftovers can be reheated in a skillet or oven at 350°F for 5-8 minutes.
- → What's the secret to extra crispy grilled cheese?
-
Use softened butter spread evenly to the edges of each bread slice. For extra crunch, mix equal parts butter and mayonnaise before spreading. Another secret trick involves lightly sprinkling the buttered bread with a pinch of garlic powder or grated Parmesan before cooking for added flavor and texture.
- → What ingredients can I add to elevate my grilled cheese?
-
Sliced tomatoes, caramelized onions, crispy bacon, ham, avocado slices, or fresh herbs like basil or thyme create delicious variations. Spread pesto, fig jam, or Dijon mustard on the inside for extra flavor depth. Consider adding a second cheese type or placing thin apple slices for a sweet-savory twist.