 Save
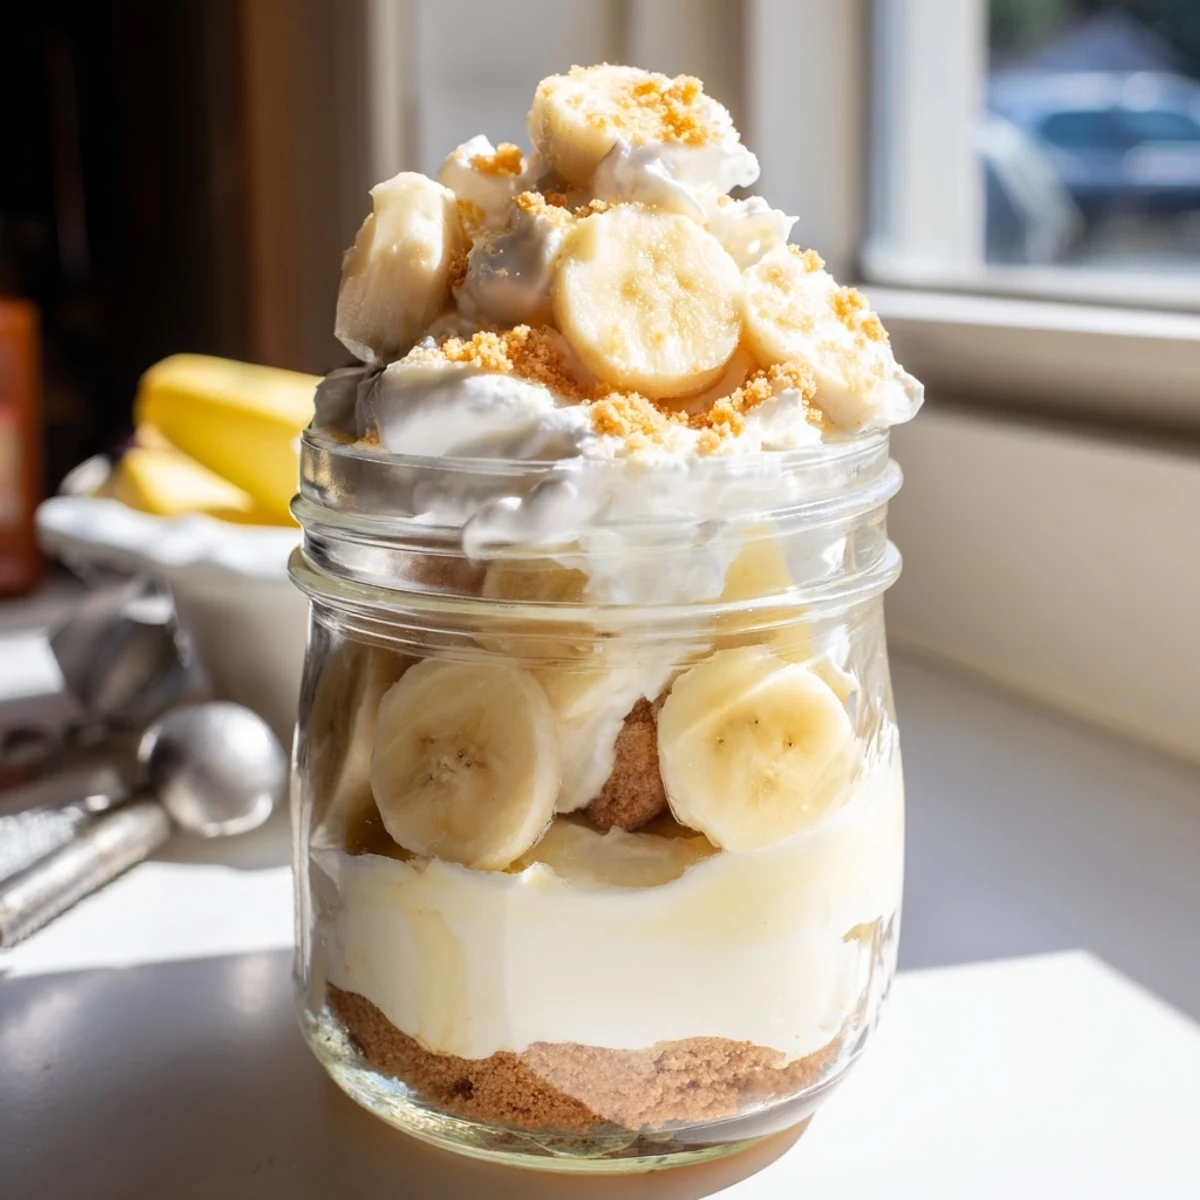
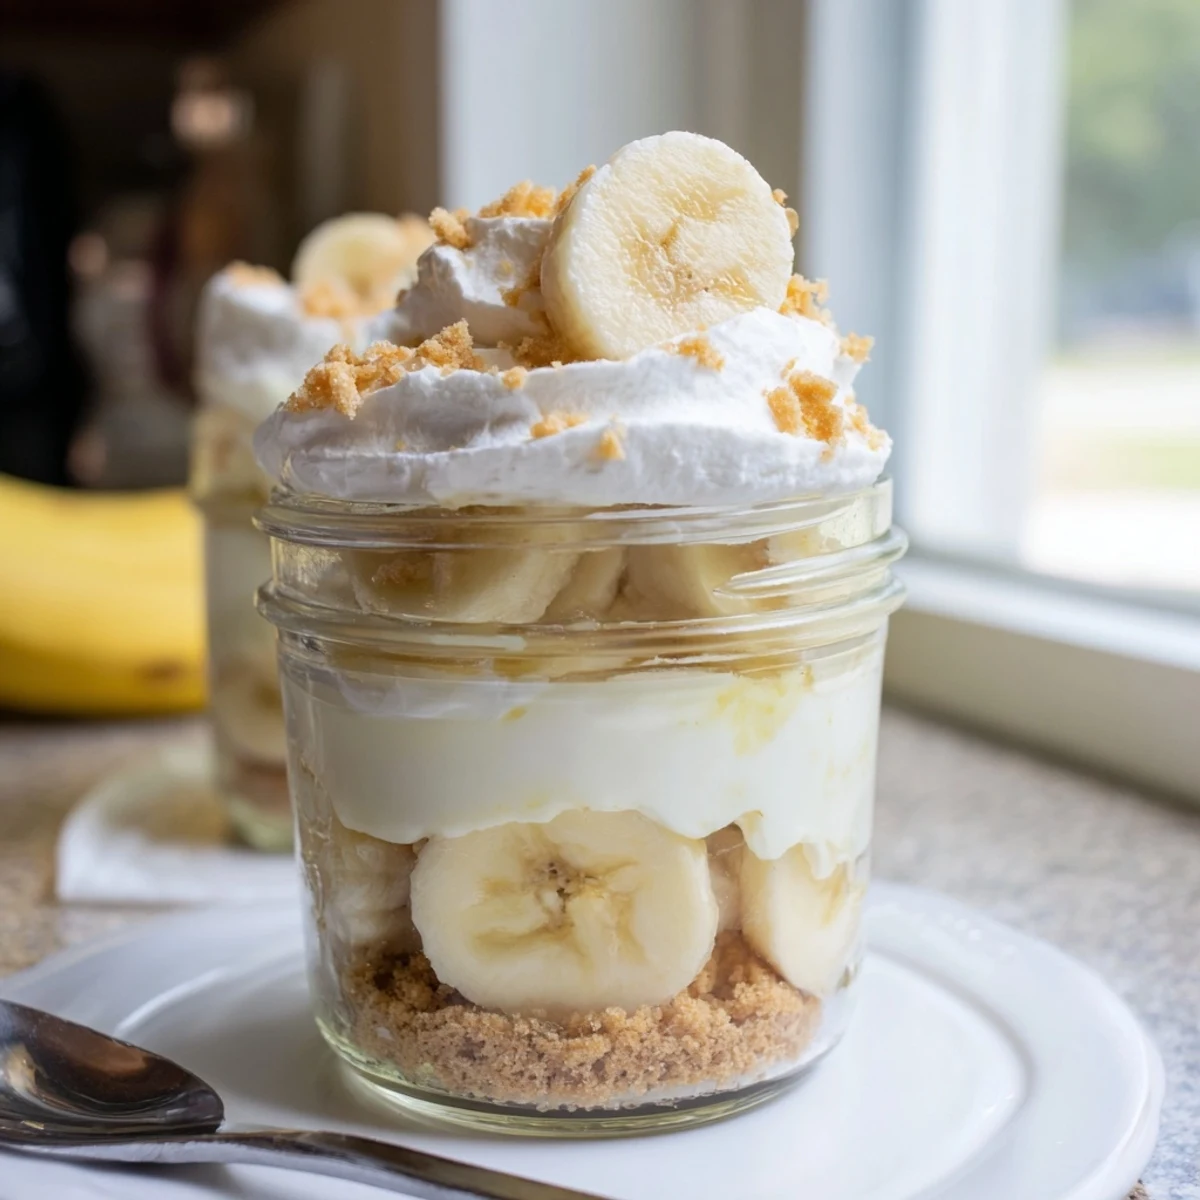
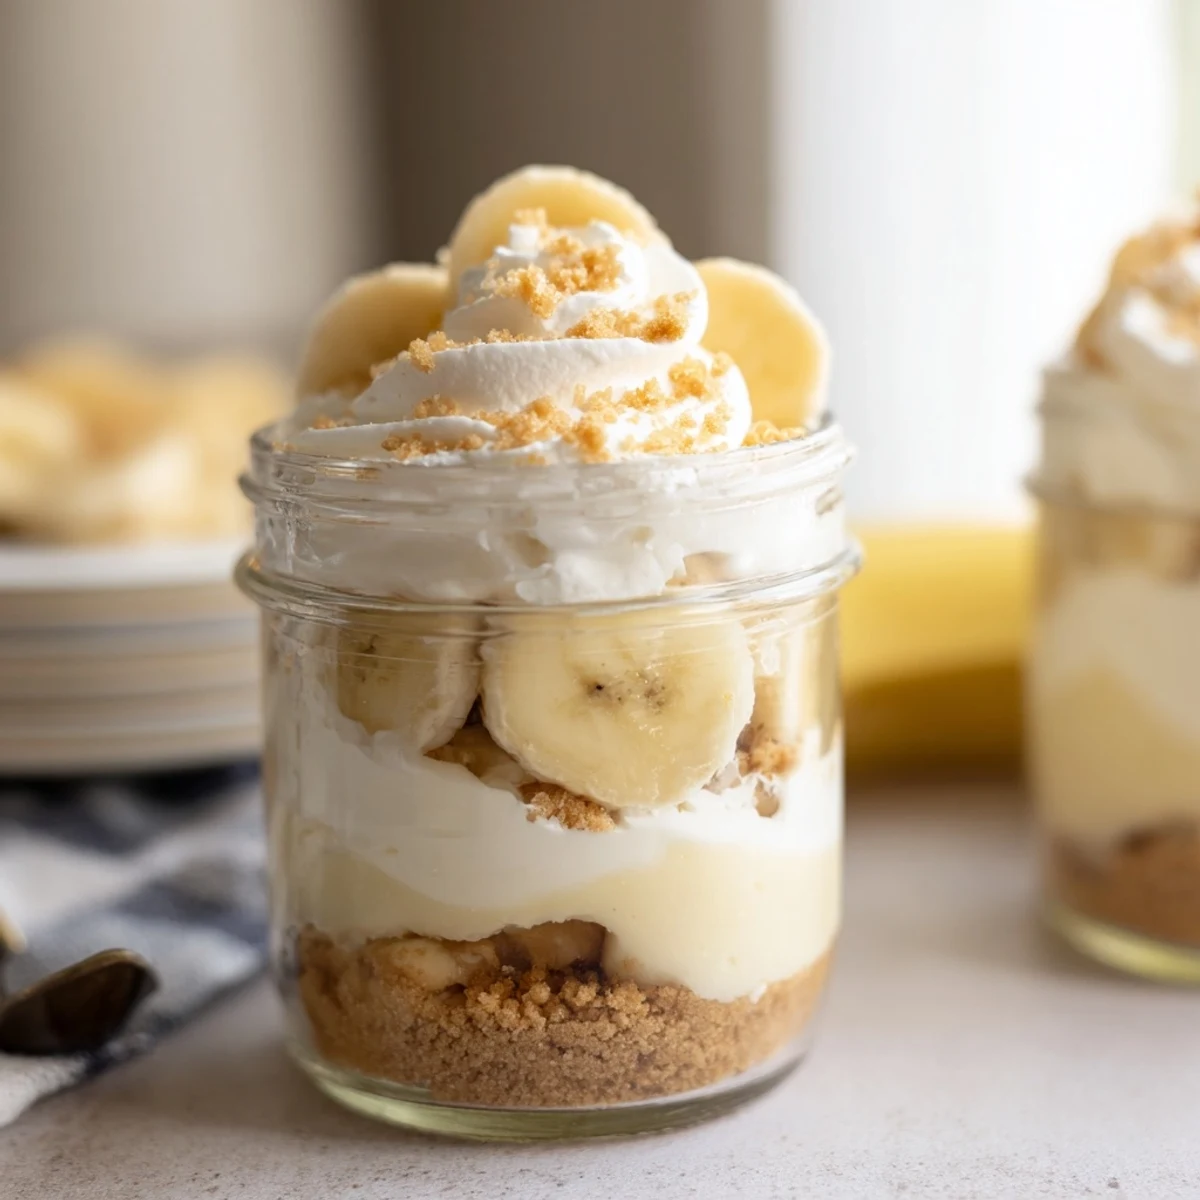
Save These individual dessert cups combine the best of two classic treats—creamy cheesecake and nostalgic banana pudding—layered in portable portions. A buttery vanilla wafer crust forms the base, topped with smooth cream cheese filling blended with whipped cream for lightness. Fresh banana slices add natural sweetness before a layer of prepared banana pudding. The cups are finished with more cheesecake mixture, additional wafer crumbs, and banana garnishes. Best made ahead and chilled for at least two hours, these cups allow the flavors to meld while keeping preparation entirely oven-free. Perfect for potlucks, dinner parties, or whenever you want an impressive dessert without heating up the kitchen.
The first time I made these, it was 95 degrees and my kitchen felt like a sauna. I refused to turn on the oven but needed something impressive for a last-minute gathering. These cups came together in twenty minutes, and watching everyone's faces light up when they dug through those layers—crunch, cream, pudding, repeat—made me an instant convert to no-bake desserts.
My sister swears she could eat these for breakfast. Honestly, after making them so many times, I've stopped judging. There's something about having your own adorable serving that makes dessert feel extra special, like you're being treated at a restaurant without leaving your kitchen.
Ingredients
- Vanilla wafer cookies: These Nilla wafers are nostalgic for a reason, their subtle sweetness and signature crunch create the perfect foundation
- Unsalted butter: Melted butter binds the crumbs together into a cohesive crust that holds up beautifully against the creamy layers
- Cream cheese: Room temperature cream cheese blends silkier, so pull it out thirty minutes before you start mixing
- Granulated sugar: Just enough sweetness to balance the tanginess without making it cloying
- Pure vanilla extract: Don't skimp here—real vanilla makes the cheesecake layer taste professionally crafted
- Heavy whipping cream: Cold cream whips faster and holds air better, giving the filling that cloud-like texture
- Instant banana pudding mix: The shortcut that actually works, creating a distinct banana flavor that feels homemade
- Cold whole milk: Whole milk gives the pudding a richer mouthfeel than skim or alternatives
- Ripe bananas: Look for bananas with some brown spots—they're sweeter and more flavorful than bright yellow ones
Instructions
- Build the crust foundation:
- Mix the crushed vanilla wafers with melted butter until it feels like damp sand, then press about two tablespoons into the bottom of each cup. Use the back of a spoon to create an even layer.
- Whip up the cheesecake base:
- Beat the softened cream cheese, sugar, and vanilla until completely smooth with no lumps remaining.
- Add the airy texture:
- In a separate bowl, whip the cold heavy cream until stiff peaks form, then gently fold it into the cream cheese mixture until no white streaks remain visible.
- Create the pudding layer:
- Whisk the instant banana pudding mix with cold milk for exactly two minutes until it thickens into a velvety consistency.
- Layer the magic:
- Start with cheesecake filling over the crust, add a ring of banana slices, spoon pudding on top, then finish with remaining cheesecake mixture.
- Add the finishing touches:
- Sprinkle each cup with extra wafer crumbs, fresh banana slices, and a dollop of whipped cream if you're feeling fancy.
- Let them rest:
- Cover the cups and refrigerate for at least two hours so all the flavors meld together and the layers set properly.
 Save
Save Last summer, I made a batch for a backyard barbecue and my uncle asked if I'd ordered them from a fancy bakery. The way he went quiet after his first bite, just slowly chewing with this look of pure dessert bliss, that's the memory that keeps me making these again and again.
Make-Ahead Magic
You can assemble these cups up to twenty-four hours in advance, but wait to add the fresh banana slices and whipped cream until right before serving. I learned this the hard way when I prepped everything the night before a party and woke up to brown, sad-looking bananas floating on top. Lesson learned.
Serving Suggestions
Clear glass cups show off those beautiful layers, but honestly mason jars work just as well and add a rustic charm. Sometimes I'll crush a few extra wafers and layer them between the filling and pudding for hidden pockets of crunch throughout.
Flavor Twists
A pinch of cinnamon in the crust adds warmth that plays beautifully against the cool creaminess. For chocolate lovers, swap some chocolate graham crackers into the crust mix.
- Try adding a tablespoon of cream cheese to the pudding for extra tang
- A splash of banana liqueur in the cheesecake layer kicks it up for adult gatherings
- Toasted coconut on top adds a tropical dimension that surprises everyone
 Save
Save These cups have saved me more times than I can count when I need something impressive but refuse to spend hours in the kitchen. Sometimes the best desserts are the ones that let you enjoy the party too.
Recipe FAQs
- → Can I make these cups ahead of time?
-
Yes, these cups actually taste better when made ahead. Prepare them up to 24 hours in advance and refrigerate. Add fresh banana slices and whipped cream just before serving to prevent browning and maintain texture.
- → What type of serving cups work best?
-
Clear glass cups, mason jars, or dessert glasses work beautifully as they showcase the layers. Look for containers that hold 6-8 ounces each. You'll need six individual vessels for this yield.
- → How do I prevent the bananas from turning brown?
-
Toss sliced bananas lightly in lemon juice before layering to slow oxidation. Alternatively, add banana slices just before serving. For make-ahead portions, layer the bananas beneath the pudding layer to minimize air exposure.
- → Can I substitute the instant pudding mix?
-
You can make homemade custard-style pudding using milk, sugar, cornstarch, and egg yolks, though this adds cooking time. The instant version provides consistent texture and pronounced banana flavor without additional preparation.
- → What's the best way to crush the vanilla wafers?
-
Place wafers in a sealed plastic bag and crush with a rolling pin for controlled texture, or pulse in a food processor for fine crumbs. Aim for a texture similar to graham cracker crumbs—fine enough to press but with some texture remaining.
- → Can I freeze these cheesecake cups?
-
Freezing is not recommended as the texture of the pudding layer and fresh bananas will suffer. The cheesecake filling alone freezes well, but the complete dessert is best enjoyed refrigerated within 24-48 hours for optimal quality.